Week 1: 18th-23rd
First meeting with supervisor. The objective of the project is to create a “buddy” or “helper” for elderly people living by themselves. The main goal of the project in terms of functionality is to make the device able to detect if the elderly person has fallen onto the ground and can’t get up. The device should be able to contact someone if this happens.
The main tasks for this project are:
- Concept of the device, features that it contains, this will note the features that are required and the features that are extra and the features for the future if time permits it.
- Design of the device, the design of the enclosure and how it will work. This will be done using AutoCAD for the initial design and then Fusion 360 for the full 3d design.
- Design of the trained model, this will be making or finding a suitable trained model using TensorFlow lite.
- Design of the code for the camera to move and track the person.
- Design of the code for the device to contact someone if the elderly person falls.
- Design of an App for a phone, this is an optional feature that may be done if time permits.
- Printing the enclosure, this would be done using an Ender 3 3d printer, This process would use the Ultimaker Cura software.
- Testing of the final project. This would be done for each of the individual features so that is there is something wrong that it can be fixed in a timely manner.
The Research areas of the project are:
- Research into Deep learning and neural networks.
- Research into training neural networks.
- Research into Android app creation.
- Research into enclosure design.
The learning outcomes for the project are:
- An understanding of how neural networks are created and trained.
- Proficiency in the use of AutoCAD and Fusion 360.
- Proficiency in the use of OpenCV and TensorFlow.
Week 2: 24th-30th
The basic device concept was considered and the parts were ordered.
Device Concept:
It should be able to interact with the elserly person and should be interact with them. The device should be able to detect if the person has fallen and cant get back up. The device should be able to contact a family member or somone else.
Device Parts:
Raspberry pi 4b 2gb, unfortunately because of part shortages this was the only single board computer that was readily available at the time. The optimal part for this device would be the Nvidia Jetson Nano single board computer. This is because it is far more suited for object detection and image classification.
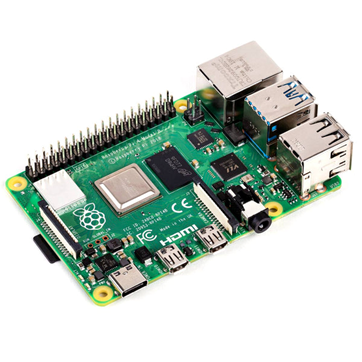
Figure 1– Raspberry pi 4b 2gb
Raspberry pi Camera board – Night Vision & Adjustable-Focus Lens (5MP), This camera module was suited to the use case of the device. The two infrared LED lights help the camera to be used in low light and would be beneficial to the device.
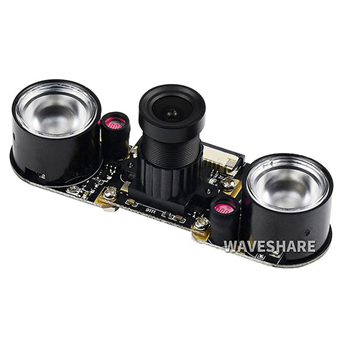
Figure 2 – Raspberry pi Camera board
YDLIDAR x4 – 360-degree laser scanner lidar, this lidar unit was selected as it is considered the budget lidar and is suited to the application as it can give out readings that can be used for object avoidance and autonomous robot movement.
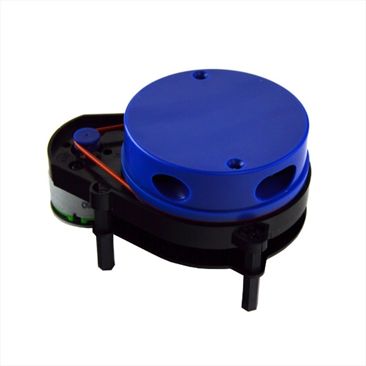
Figure 3- YDLIDAR x4 – 360-degree laser scanner lidar
SG90-servo motor, these servos were chosen as they are basic, and their maximum torque was adequate, and they are small enough to fit in the camera enclosure.
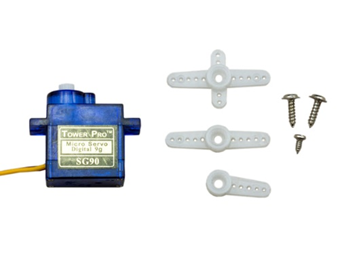
Figure 4- SG90 Servo motor
Arduino uno rev3, this microcontroller was selected to control the encoder motors. This was selected as it is a microcontroller with a large user base and much support that is adequate for the project.

Figure 5- Arduino uno rev3
Arduino motor shield v2.3, this motor shield was selected as it was needed to power the encoder motors used in this project to propel the robot chassis.
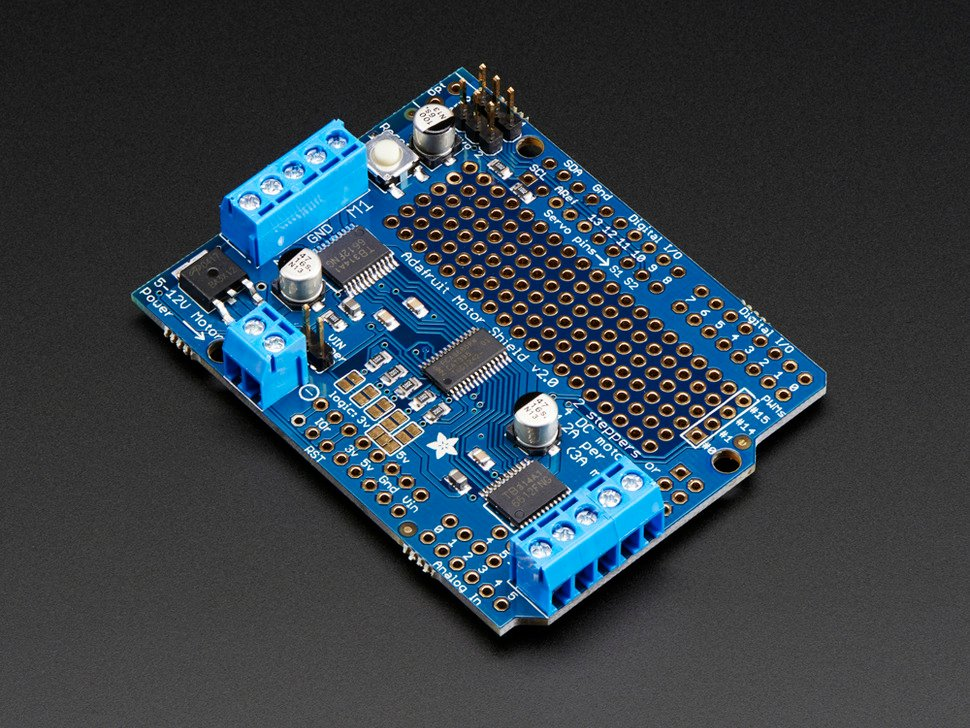
Figure 6- Arduino motor shield v2.3,
XiaoR GEEK Smart Robot Car Tank Chassis Kit, this robot chassis was chosen as it was comenly used in robotics projects and as a result there is a comunity to support it.
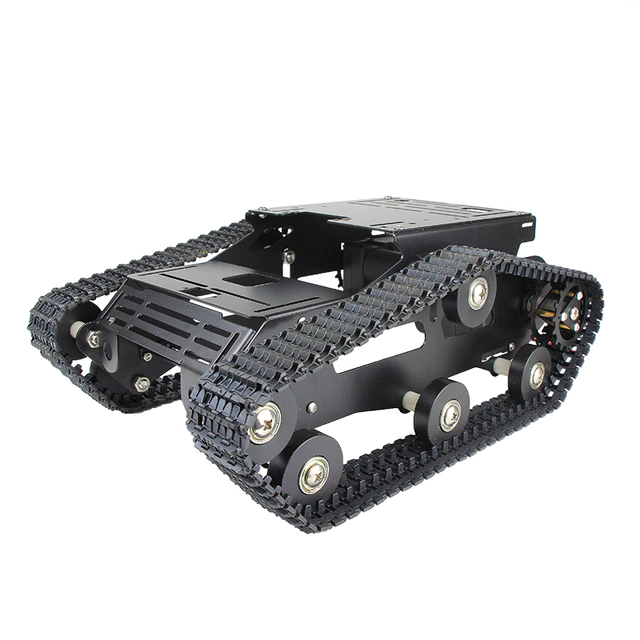
Figure 7- XiaoR GEEK Smart Robot Car Tank Chassis Kit
Dual Fan Heatsink Case for Raspberry Pi 4, The heatsink chosen for the raspberry pi 4b was a dual fan heatsink case, this was because the raspberry pi 4b is known to get very hot while under high usage. As TensorFlow or OpenCV will be running the raspberry pi 4b at close to 100 precent CPU usage this case is required otherwise the raspberry pi will overheat and shutdown.
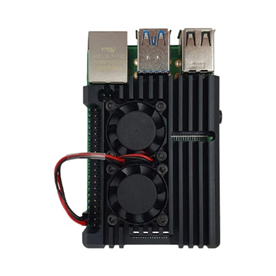
Figure 8 – Raspberry pi 4b heatsink case
Week 3: 31st– 6th
Reading about each software and deciding on which to use. Discuss both TensorFlow and OpenCV
The third week was spend deciding on which of the two of the machine learning frameworks. Both TesnorFlow and OpenCV will work for the task that I am trying to complete.
OpenCV
OpenCV has some advantages over Tesnorflow as it has much more documentation compaired to TensorFlow. It is a much more simplistic framework compaired to Tensorflow. Running some models can be faster running in OpenCV rather than in TensorFlow.
TensorFlow
TensorFlow is much better at building machine learning models compaired to OpenCV. This is because OpenCV is a computer Vision framework and was released for just image processing.
Decision
In the end OpenCV was selected for the project as it is much easier to instal onto the raspberry pi. I tried to instal TensorFlow but could not get it to instal correctly. OpenCV also has more examples of Raspberry pi projects running on OpenCV.
Week 4: 7th – 13th
In week 4, the basic design for the enclosure was decided on.

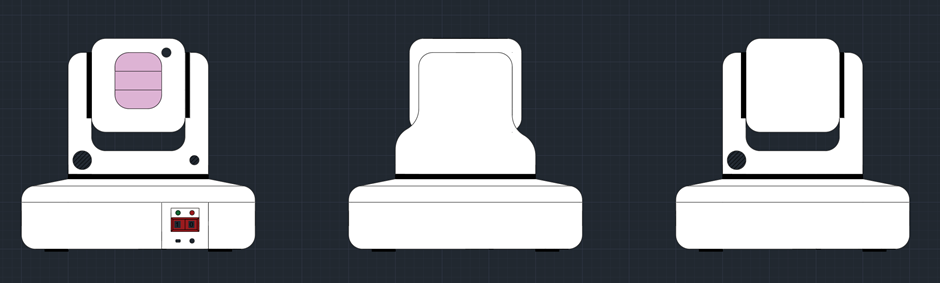
This design for the camera enclosure includes two joints so that the camera can look up and down, and right or left. The base of the design would house the raspberry pi 4b. All of the pieces required for the enclosure would be 3d printed.
There would also be an acrylic piece infront of the camera to both protect the camera but also to give it a more astetically pleasing look. The device itself has to be astetically pleasing because in theory this would be on somones table.
Week 5: 14th -20th
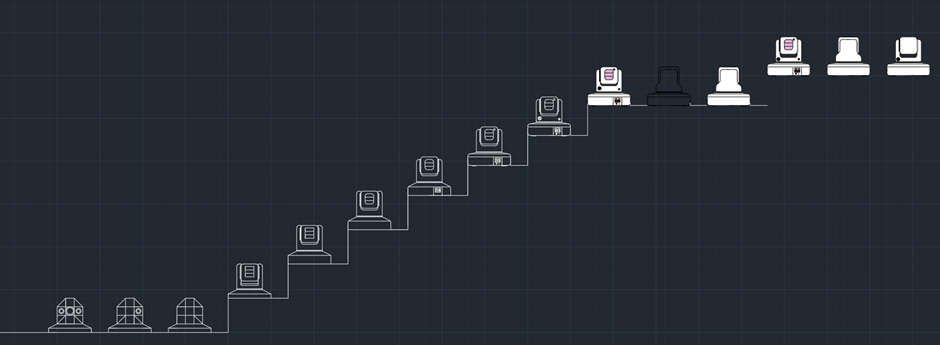
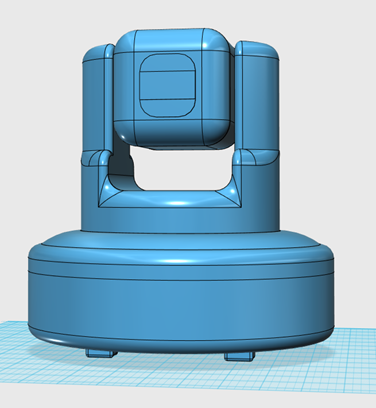
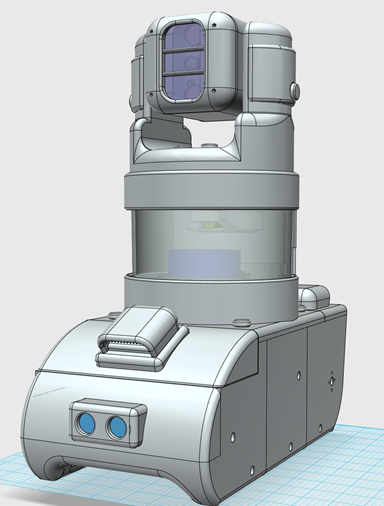
First 3d model, discussion on how Ill go about it.
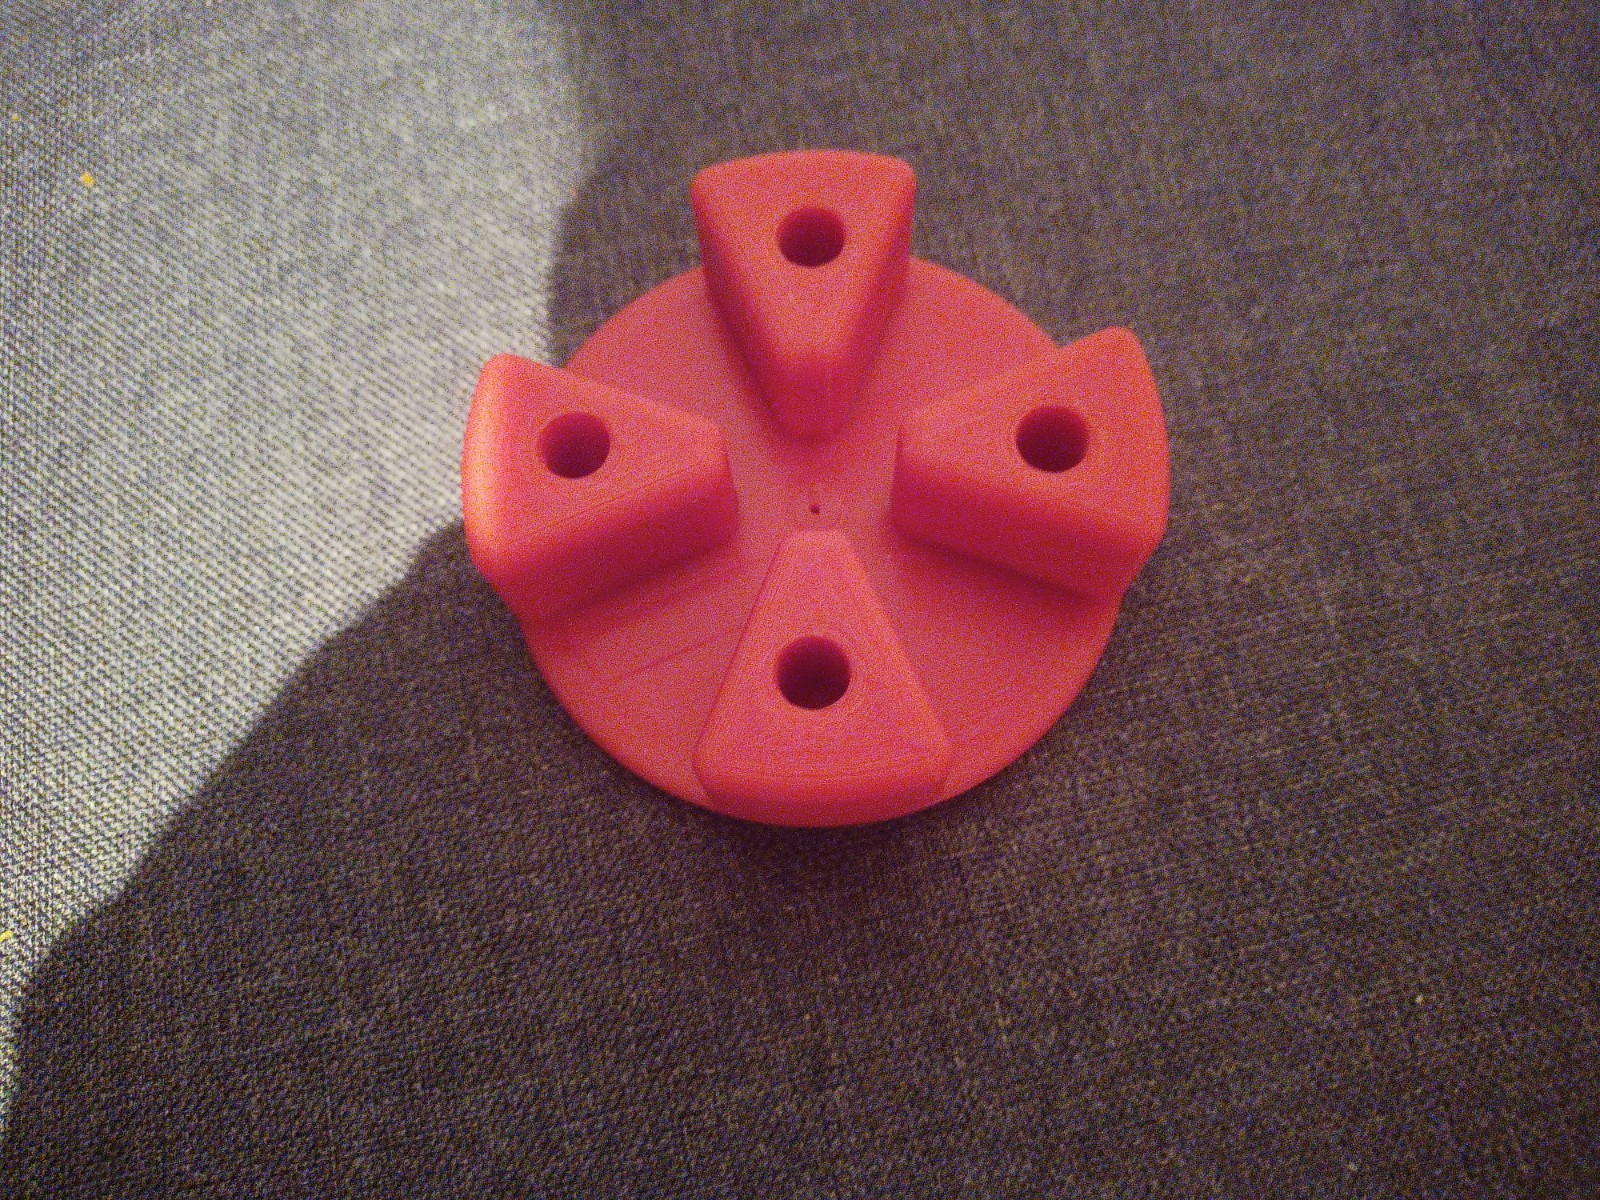
In Week 5 the model decided on was created in 123D design. The first model shown below has a circular base that would be hollow that would have four rubber stands so that the device does not slide off of the table. The parts would be screwed together using ether M2 or M3 screws.
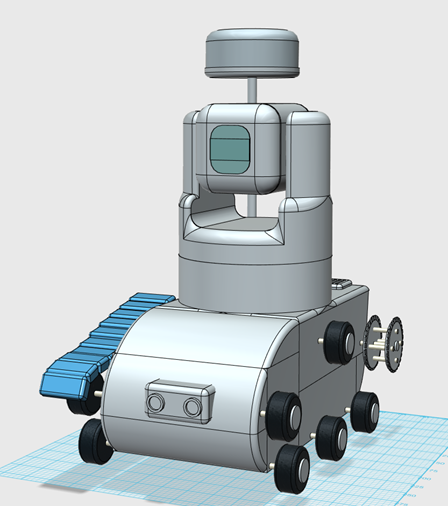
The second model shown below is a second iteration of the Video Scout device. This version of the Video scout device was make because of the realisation that the object detection might not detect that a person had fallen over if they fell behind a table or anything that could obscure the view of the camera.
This concept was made with the idea that if there was enough time that the chasis could be designed fully and made, but there would not be enough time to create a program to fully utilise these sensors.
This version of the device includes a tracked robot body with two aditional sensors. The lidar unit needs an unabscured view to get proper reading and so is placed ontop of a pole at the back of the unit. The Ultrasonic sensor is located on the front of the unit. These two sensors would be a Lidar unit to map a room and patrol it and an ultrasonic sesnor as a backup sensor so that the robot did not crash into anything.
Week 6: 21st – 27th
Slightly more advanced 3d model both variants.
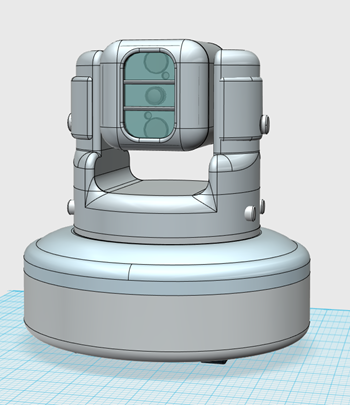
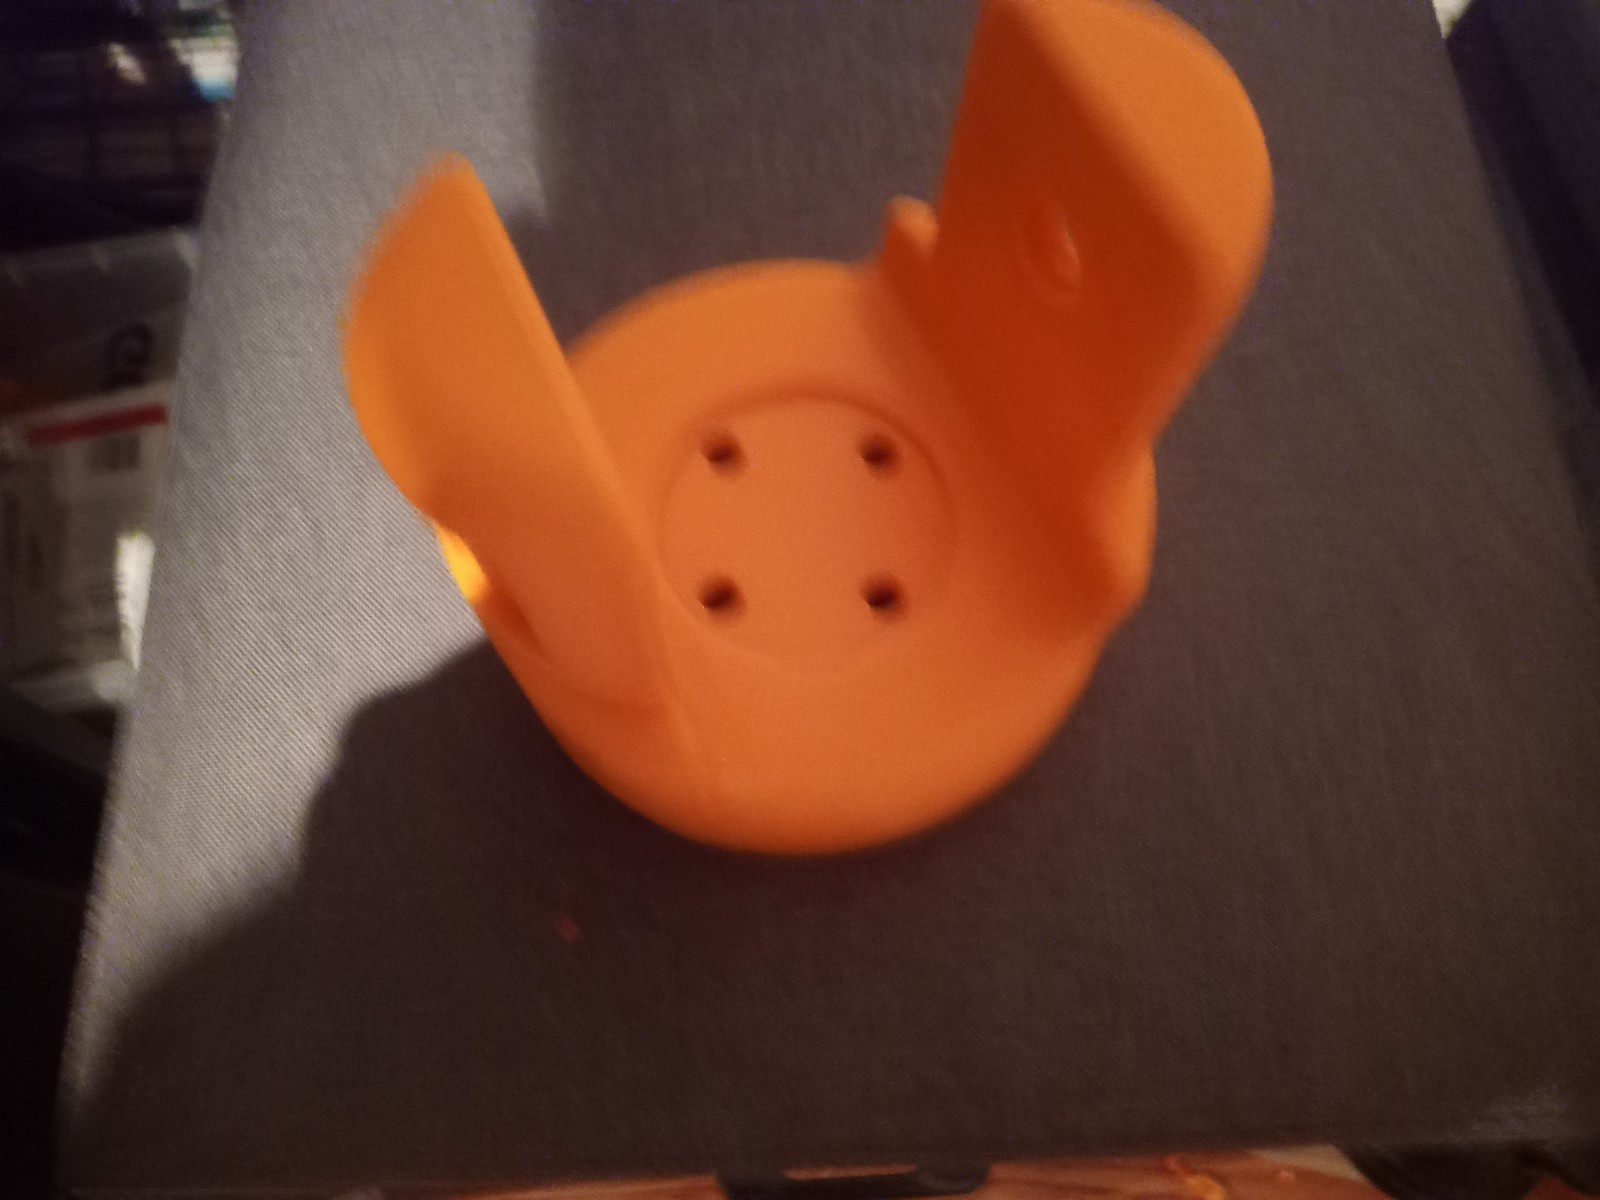
In week 6 both concept models were both developed to a more advanced level. The new model of both versions is shown below. both models have two pannels added to the side of the camera, these pannels allow for easier access to wires and cables.
In both versions the front face of the camera housing was made more rounded, this makes the model slightly more functional as the IR LEDs of the camera were obscured by the previous design. Both models have begun to being split up into individual parts for 3d printing.
More advancements were made in the design of the tracked robot enclosure. Three cooling vents were added to the model as the raspberry pi would become very hot without air circulating. These vents have had covers addded to reduce the chance that water enters the main body of the robot.
The Lidar unit has also been relocated to beneath the camera enclosure to try to lower the centre of mass. This new Lidar enclosure also gives the Lidar a bit more protection as there is an acrylic cylider surounding it. Thereis a tradoff to the new design though, this is that the Lidar is partialy blocked from the back 60 degrees. This new design is safer than the previous design as since the lidar is enclosed nothing can get cought on it.
Decision on the enclosure
The tracked robot version of the Video Scout is chosen as I expect there to be enough time to complete it.
Week 7: 28th -6th
First version of the human detection code with fall detection. Demonstration. Talk about it.
The first version of the human detection code is created. The requirments for this code was the instalation of OpenCV. This was simply installed by typing into the comand window:
pip install opencv-python
After this is installed an algorithem for object detection is installed this is called “SSD-MobileNetv3”. It is downloaded from Github. The COCO dataset is also taken from Github, this contains models for differnt objects such as people, animals and household objects such as phones. The IDE used for the program is called Pycharm.
The first version was created by removing the other labels from the datasheet so that the program could only see the person model from the COCO data set.
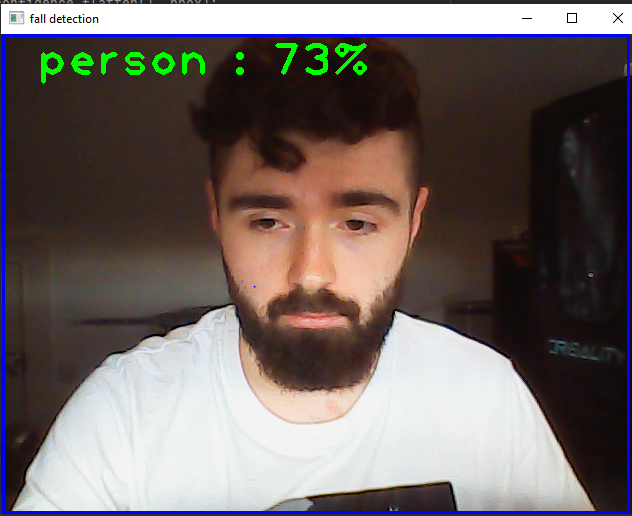
This program imports OpenCV, access the various files required for the program. The program then defines the size of the window of recording which in this instanace is 320×320. The program then sets the various values required for the SSD-MobileNetv3 algorithem.
The program then sets the required acuracy precentage necissesary to register, this is set to 60 percent. The program then draws a rectangle around the person object when detected with the person name above the frame.
First Program iteration-(Just Human detection)
import cv2

config_file = r'C:\Users\maxbr\Desktop\new fall detector\ssd_mobilenet_v3_large_coco_2020_01_14.pbtxt'
frozen_model = r'C:\Users\maxbr\Desktop\new fall detector\frozen_inference_graph.pb'
model = cv2.dnn_DetectionModel(frozen_model, config_file)


classLabels = [] ## empty list of python
file_name = r'C:\Users\maxbr\Desktop\new fall detector\labels.txt'
with open (file_name, r'rt') as fpt:
    classLabels = fpt.read().rstrip('\n').split('\n')
    #classLabels.append(fpt.read())

    print(classLabels)
    print(len(classLabels))

model.setInputSize(320, 320)
model.setInputScale(1.0/127.5) ## 255/2 = 127.5
model.setInputMean((127.5, 127.5, 127.5)) ## mobilenet => [-1, 1]
model.setInputSwapRB(True)

cap = cv2.VideoCapture(0)
if not cap.isOpened():
    raise IOError(r"Cannot open Cammera feed")

font_scale = 3
font = cv2.FONT_HERSHEY_PLAIN
#setting the size and font of the text

while True:
    ret, frame = cap.read()

    ClassIndex, confidence, bbox = model.detect(frame, confThreshold = 0.60) #this has the threshold that can be set to highter acuracy or lower accuracy

    print(ClassIndex)
    if (len(ClassIndex)!= 0):

        for ClassInd, conf, boxes in zip(ClassIndex.flatten(), confidence.flatten(), bbox):

            if (ClassInd<=1):
                cv2.rectangle(frame, boxes, (255, 0, 0), 2)# this adds a rectangle over the detected person


#top of the frame of the detection stating what it is
                text = f' {classLabels[ClassInd - 1]} : {round(float(conf*100))}%'# rounds the confidence number to 2 decimal places. the confidence number is multiplyed by 100 to make it into a percentage
                cv2.putText(frame, text, (boxes[0] + 10, boxes[1] + 40), font, fontScale=font_scale, color=(0, 255, 0), thickness=3)


    cv2.imshow('fall detection', frame)

    if cv2.waitKey(2) & 0xFF == ord('q'):
        break

cap.release()
cv2.destroyAllWindows()
Output
Week 8: 7th -13th
More finished model of the Video Scout.
Week 9:14th -20th
Finished model of tracked Video Scout.
Week 10: 21st to 27th
Second version of the human detection code with fall detection. Demonstration. Talk about it.
In week 10, the second iteration of the fall detection code was created. The idea for the fall detection code was to take the dimentions of the frame thats placed around the person in the original code and compare the height vs the width of the frame. This would be a very simplistic aproch to figuring out if somone has fallen over. The existing code was modified so that the fall detection code was included:
This version of the program takes the values of “boxes” which is stored in the format of Xminium, Yminimum, Xmaximum and Ymaximum. The value of Yminimum is subtrackted from Ymaximum, this gives us the height of the box. The value of Xminimum is subtrackted from Xmaximum, this gives us the height of the box.
The program compares these two values and if the value of the width is higher for the value of the height then it adds 1 to the “fall” value. Once the fall value reaches 200 the console prints out fall, then resets the fall value to 0 and starts again.
Second Program iteration-(Human detection and fall detection)
import cv2


config_file = r'C:\Users\maxbr\Desktop\new fall detector\ssd_mobilenet_v3_large_coco_2020_01_14.pbtxt'
frozen_model = r'C:\Users\maxbr\Desktop\new fall detector\frozen_inference_graph.pb'
model = cv2.dnn_DetectionModel(frozen_model, config_file)

fall = 0
pause = 0


classLabels = [] ## empty list of python
file_name = r'C:\Users\maxbr\Desktop\new fall detector\labels.txt'
with open (file_name, r'rt') as fpt:
    classLabels = fpt.read().rstrip('\n').split('\n')
    #classLabels.append(fpt.read())

    print(classLabels)
    print(len(classLabels))

model.setInputSize(320, 320)
model.setInputScale(1.0/127.5) ## 255/2 = 127.5
model.setInputMean((127.5, 127.5, 127.5)) ## mobilenet => [-1, 1]
model.setInputSwapRB(True)


cap = cv2.VideoCapture(0)
if not cap.isOpened():
    raise IOError(r"Cannot open Cammera feed")

font_scale = 3
font = cv2.FONT_HERSHEY_PLAIN
#setting the size and font of the text

while True:
    ret, frame = cap.read()

    ClassIndex, confidence, bbox = model.detect(frame, confThreshold = 0.60) #this has the threshold that can be set to highter acuracy or lower accuracy

    print(ClassIndex)
    if (len(ClassIndex)!= 0):

        for ClassInd, conf, boxes in zip(ClassIndex.flatten(), confidence.flatten(), bbox):

            if (ClassInd<=1):
                cv2.rectangle(frame, boxes, (255, 0, 0), 2)# this adds a rectangle over the detected person

                x, y, x1, y1 = boxes #stored in the order xmin, ymin, ymax, xmax

                max_xy = (x1, y1)
                min_xy = (x, y)

                h = y1-y
                w = x1-x

                # if a pause is enacted after broadcast this will set the fall counter
                # to (0) to stop it from broadcasting again for a period of time.
                if pause >= 1:
                    fall = 0
                    pause -= 1

                # if the width of the frame is greater then the height of the frame
                # (1) is added to the total of the variable 'fall'.
                if h < w:
                    fall += 1
                # if the height of the frame is greater then the width of the frame
                # the variable 'fall' is set to zero.
                if h > w:
                    fall = 0

                    print(message.sid)
                    fall = 0
                    pause = 2000
                    print("FALL")


                print(max_xy)
                print(min_xy)

                print("reading:", fall, "/200", " height:", h, " width:", w)


                #this adds the text to the top of the frame of the detection stating what it is
                text = f' {classLabels[ClassInd - 1]} : {round(float(conf*100))}%'# rounds the confidence number to 2 decimal places. the confidence number is multiplyed by 100 to make it into a percentage
                cv2.putText(frame, text, (boxes[0] + 10, boxes[1] + 40), font, fontScale=font_scale, color=(0, 255, 0), thickness=3)


    cv2.imshow('fall detection', frame)

    if cv2.waitKey(2) & 0xFF == ord('q'):
        break

cap.release()
cv2.destroyAllWindows()
Week 11: 28th – 3rd
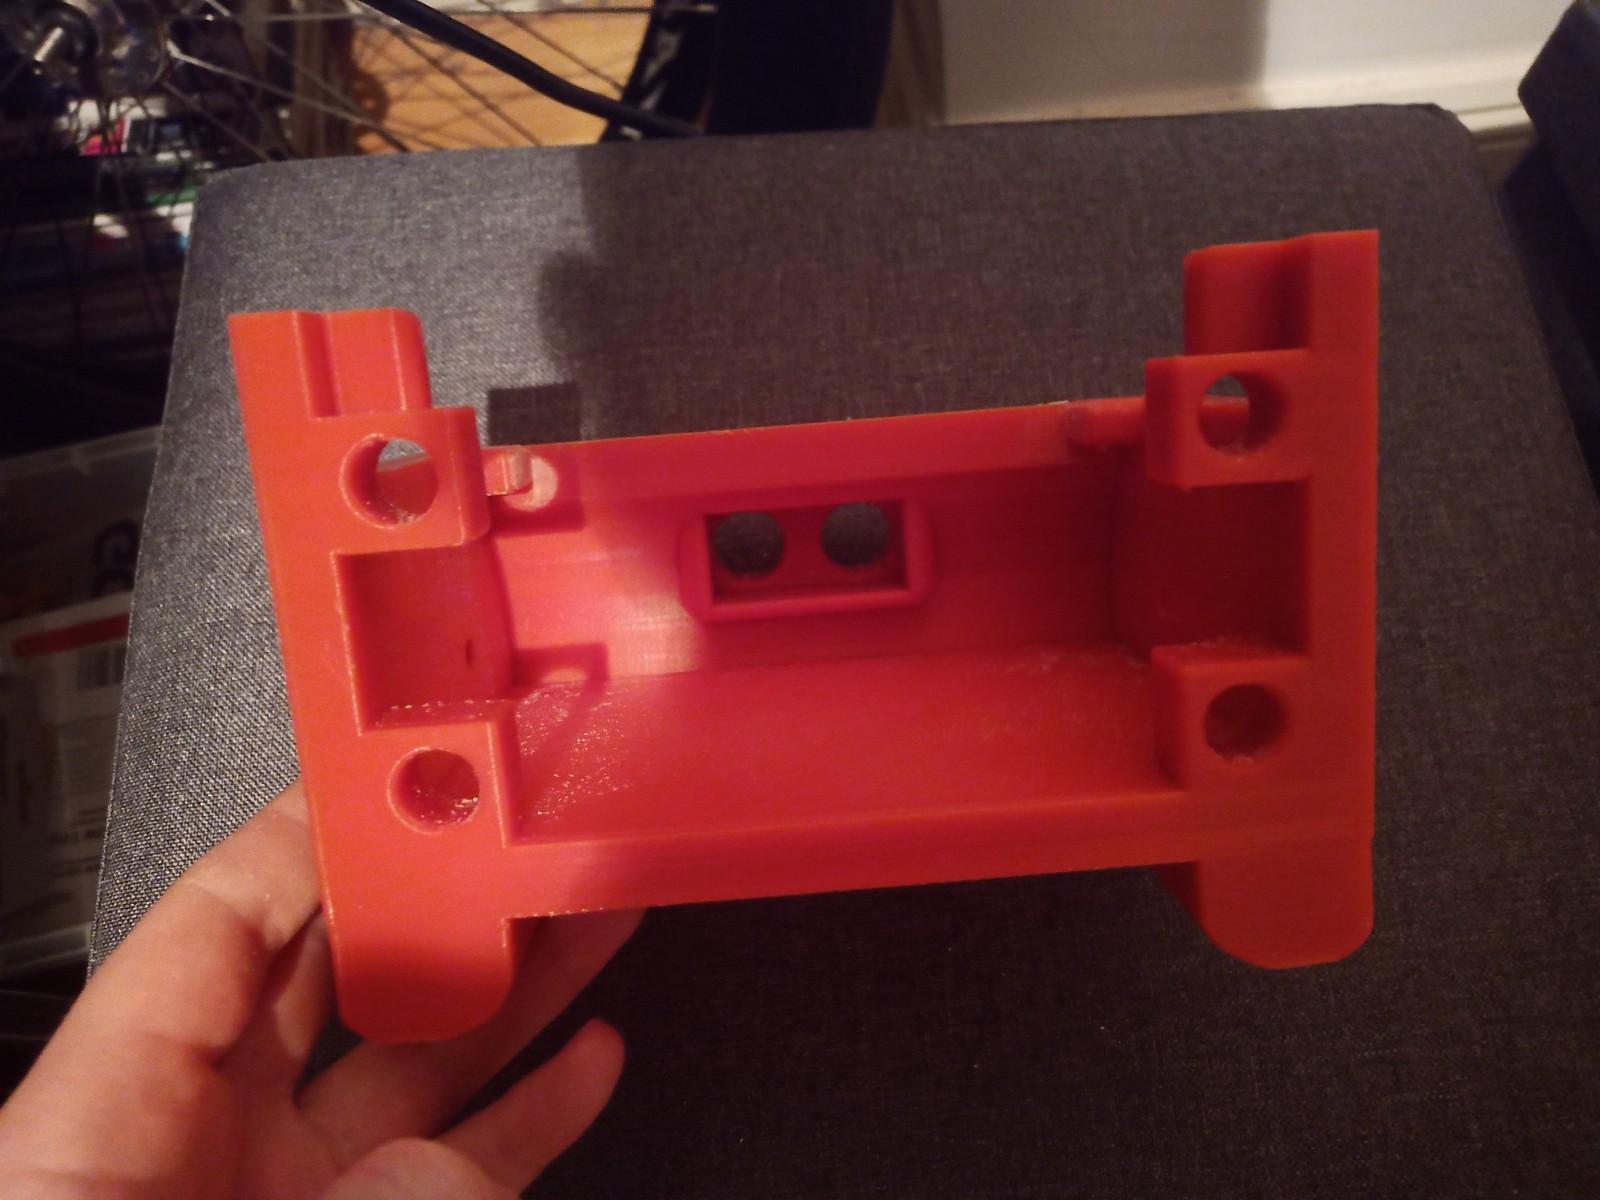
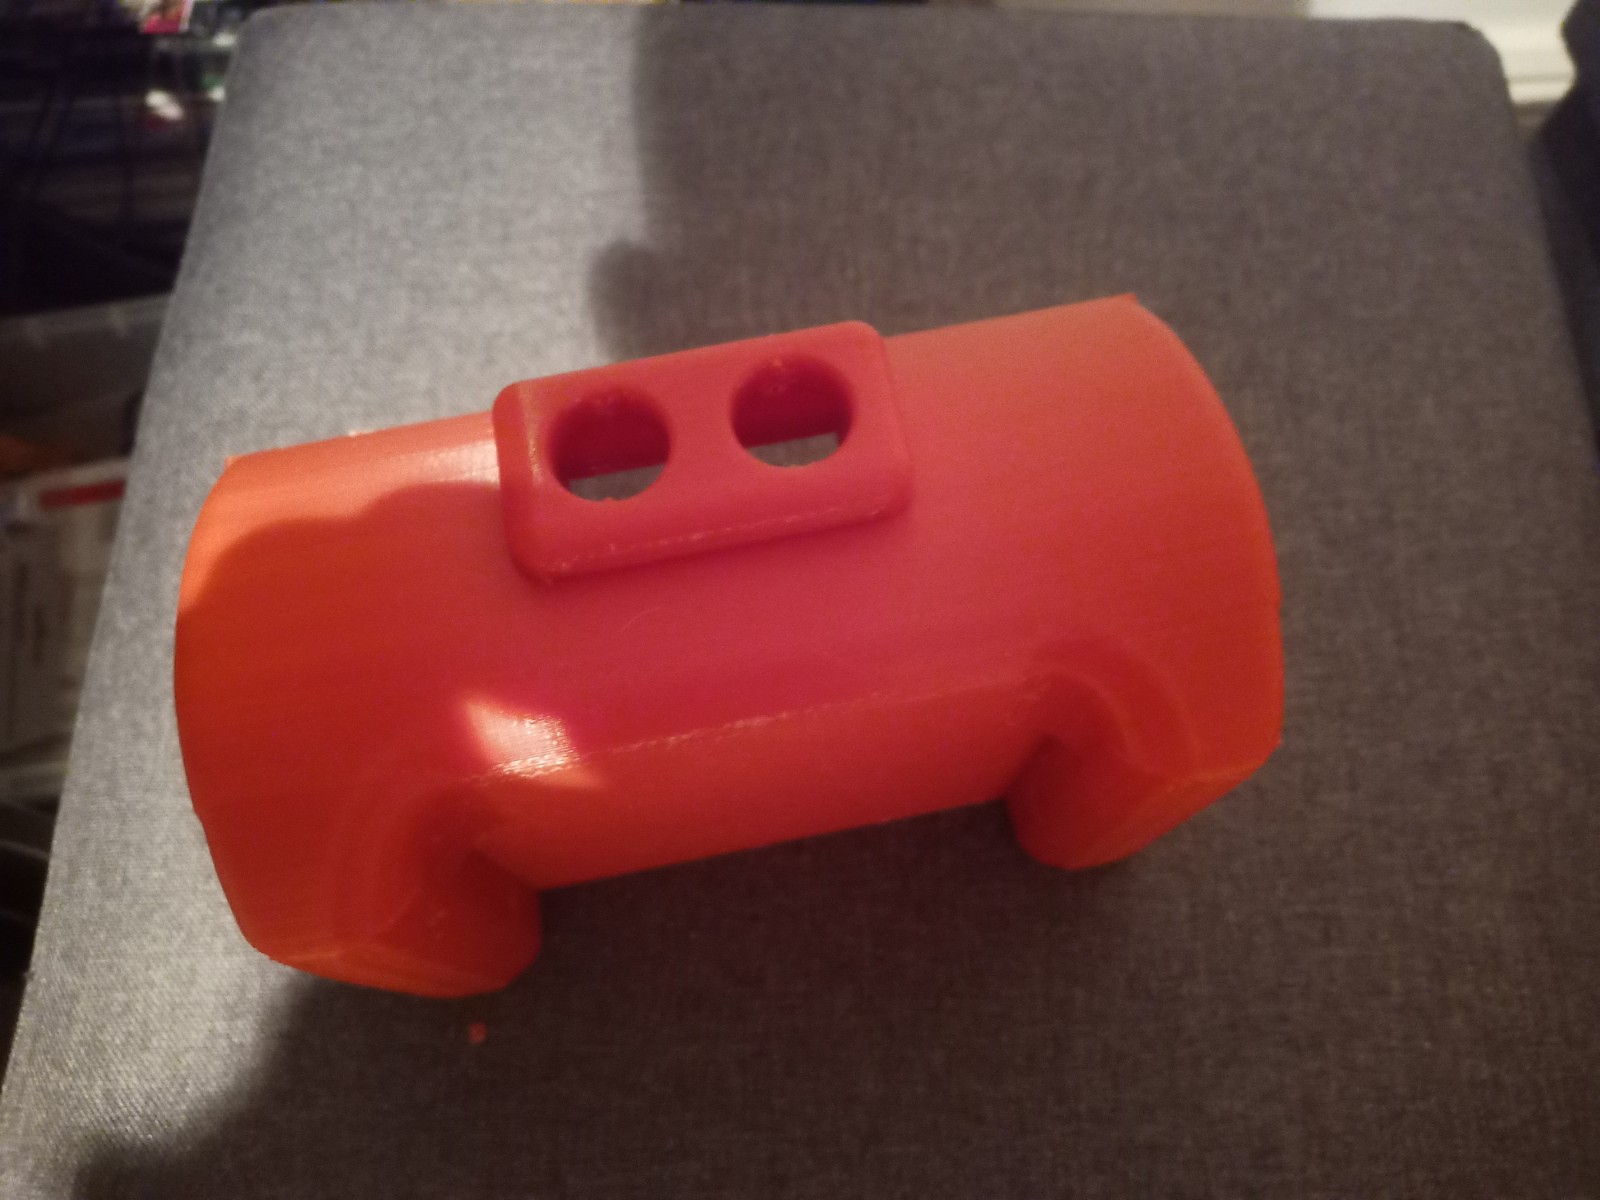
Start printing parts talk about results. Ie part failures and the dimensions.
Some more parts were printed and then reprinted after some mistakes were realised. On the front of the tracked chassis the area for the ultrasonic sensor was too small and the printer settings made the part quite fragile. The botom part where the wheel axils was rounded making it dificult to insert nuts into. this was the same for the middle part and the end part of the robot frame.
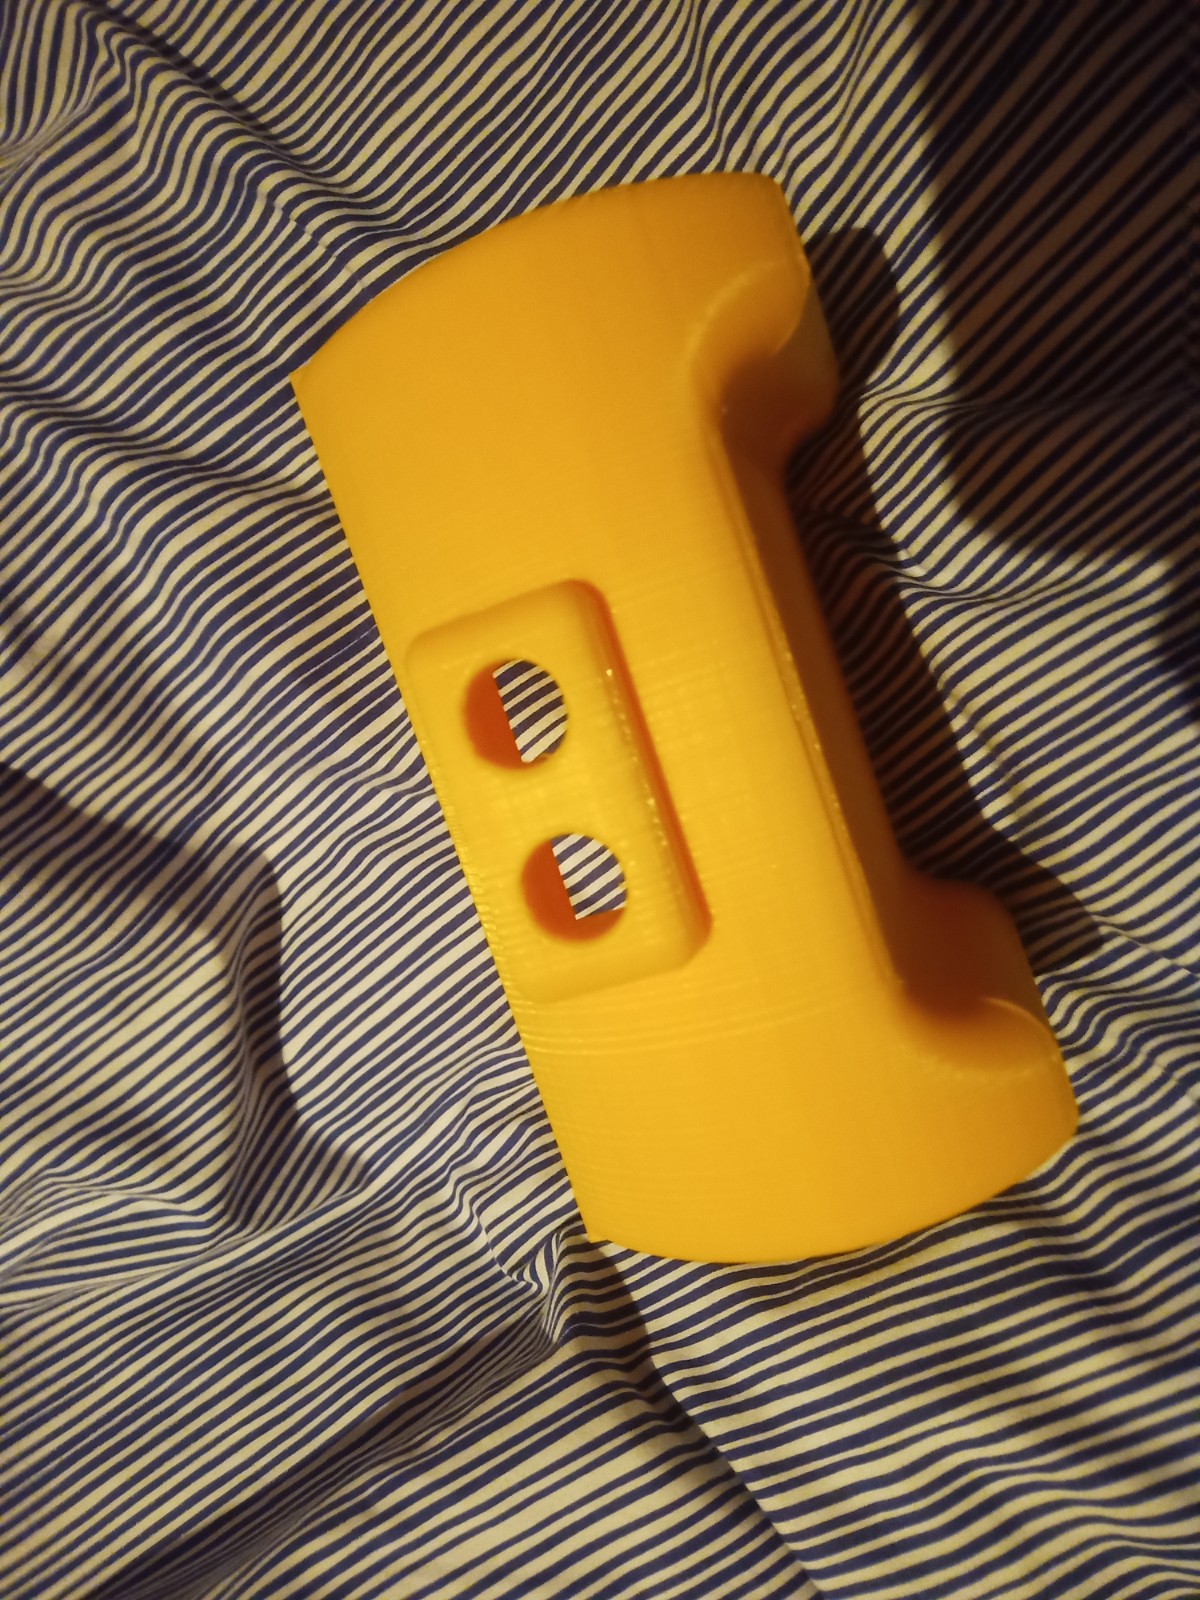
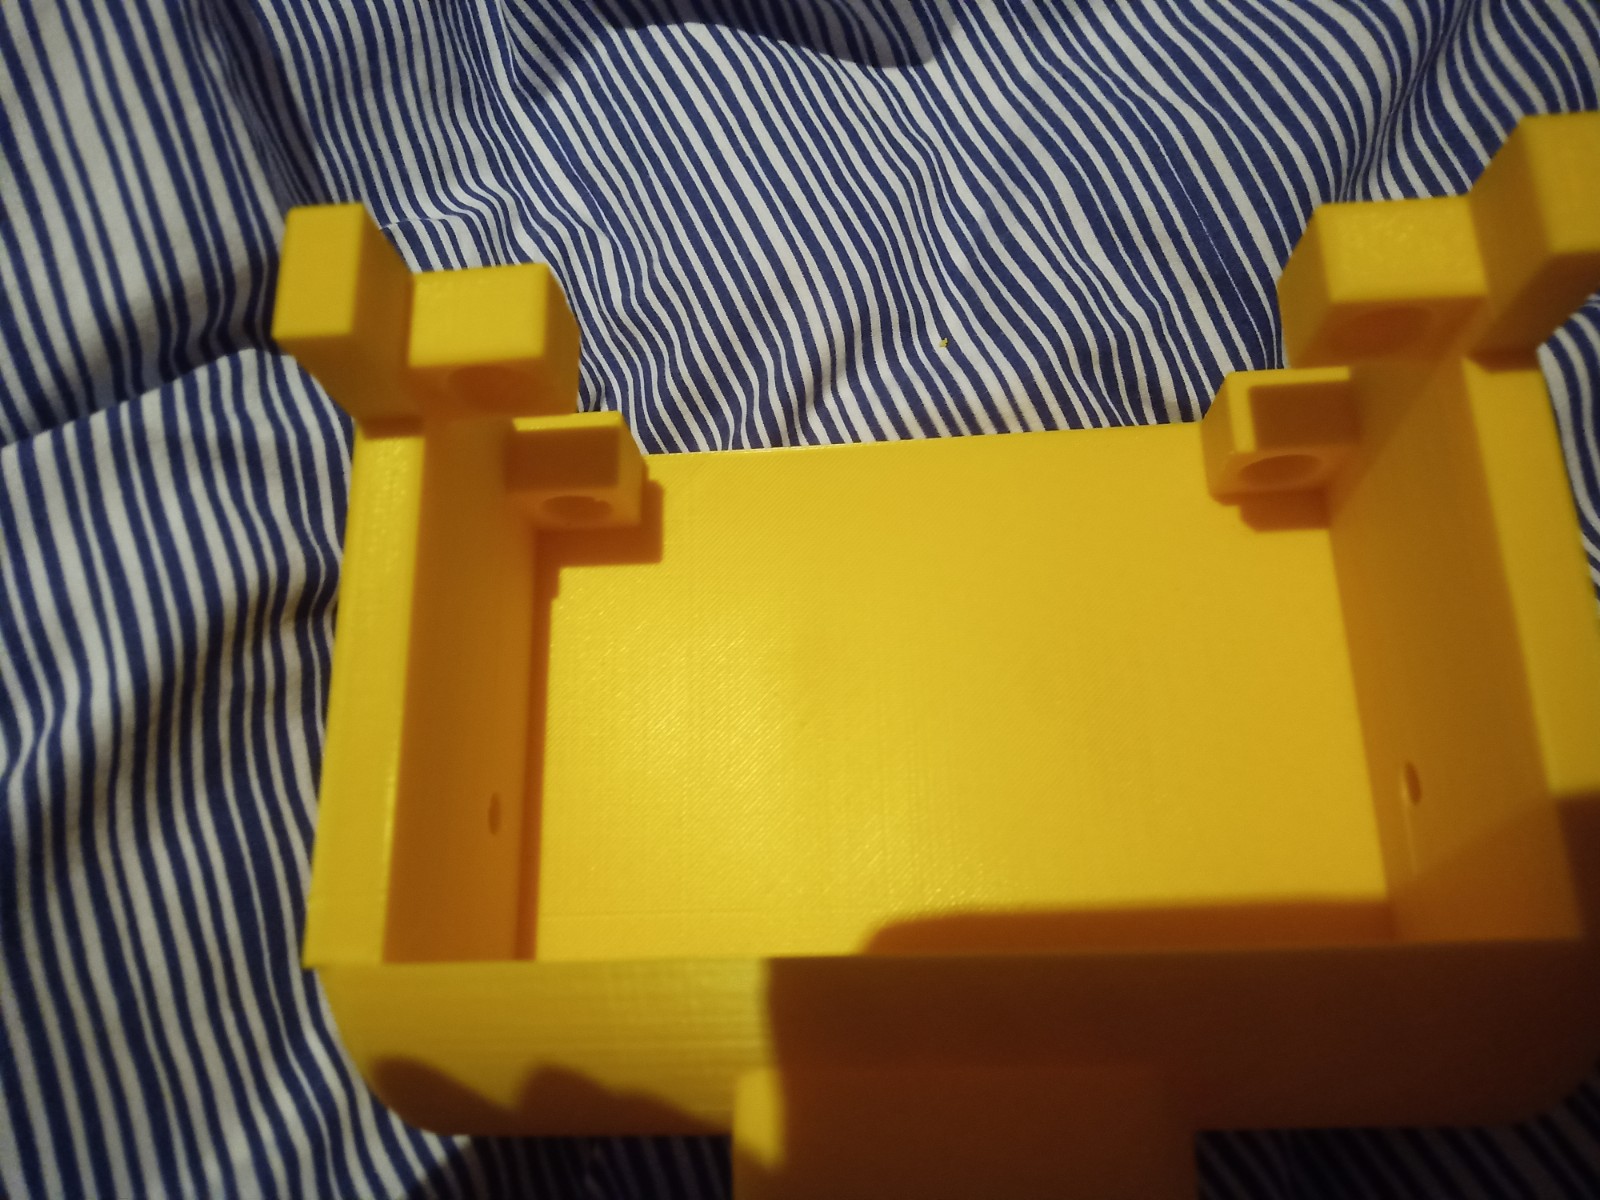
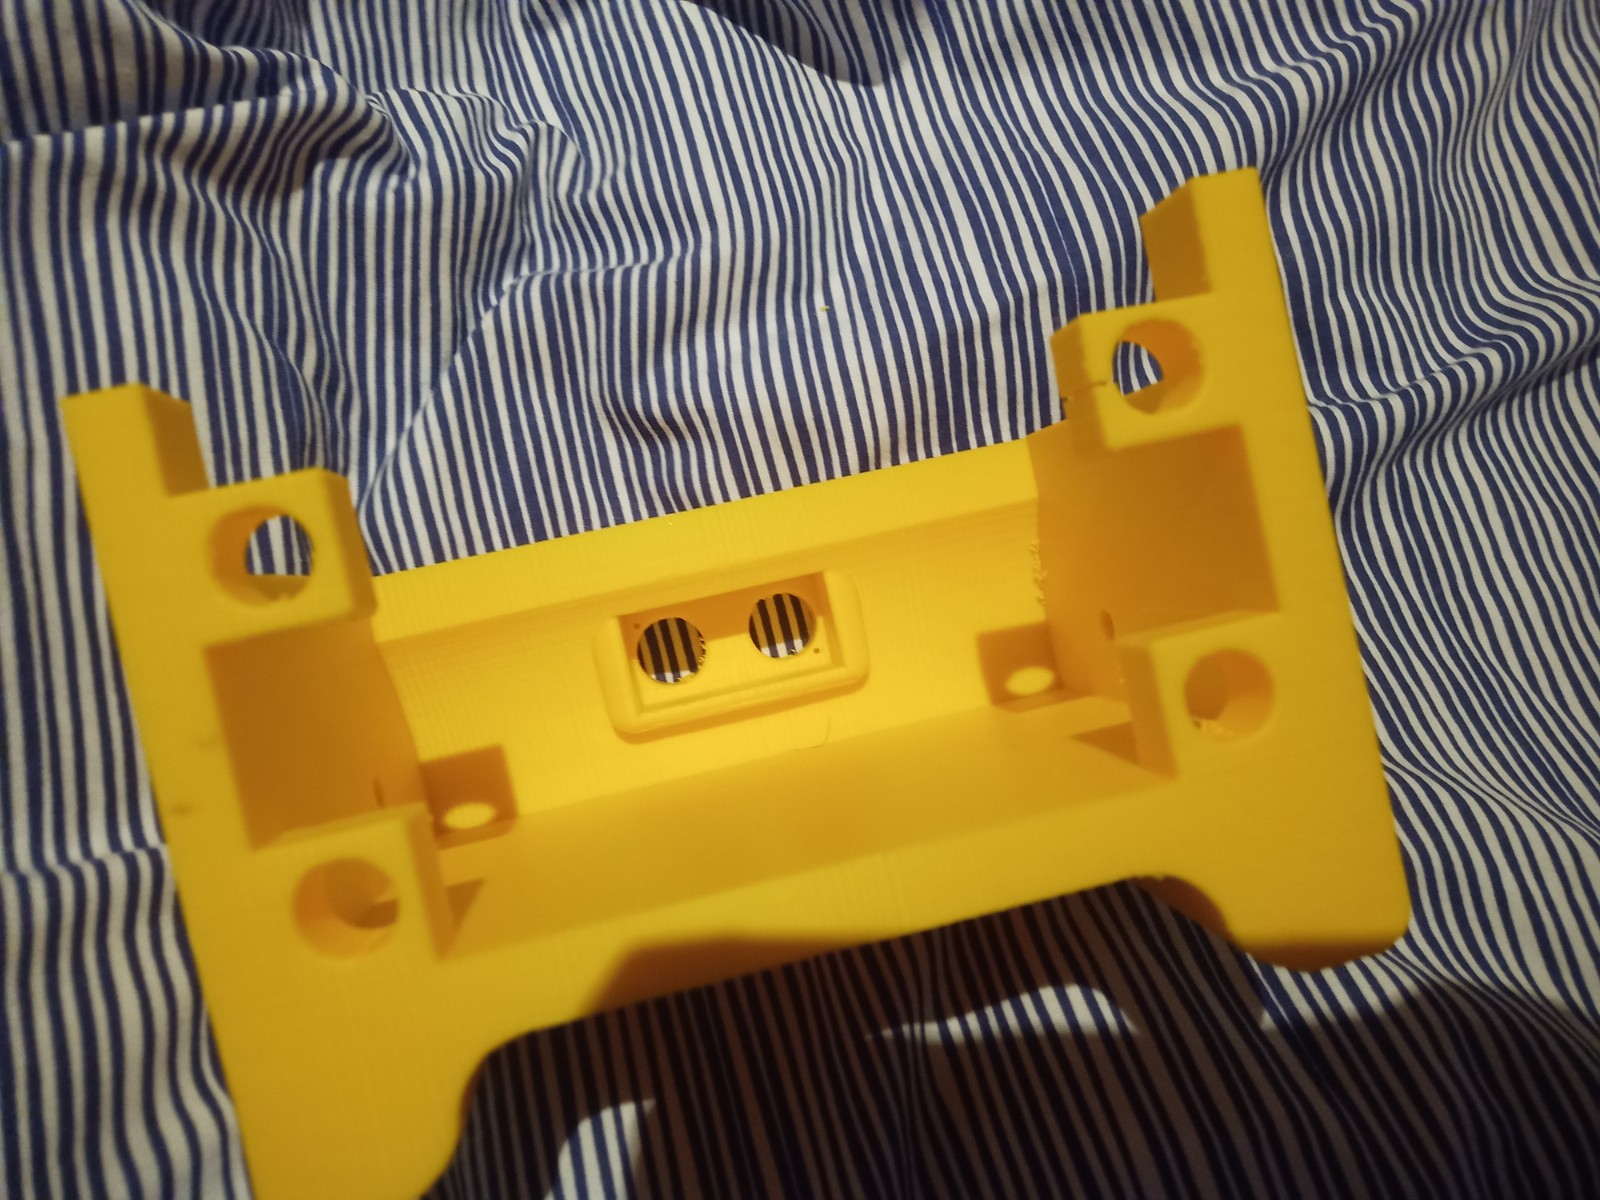
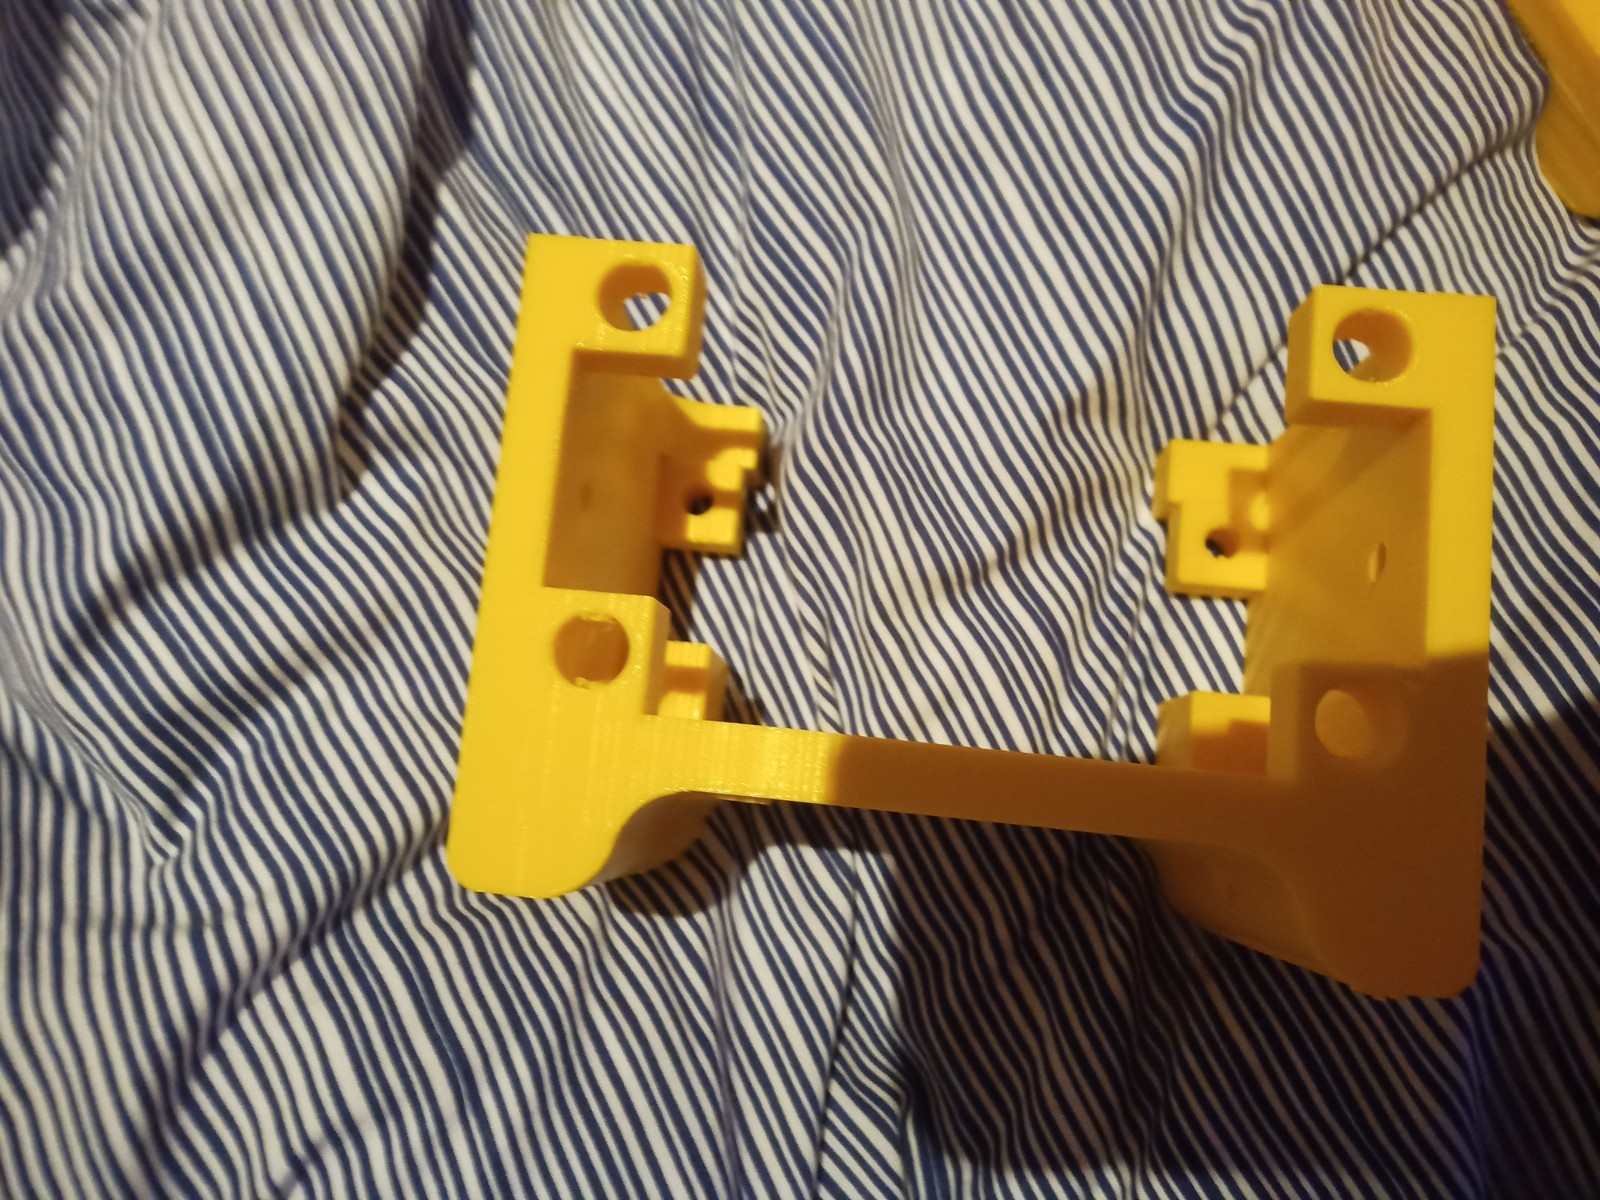
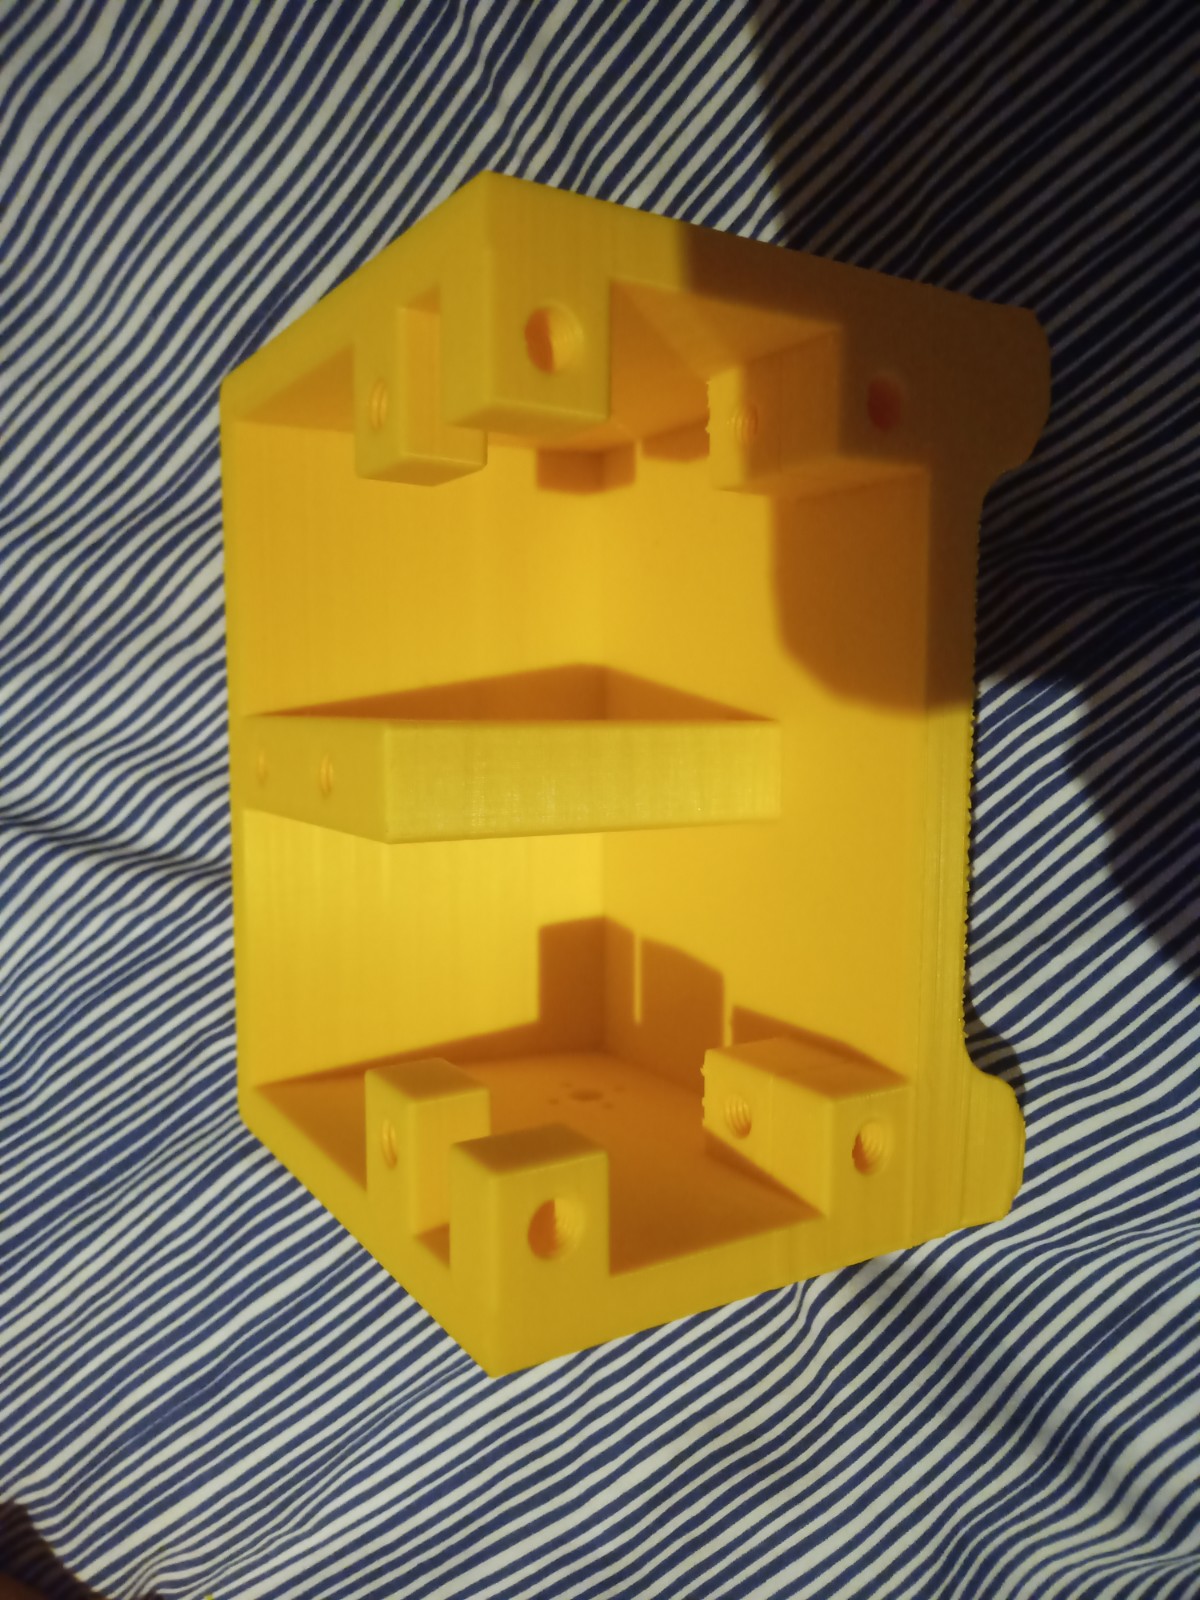
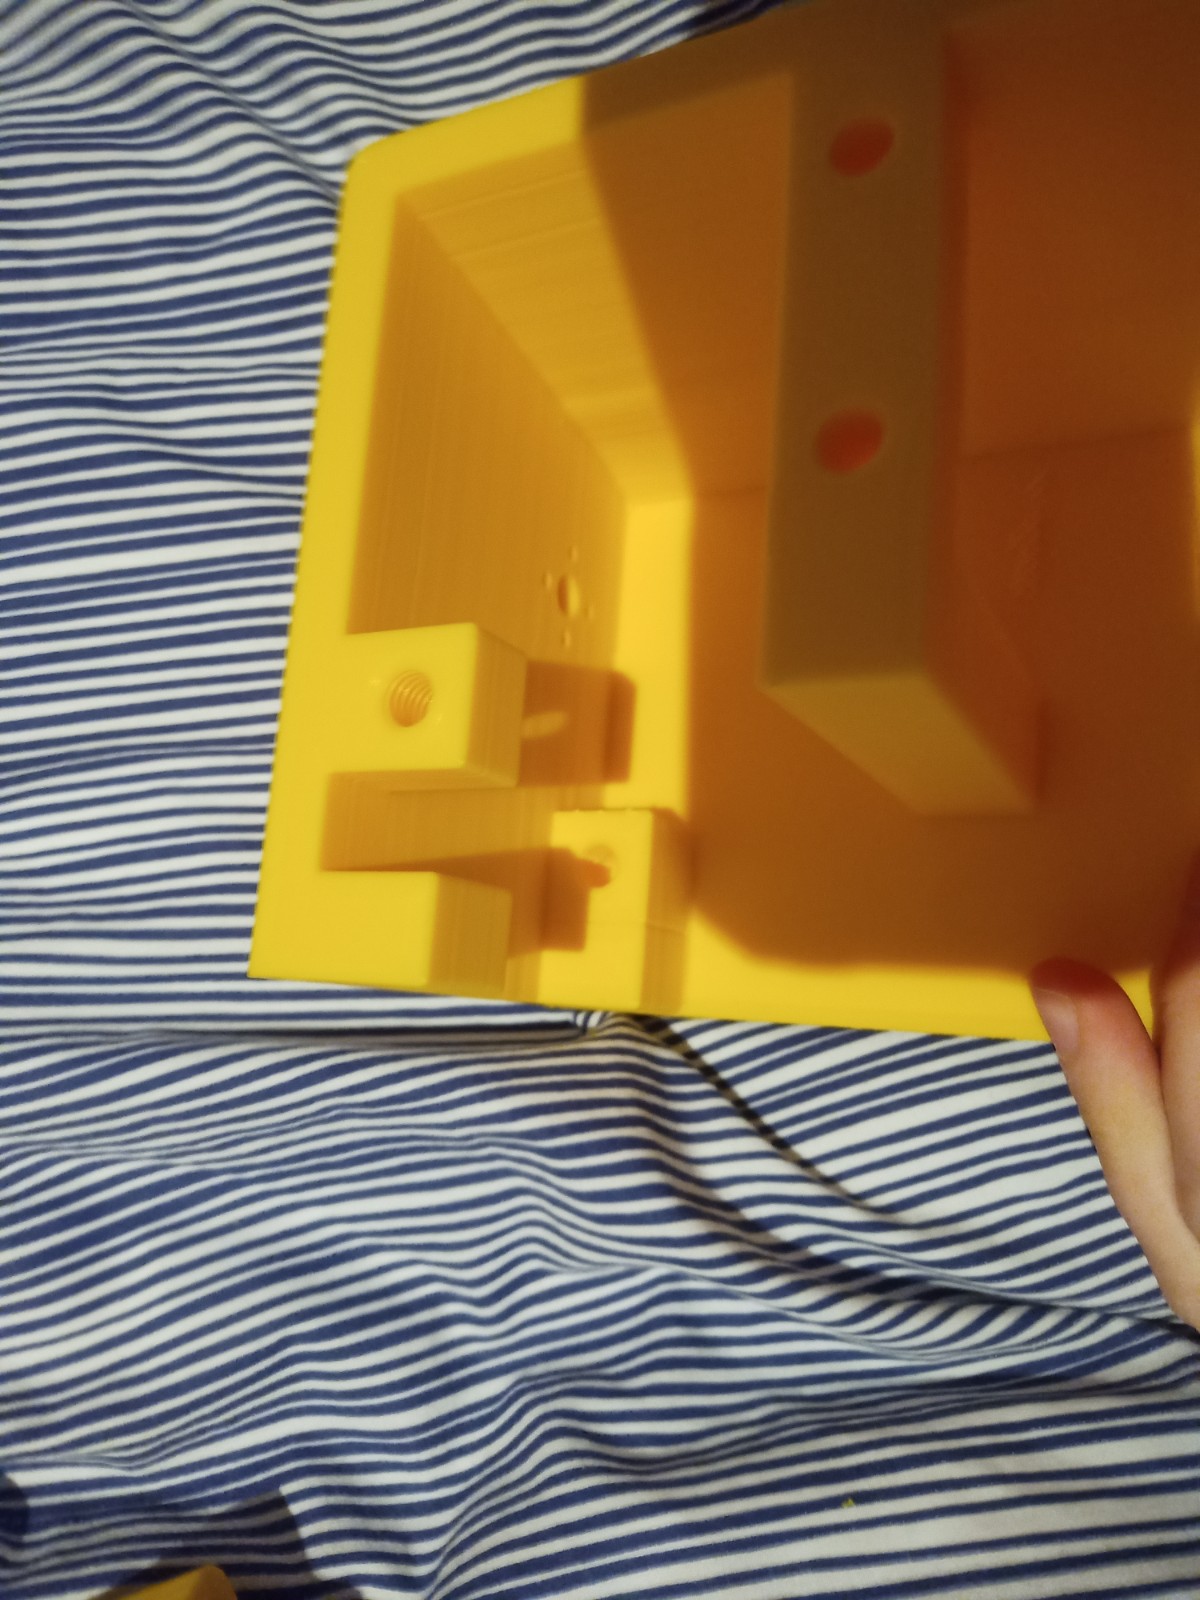
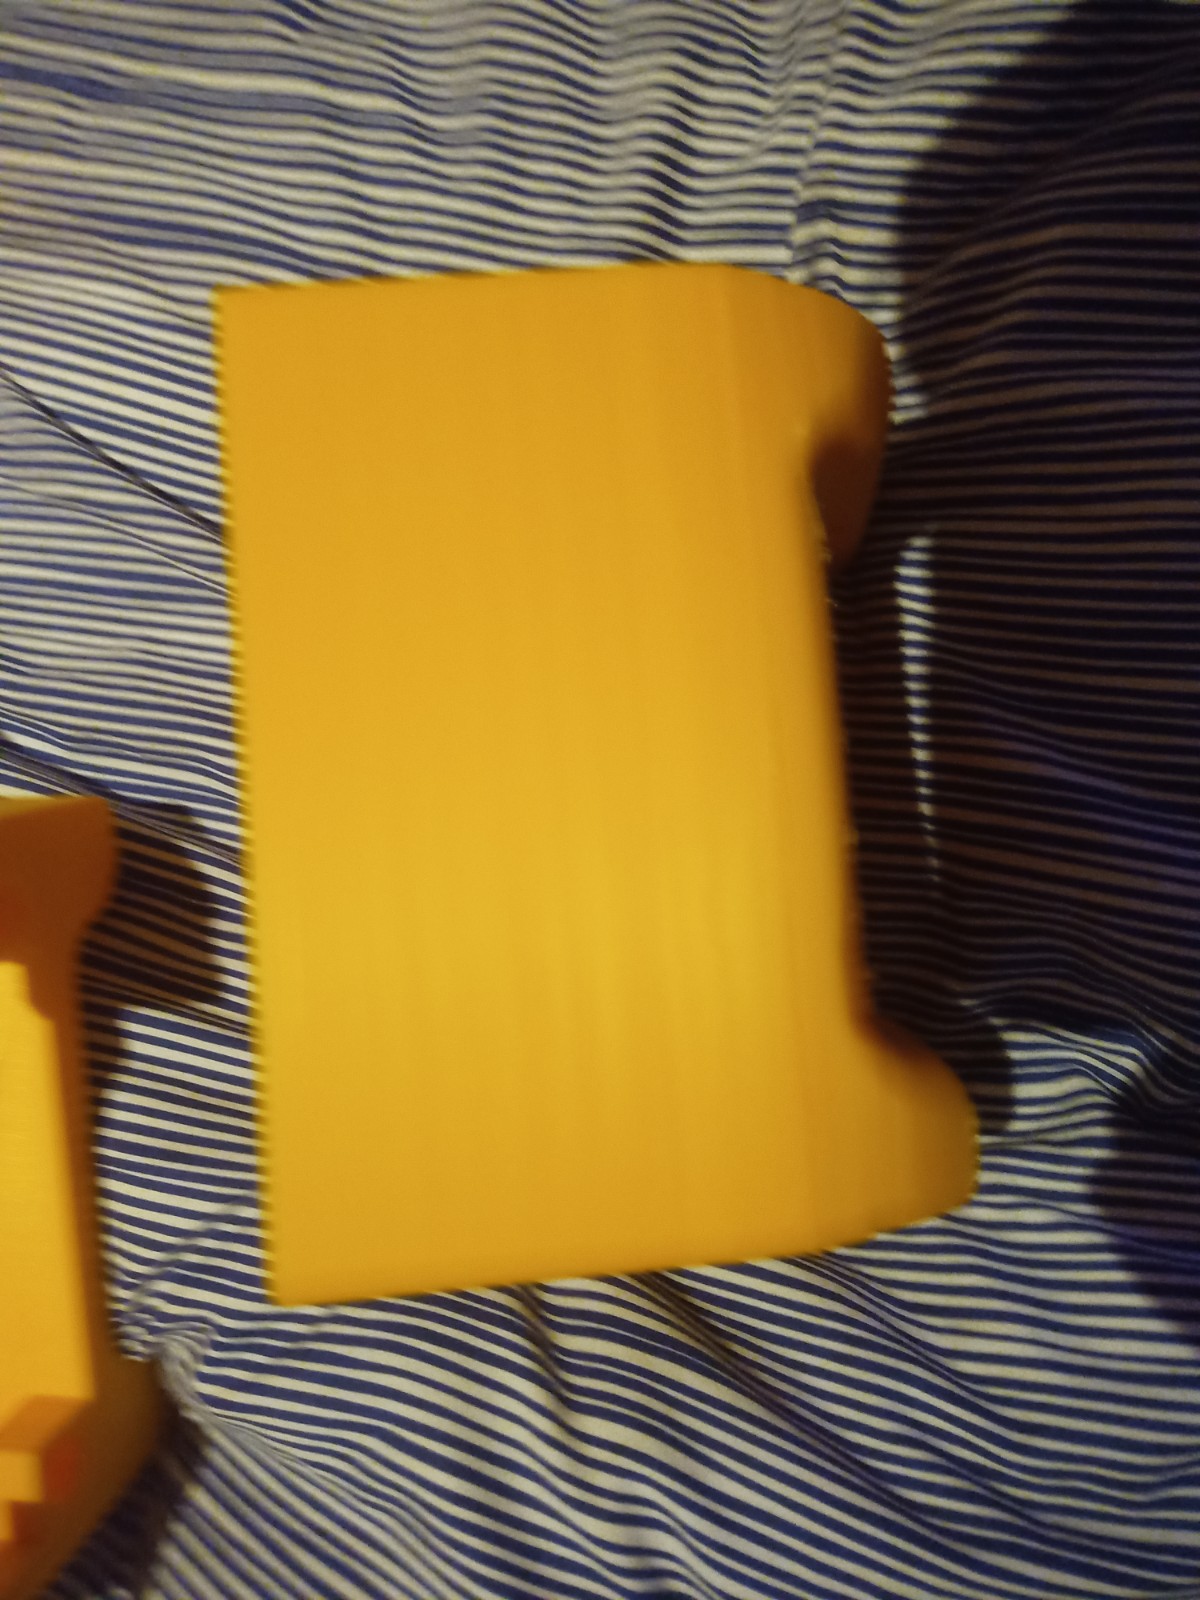
Figure 16 – Various failed parts
Week 12: 4th -10th
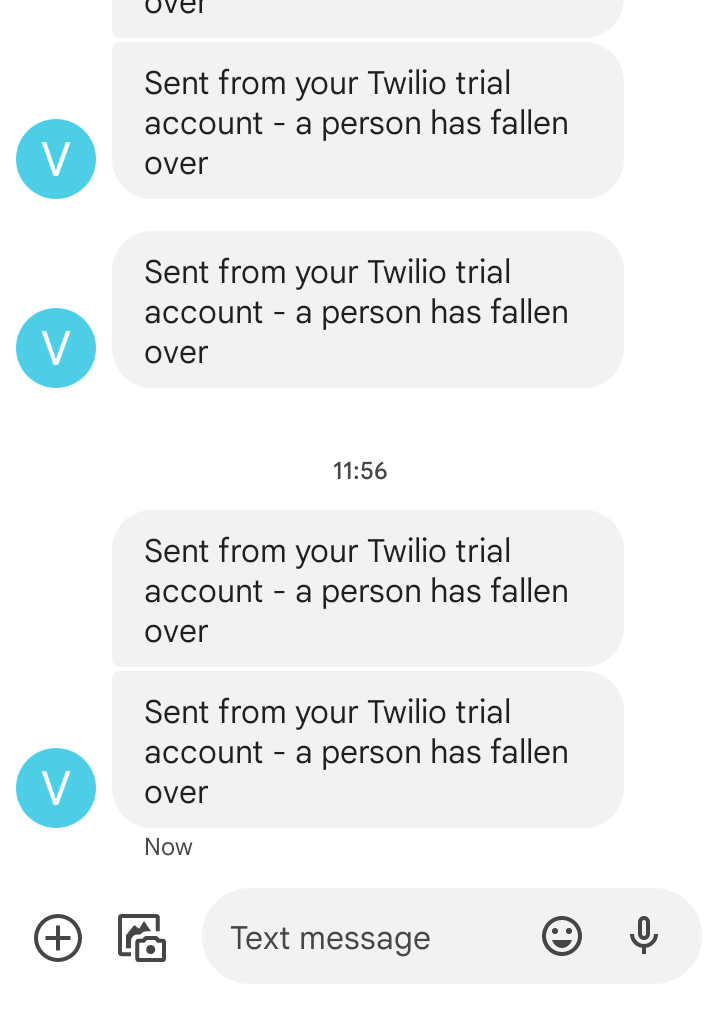
Second version of the human detection code with fall detection. This version has the twillo api to send text messages. Talk about how the Twilo api only allows MMS in Canada and USA and does not function in Europe or Ireland. Demonstration. Talk about it.
In week 12 the second version of the human detection code with fall detection was created. To broadcast the message that the person had fallen over, the Twilo api was used. Twilo are a company that creates tools to send messages over the internet such as sms and mms.
However I realised that I could not send a photo with Twilo as the MMS service was limited to the USA and Canada. However I discoved an alternative method where I could send the photo and message via email. So in this instance a photo is taken from the camera and sent to a predetemined email address with the fall over message. I also included the Twillo text message aswell as the email.
import cv2

from twilio.rest import Client
import time
import pyautogui
import smtplib
import imghdr
from email.message import EmailMessage


config_file = r'C:\Users\maxbr\Desktop\new fall detector\ssd_mobilenet_v3_large_coco_2020_01_14.pbtxt'
frozen_model = r'C:\Users\maxbr\Desktop\new fall detector\frozen_inference_graph.pb'
model = cv2.dnn_DetectionModel(frozen_model, config_file)

fall = 0
pause = 0


classLabels = [] ## empty list of python
file_name = r'C:\Users\maxbr\Desktop\new fall detector\labels.txt'
with open (file_name, r'rt') as fpt:
    classLabels = fpt.read().rstrip('\n').split('\n')
    #classLabels.append(fpt.read())

    print(classLabels)
    print(len(classLabels))

model.setInputSize(320, 320)
model.setInputScale(1.0/127.5) ## 255/2 = 127.5
model.setInputMean((127.5, 127.5, 127.5)) ## mobilenet => [-1, 1]
model.setInputSwapRB(True)


cap = cv2.VideoCapture(0)
if not cap.isOpened():
    raise IOError(r"Cannot open Cammera feed")

font_scale = 3
font = cv2.FONT_HERSHEY_PLAIN
#setting the size and font of the text

while True:
    ret, frame = cap.read()

    ClassIndex, confidence, bbox = model.detect(frame, confThreshold = 0.60) #this has the threshold that can be set to highter acuracy or lower accuracy

    print(ClassIndex)
    if (len(ClassIndex)!= 0):

        for ClassInd, conf, boxes in zip(ClassIndex.flatten(), confidence.flatten(), bbox):

            if (ClassInd<=1):
                cv2.rectangle(frame, boxes, (255, 0, 0), 2)# this adds a rectangle over the detected person

                x, y, x1, y1 = boxes #stored in the order xmin, ymin, ymax, xmax

                max_xy = (x1, y1)
                min_xy = (x, y)

                h = y1-y
                w = x1-x

                # if a pause is enacted after broadcast this will set the fall counter
                # to (0) to stop it from broadcasting again for a period of time.
                if pause >= 1:
                    fall = 0
                    pause -= 1

                # if the width of the frame is greater then the height of the frame
                # (1) is added to the total of the variable 'fall'.
                if h < w:
                    fall += 1
                # if the height of the frame is greater then the width of the frame
                # the variable 'fall' is set to zero.
                if h > w:
                    fall = 0

                if fall >= 200:
                    # Find your Account SID and Auth Token at twilio.com/console
                    # and set the environment variables. See http://twil.io/secure
                   # sct = mss()
                  #  sct_img = sct.grab(cap)
                   # sct_img.save(r'C:\Users\maxbr\Desktop\screenshot_1.png')
                  #  screenshot = mss.mss().grab(cap)
                   # myScreenshot = pyautogui.screenshot(frame)
                   # myScreenshot.save(r'C:\Users\maxbr\Desktop\screenshot_1.png')
                    #account_sid = os.environ['Redacted']
                    #auth_token = os.environ['Redacted']
                    account_sid = 'Redacted'
                    auth_token = 'Redacted'
                    client = Client(account_sid, auth_token)

                    message = client.messages.create(
                        body="a person has fallen over",
                        from_='Redacted',
                        to='Redacted'


                    )

                    # to send email with photo
                    Sender_Email = "Redacted"
                    Reciever_Email = "Redacted"
                    Password = "Redacted"

                    newMessage = EmailMessage()
                    newMessage['Subject'] = "Alert(person fell over)"
                    newMessage['From'] = Sender_Email
                    newMessage['To'] = Reciever_Email
                    newMessage.set_content('Person fell over. Image attached!')

                    with open('C:/Users/maxbr/Desktop/screenshot_1.png', 'rb') as f:
                        image_data = f.read()
                    image_type = imghdr.what(f.name)
                    image_name = f.name

                    newMessage.add_attachment(image_data, maintype='image', subtype=image_type, filename=image_name)

                    with smtplib.SMTP_SSL('smtp.gmail.com', 465) as smtp:
                        smtp.login(Sender_Email, Password)
                        smtp.send_message(newMessage)

                    print(message.sid)
                    fall = 0
                    pause = 2000
                    print("FALL")


                print(max_xy)
                print(min_xy)

                print("reading:", fall, "/200", " height:", h, " width:", w)


                #the person has been on the floor and the counter has reached (200).
                #this will send a text message to the persons cose contact.
               # if fall >= 200:
                    #message = client.messages\
                    #    .create(
                     #    body = 'a person has fallen over, please go help them',
                    #    from_=twilio_number,
                   #     to=my_number
                   #  )


                #this adds the text to the top of the frame of the detection stating what it is
                text = f' {classLabels[ClassInd - 1]} : {round(float(conf*100))}%'# rounds the confidence number to 2 decimal places. the confidence number is multiplyed by 100 to make it into a percentage
                cv2.putText(frame, text, (boxes[0] + 10, boxes[1] + 40), font, fontScale=font_scale, color=(0, 255, 0), thickness=3)


    cv2.imshow('fall detection', frame)

    if cv2.waitKey(2) & 0xFF == ord('q'):
        break

cap.release()
cv2.destroyAllWindows()
Week 13: 11th -17th
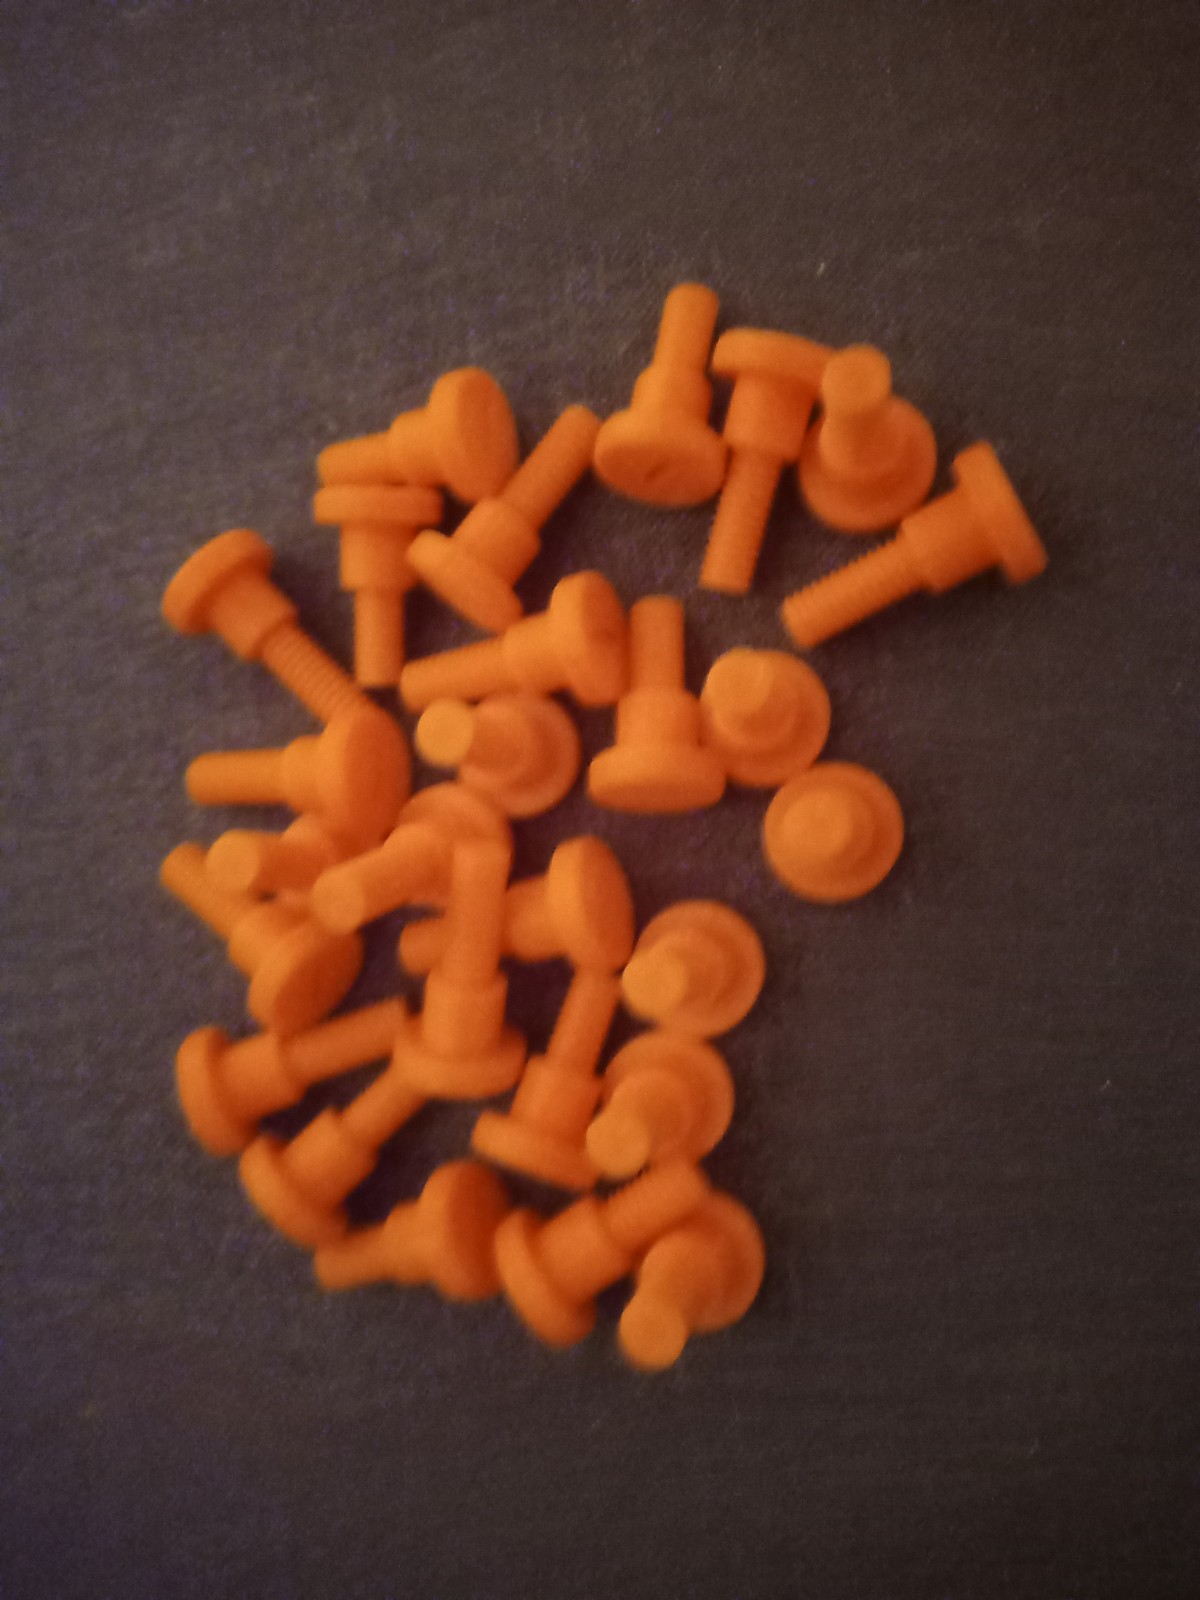
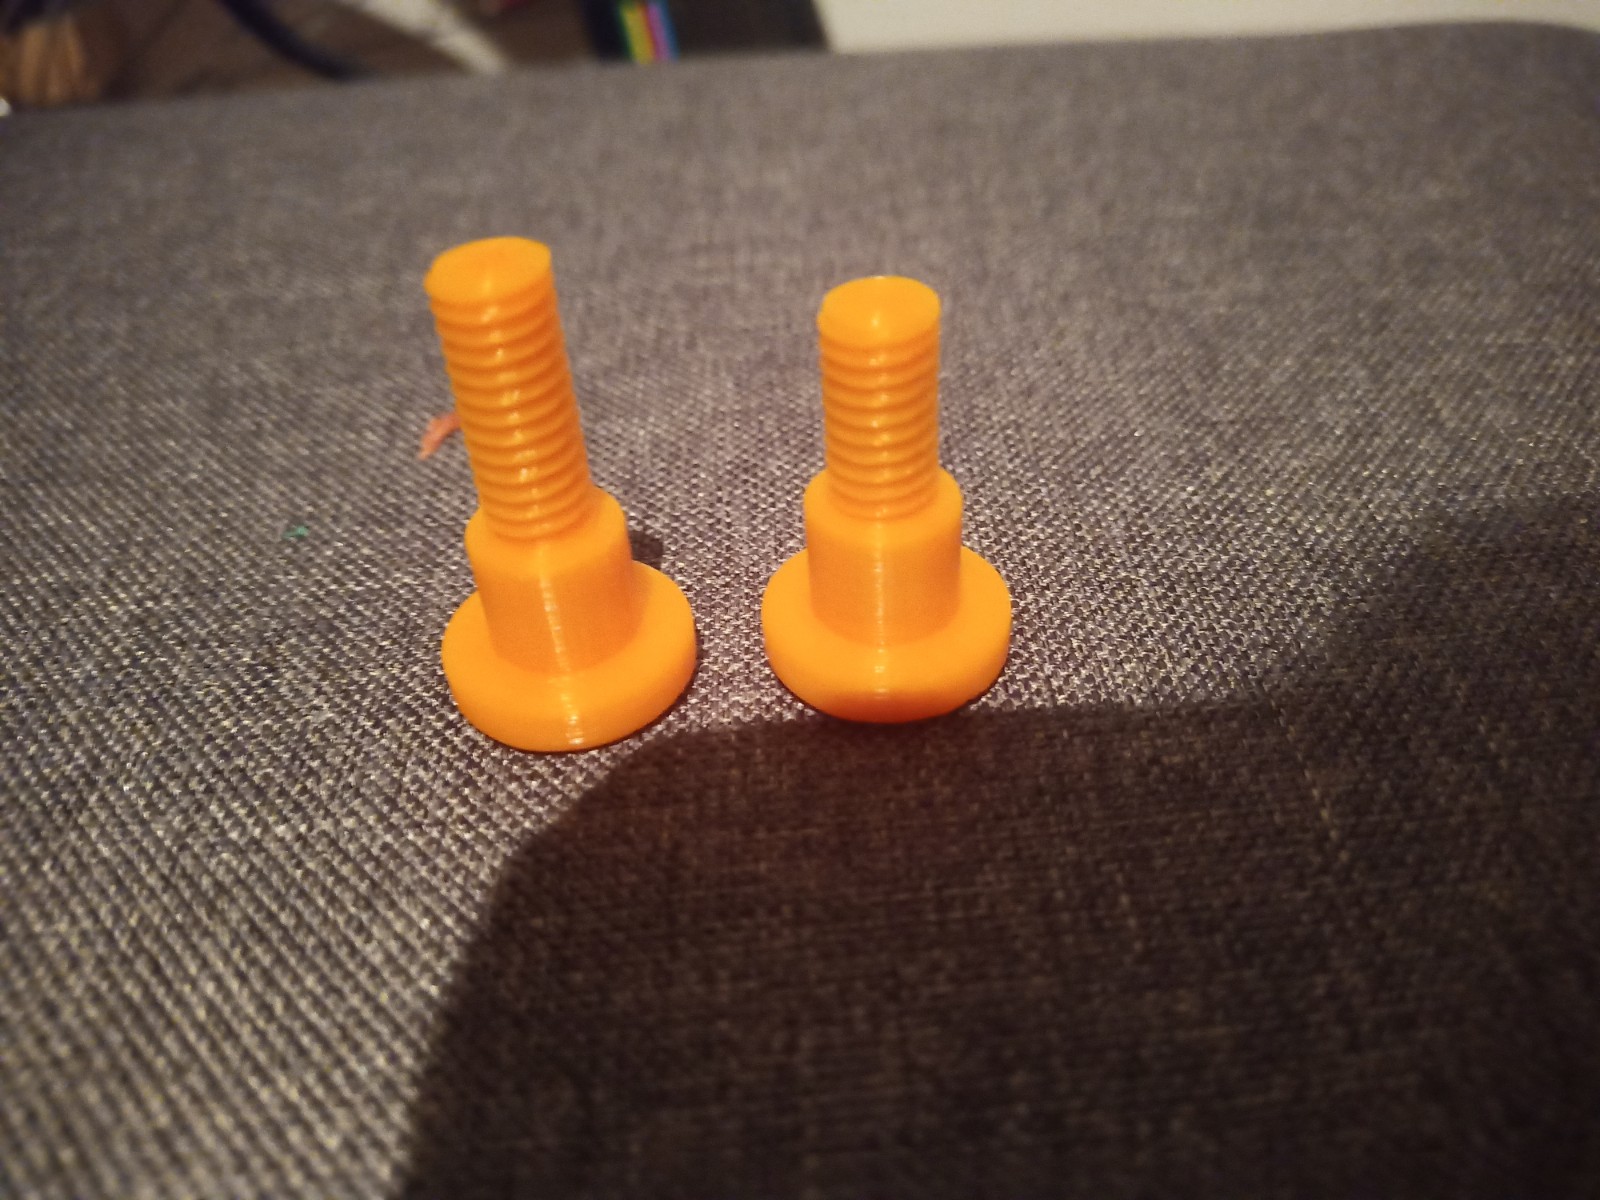
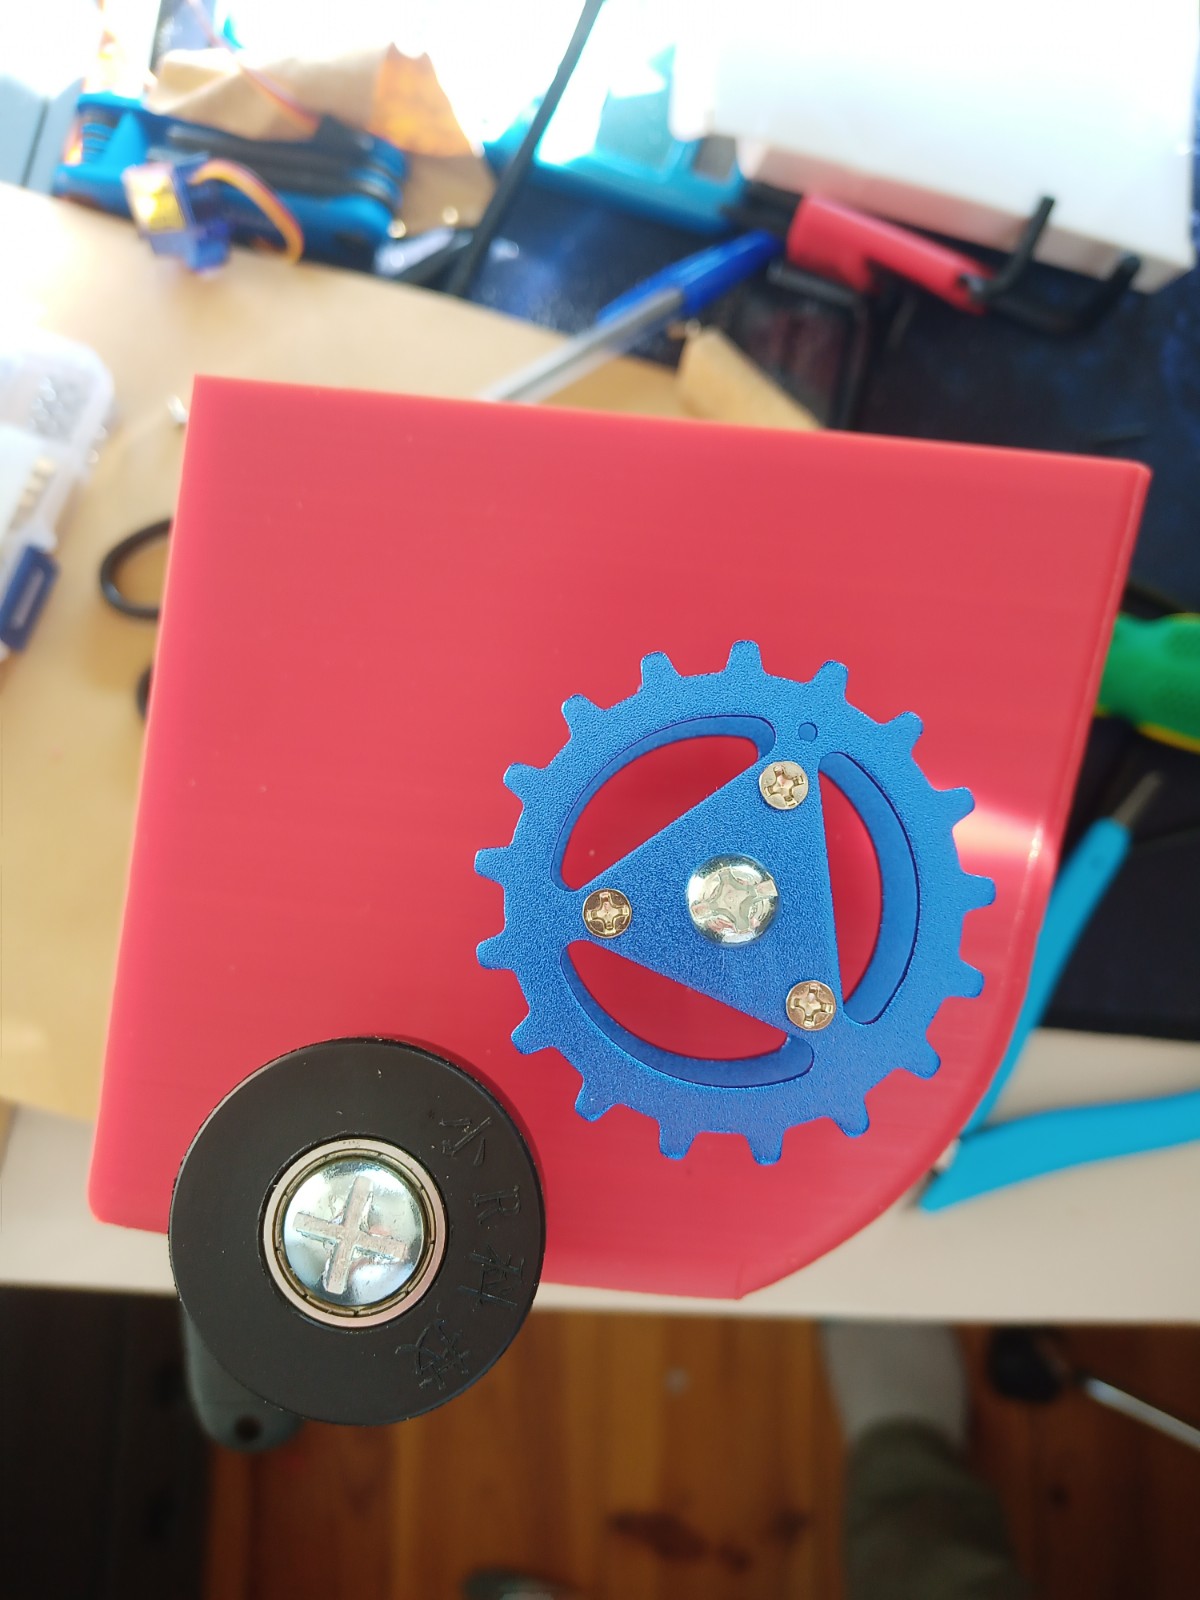
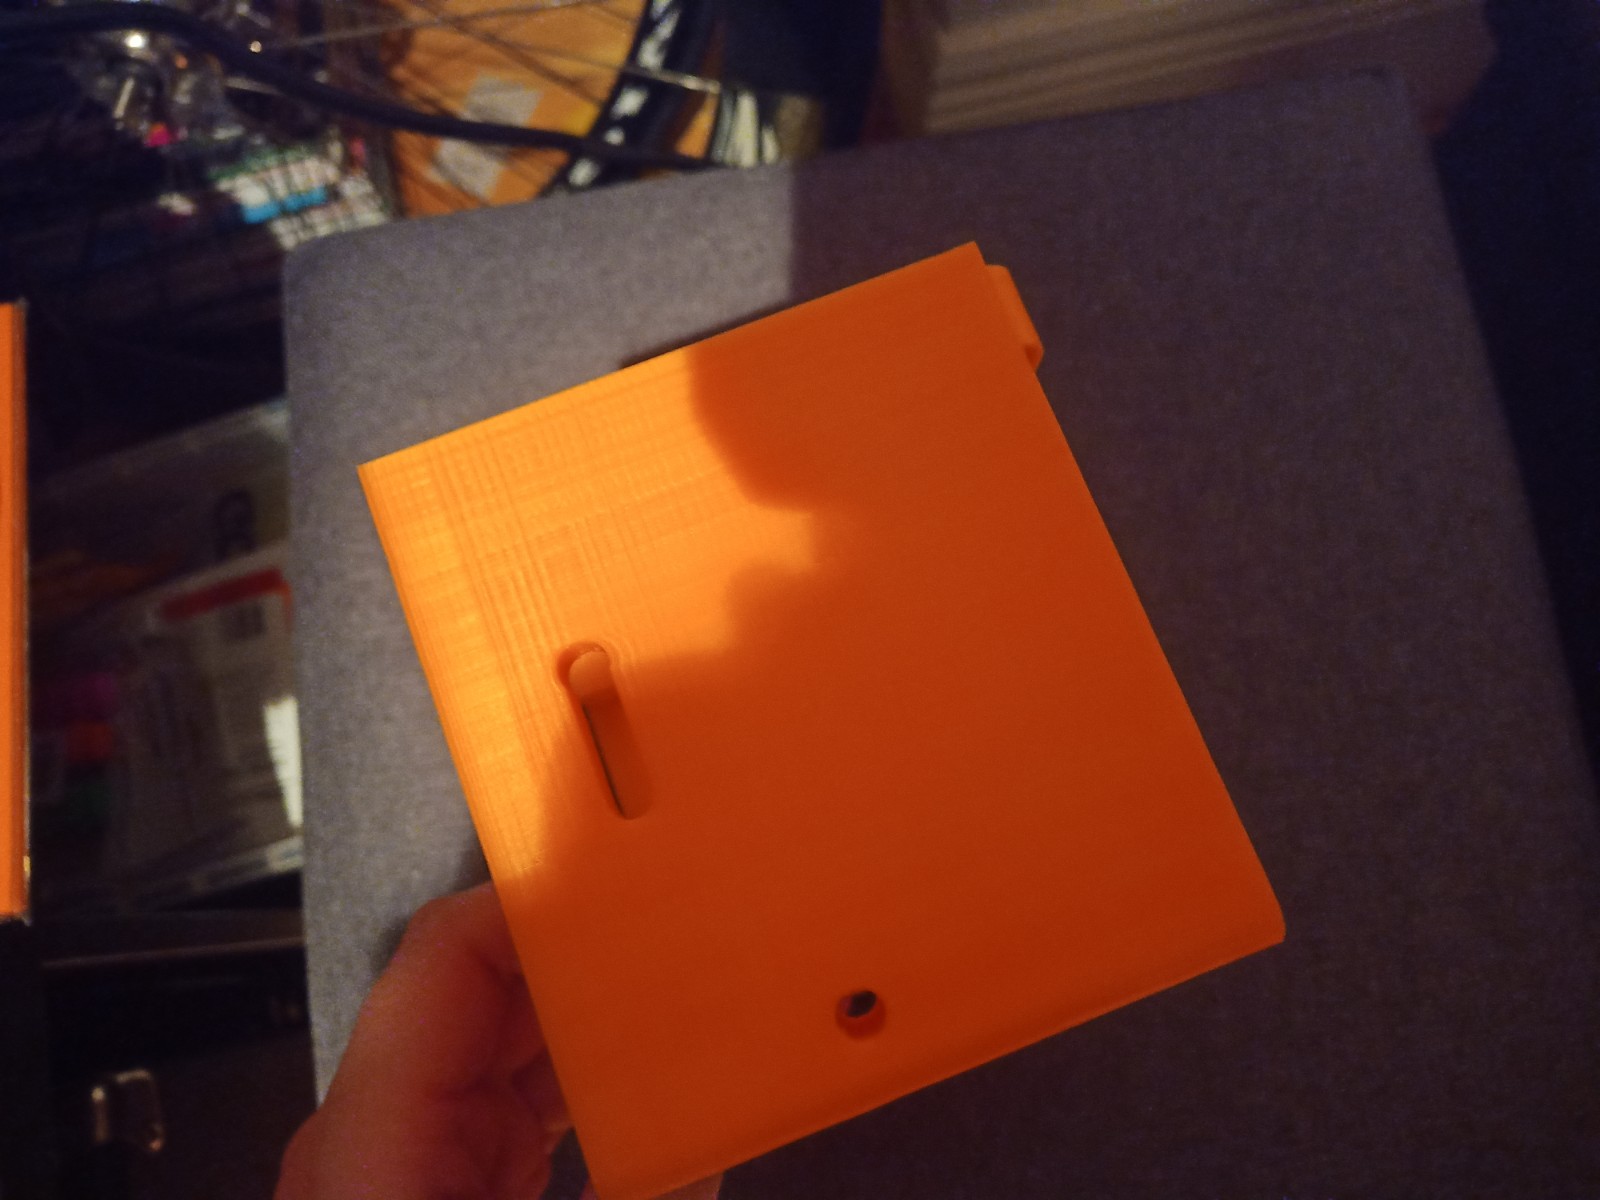
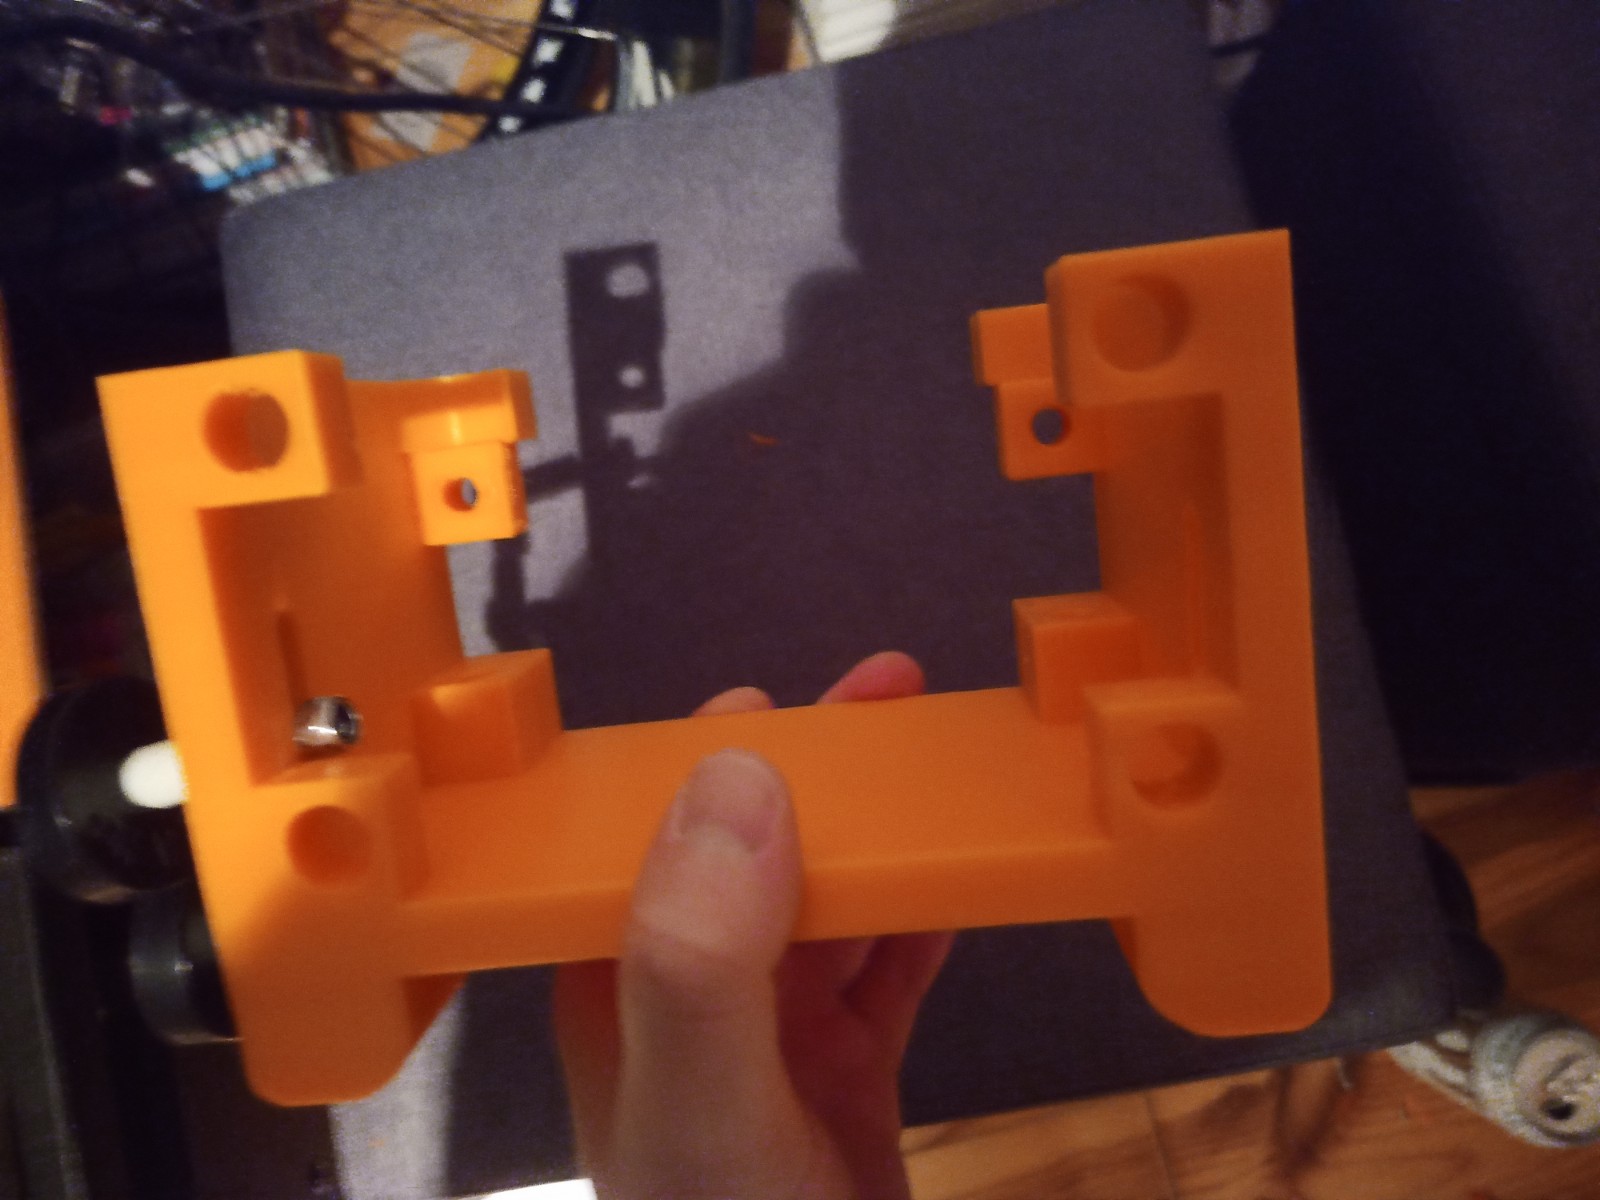
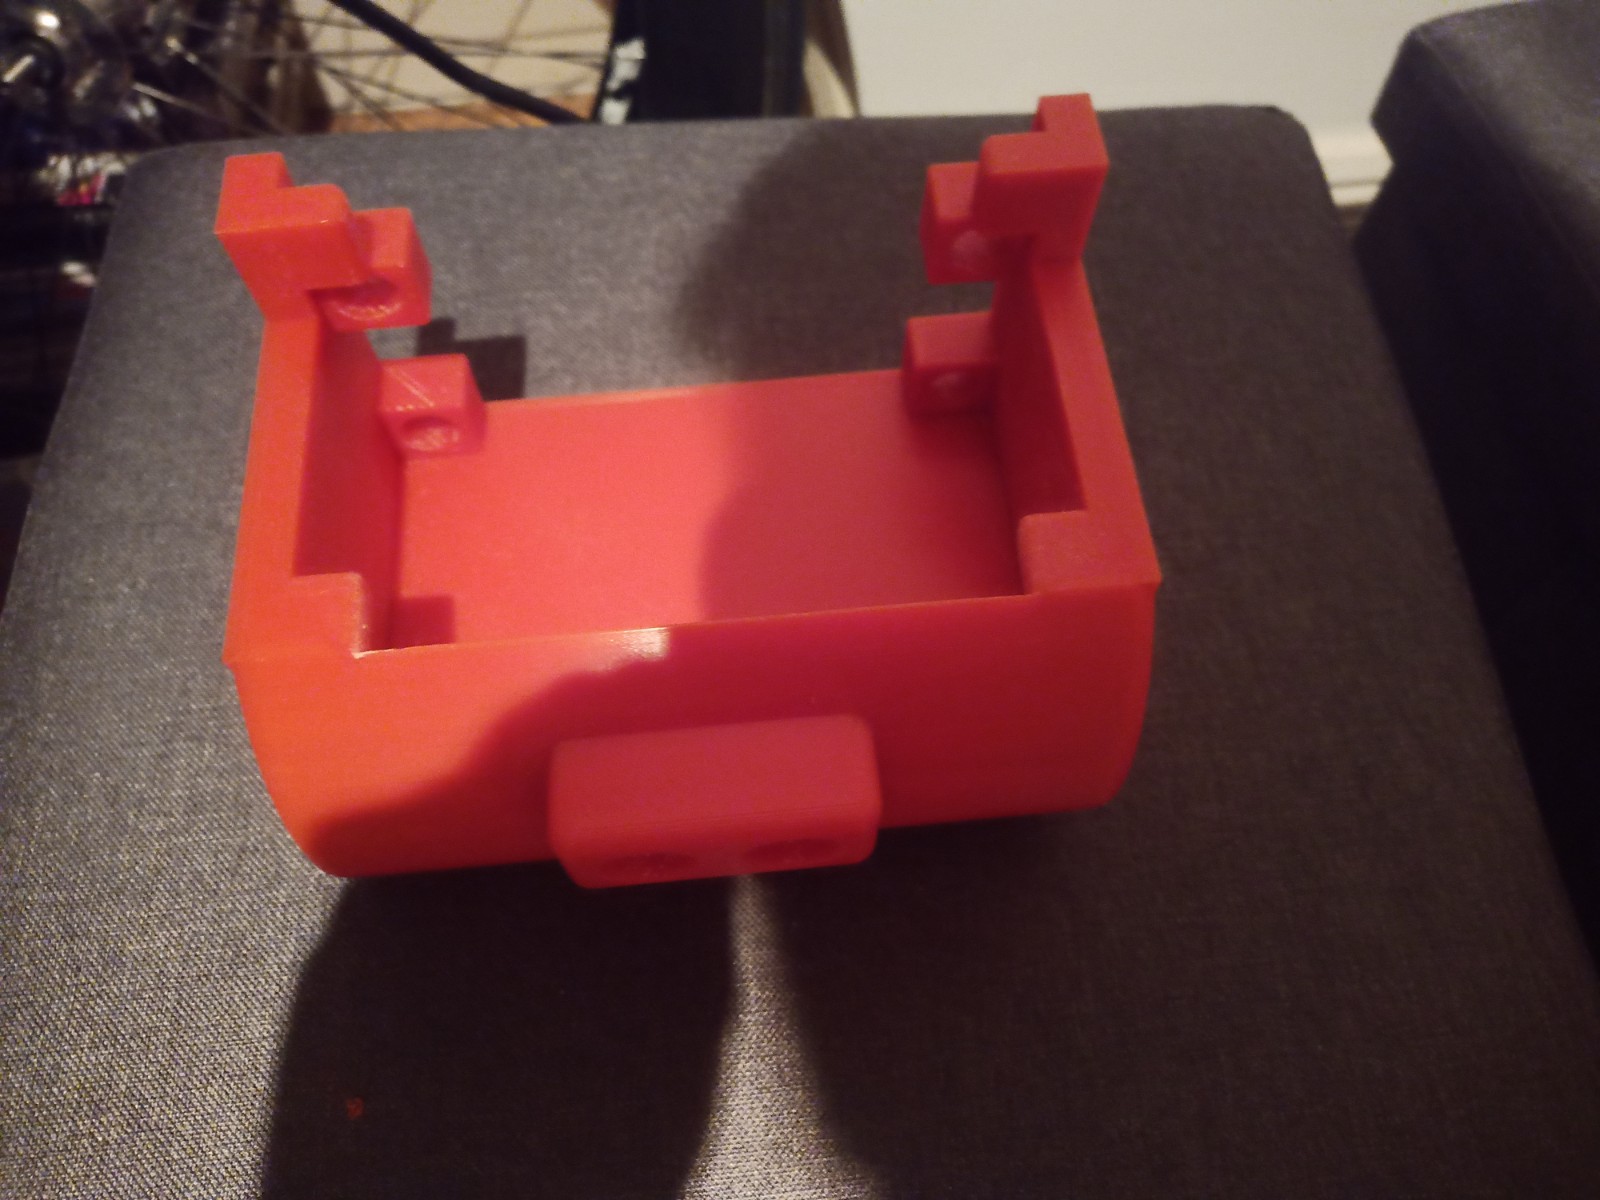
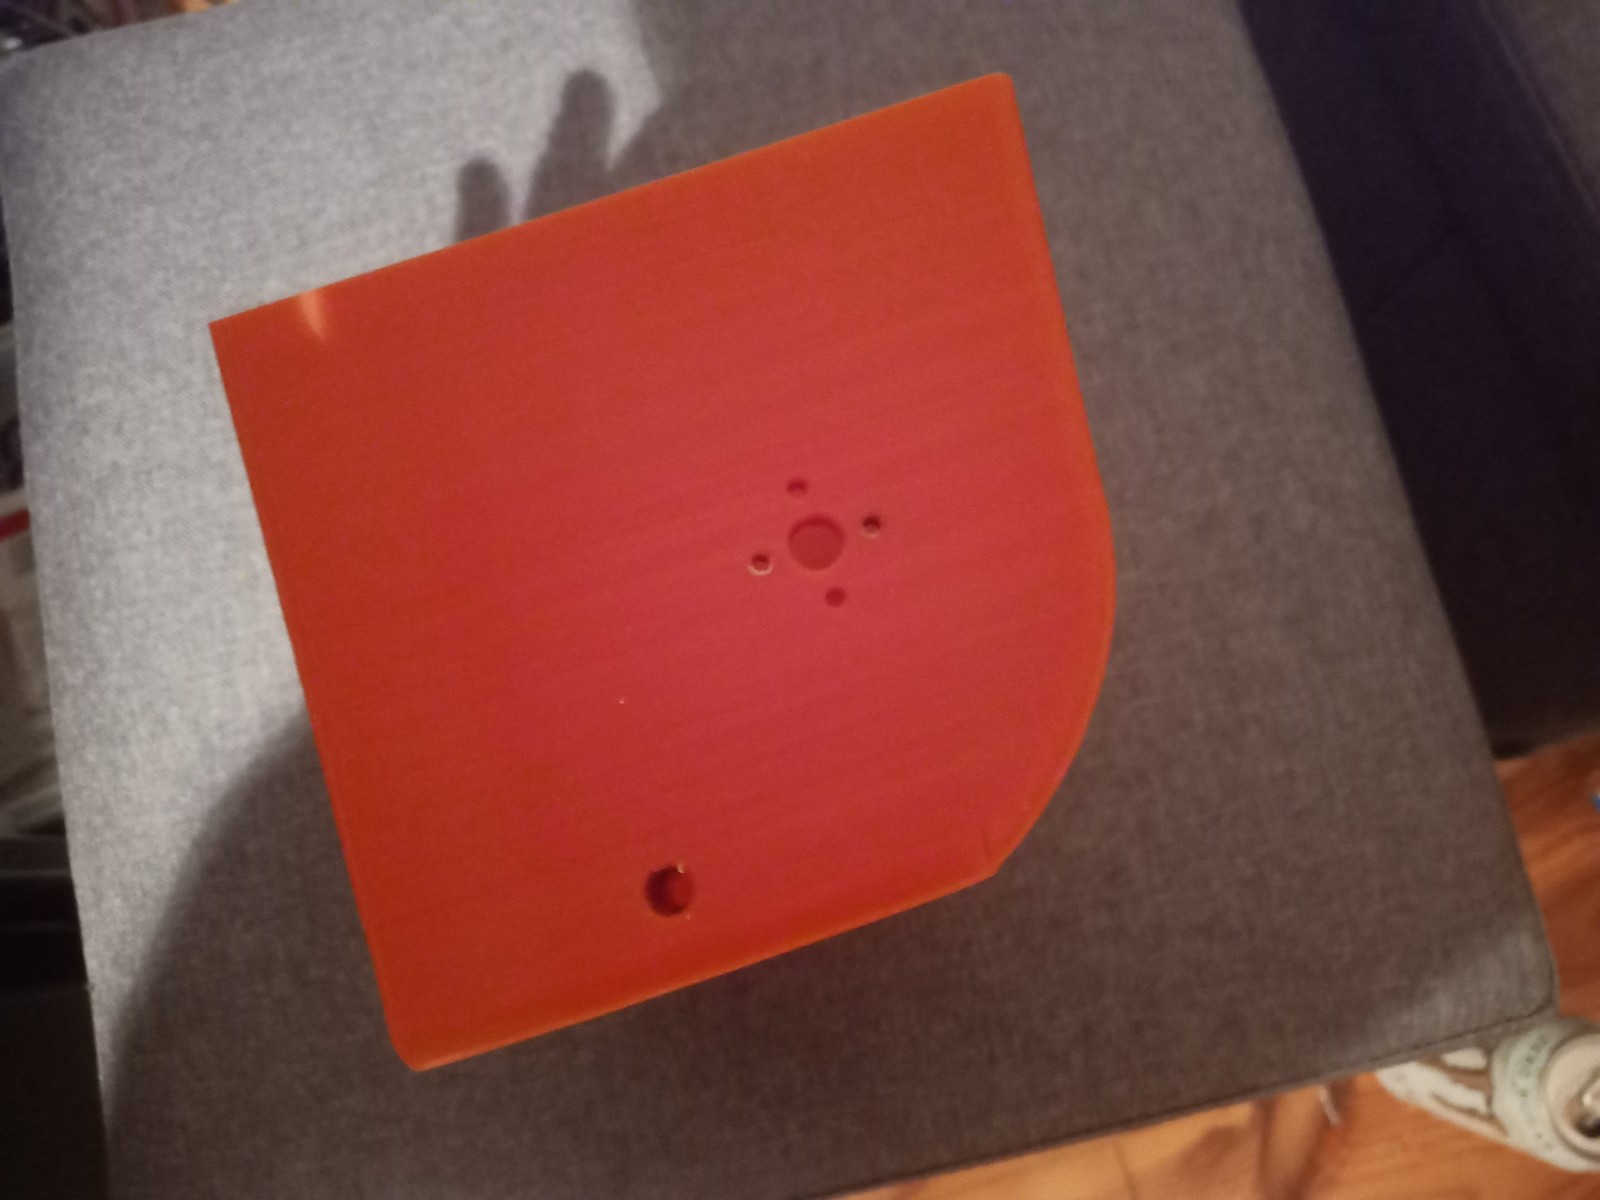
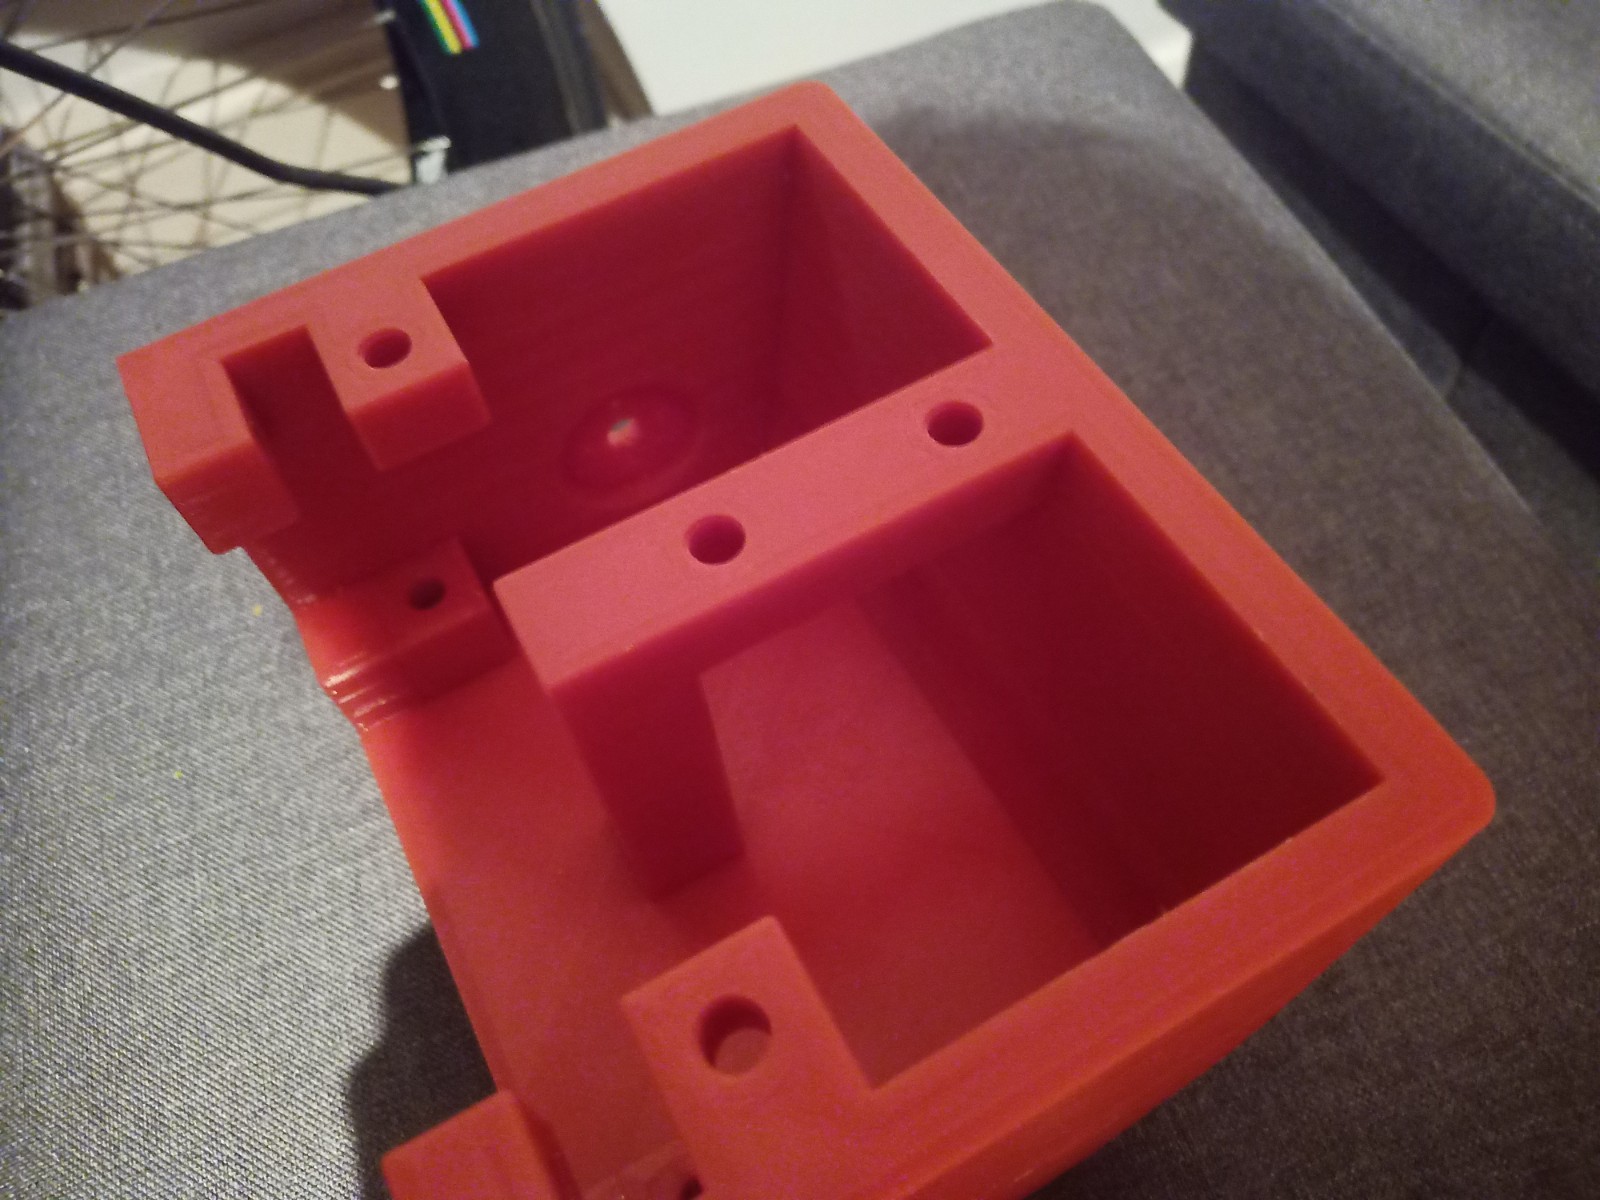
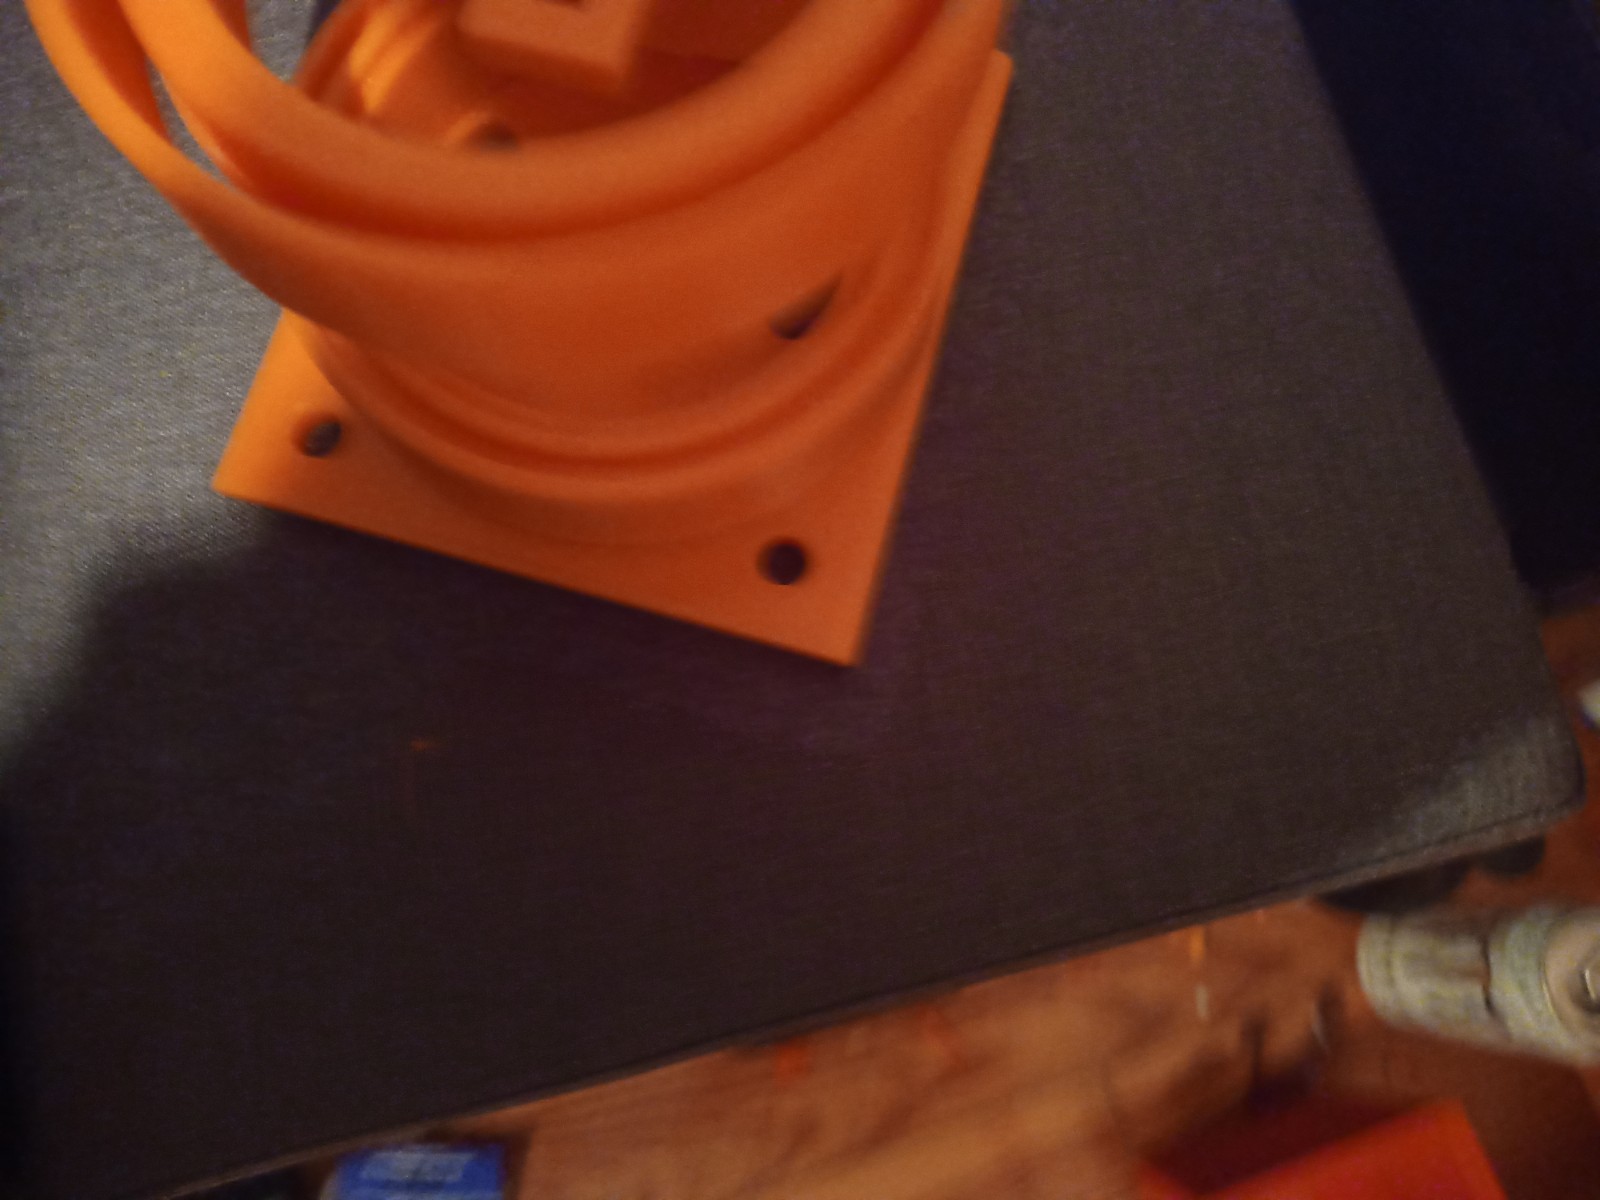
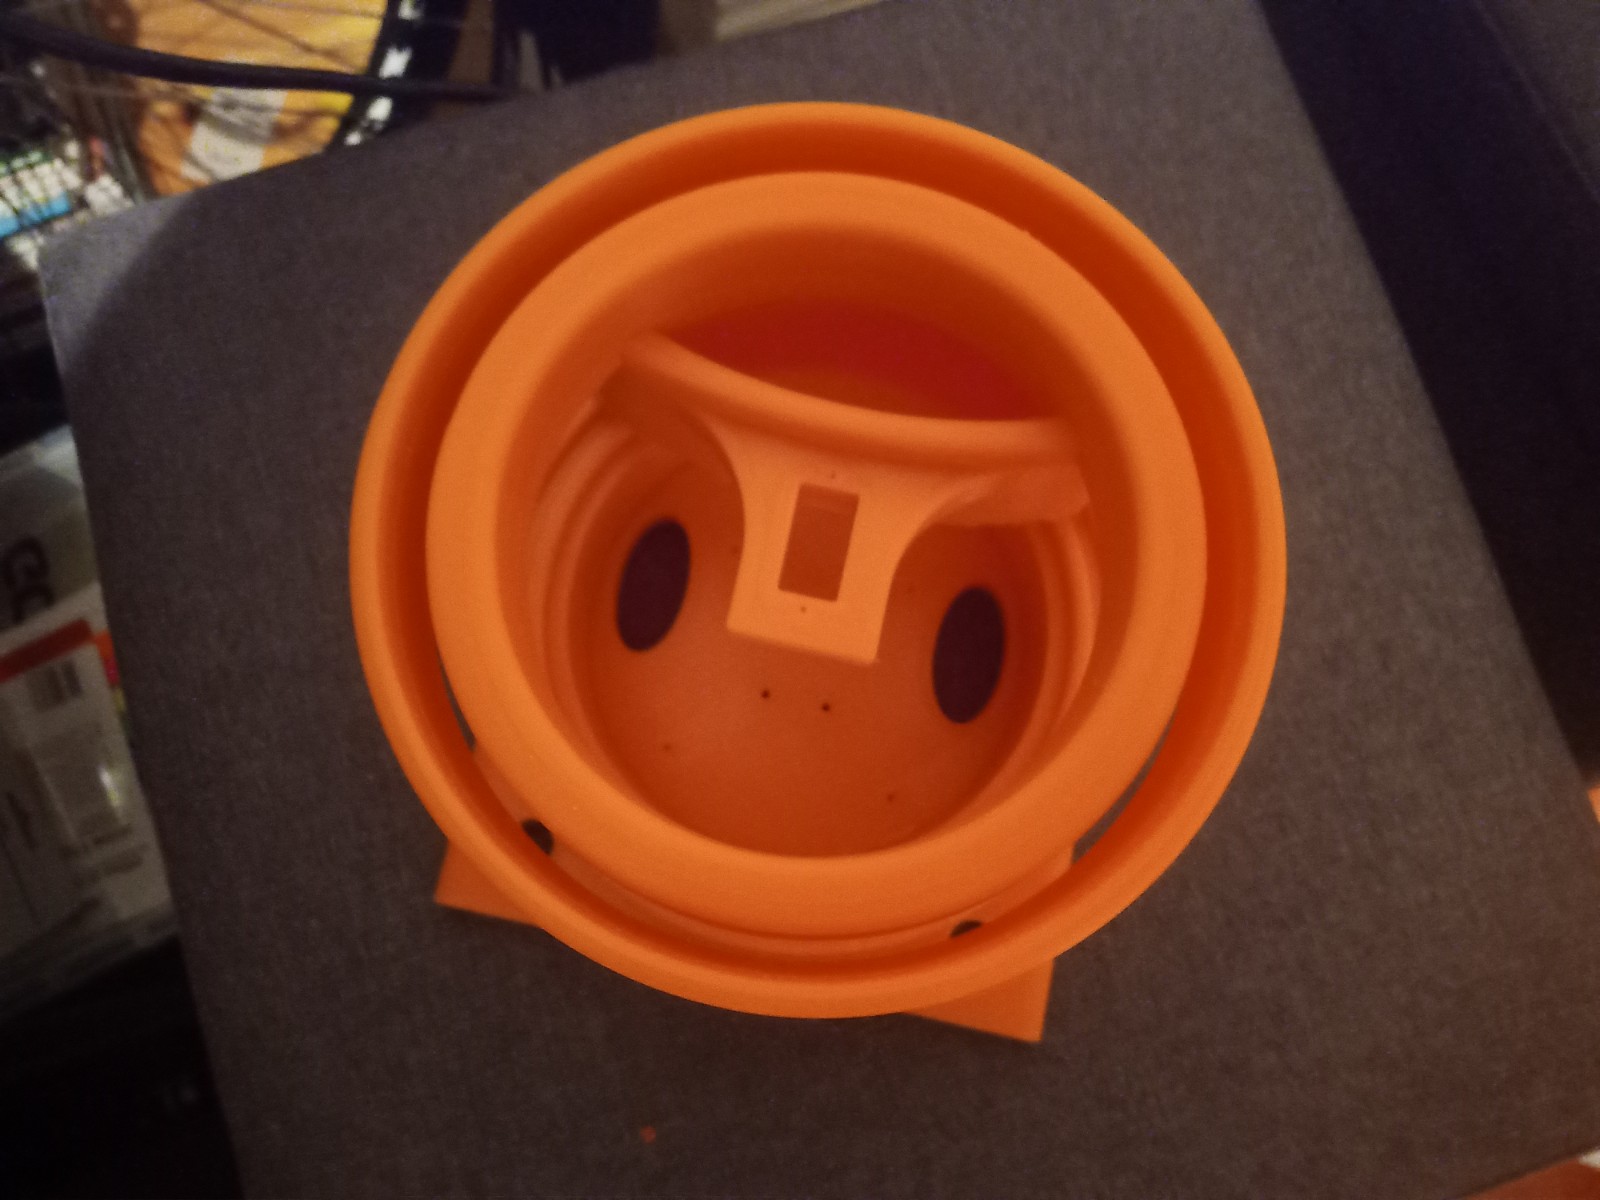
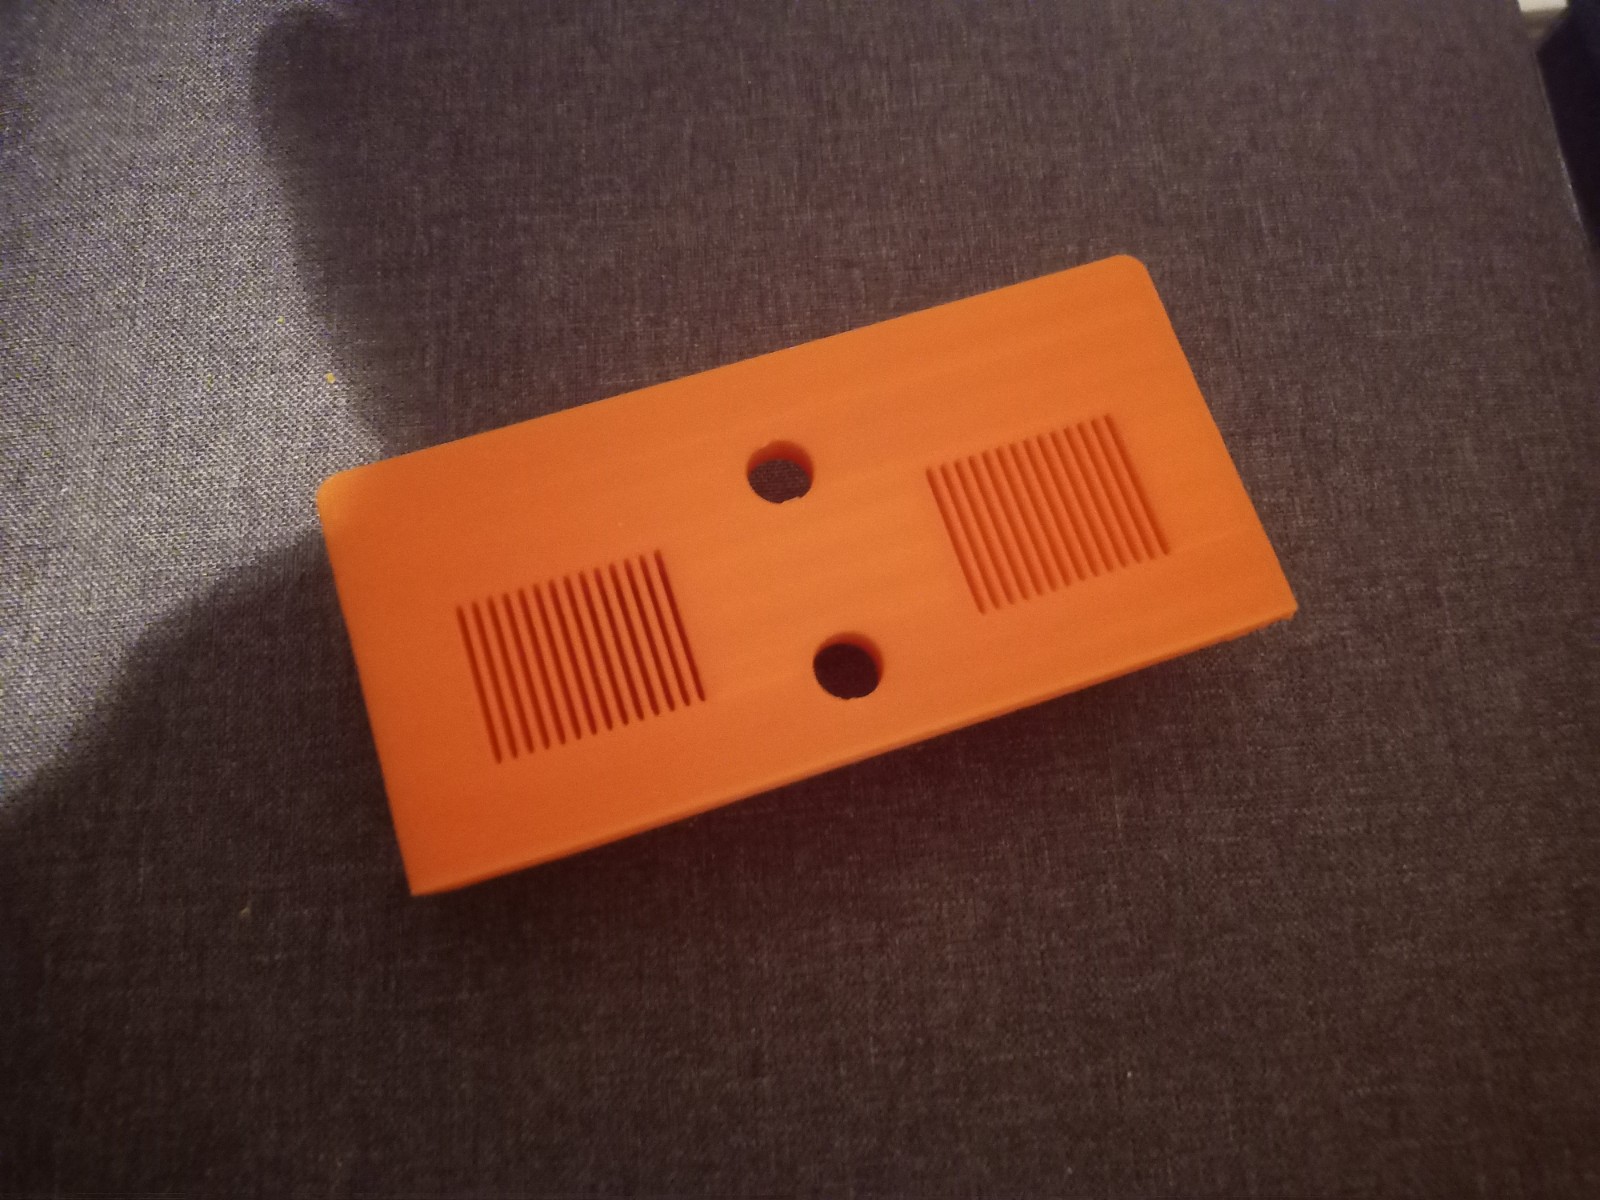
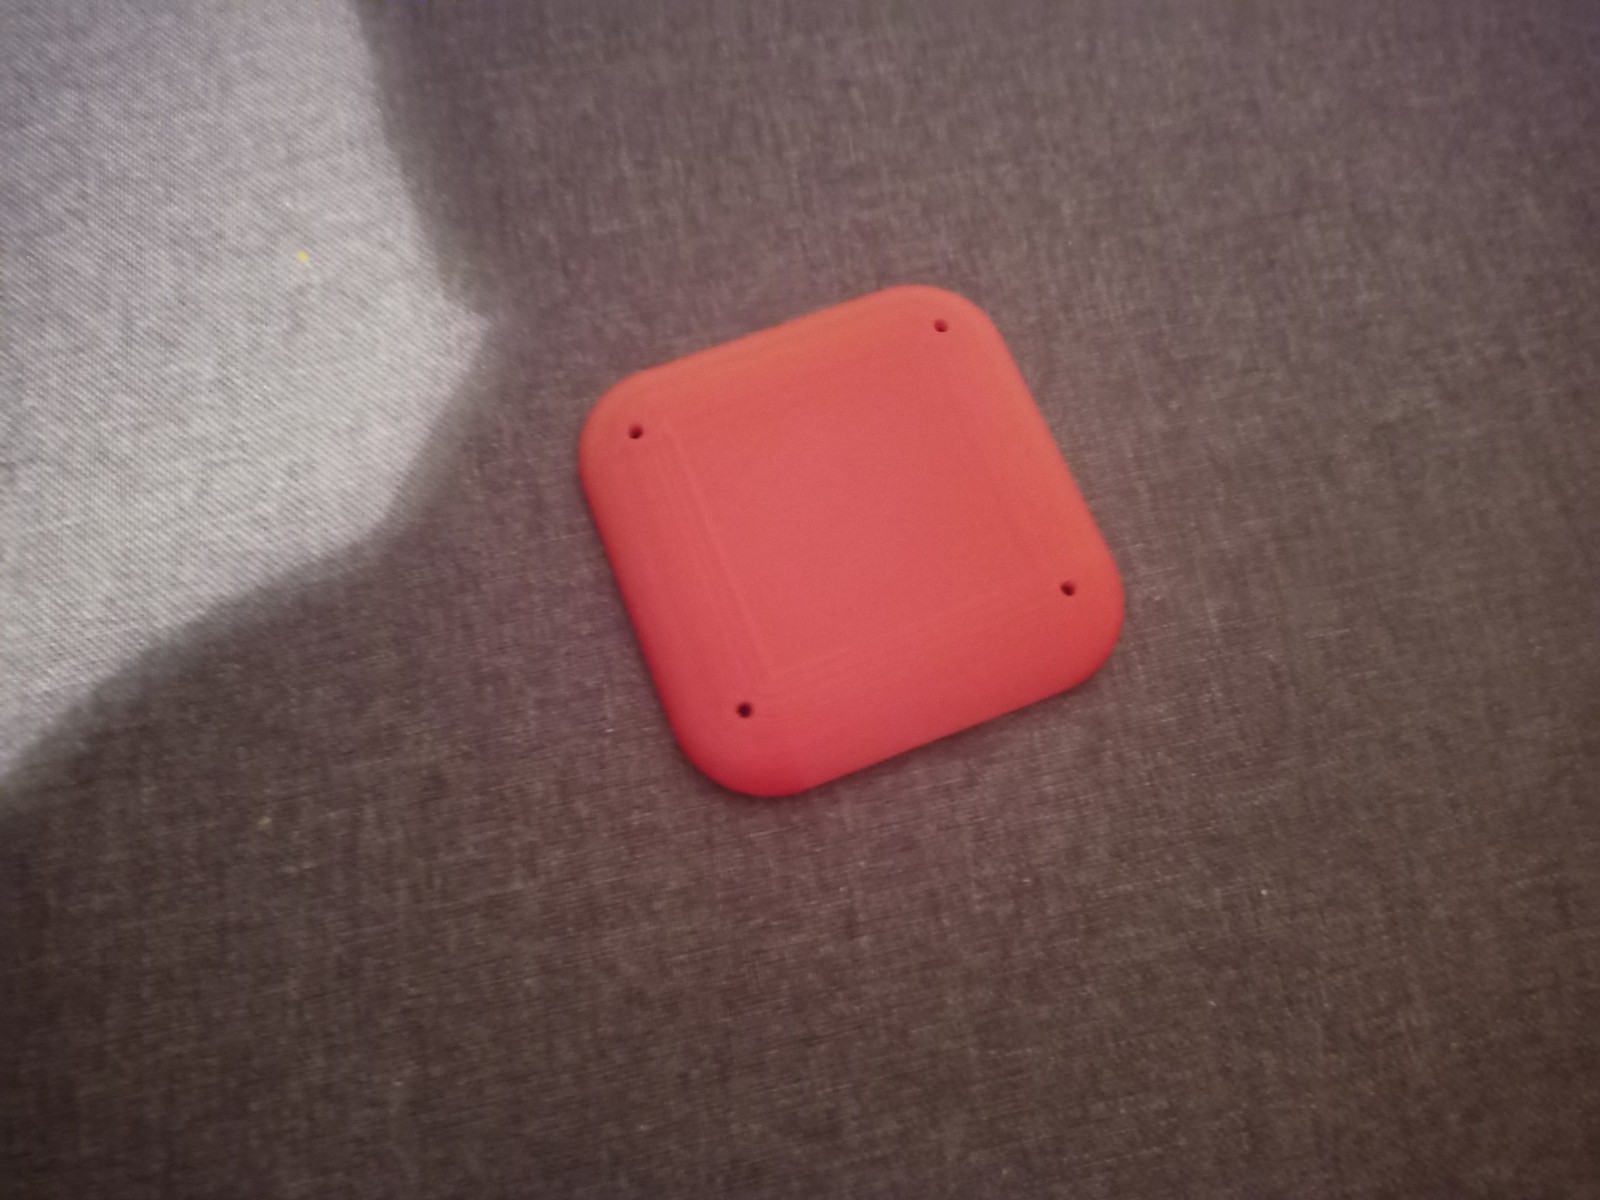
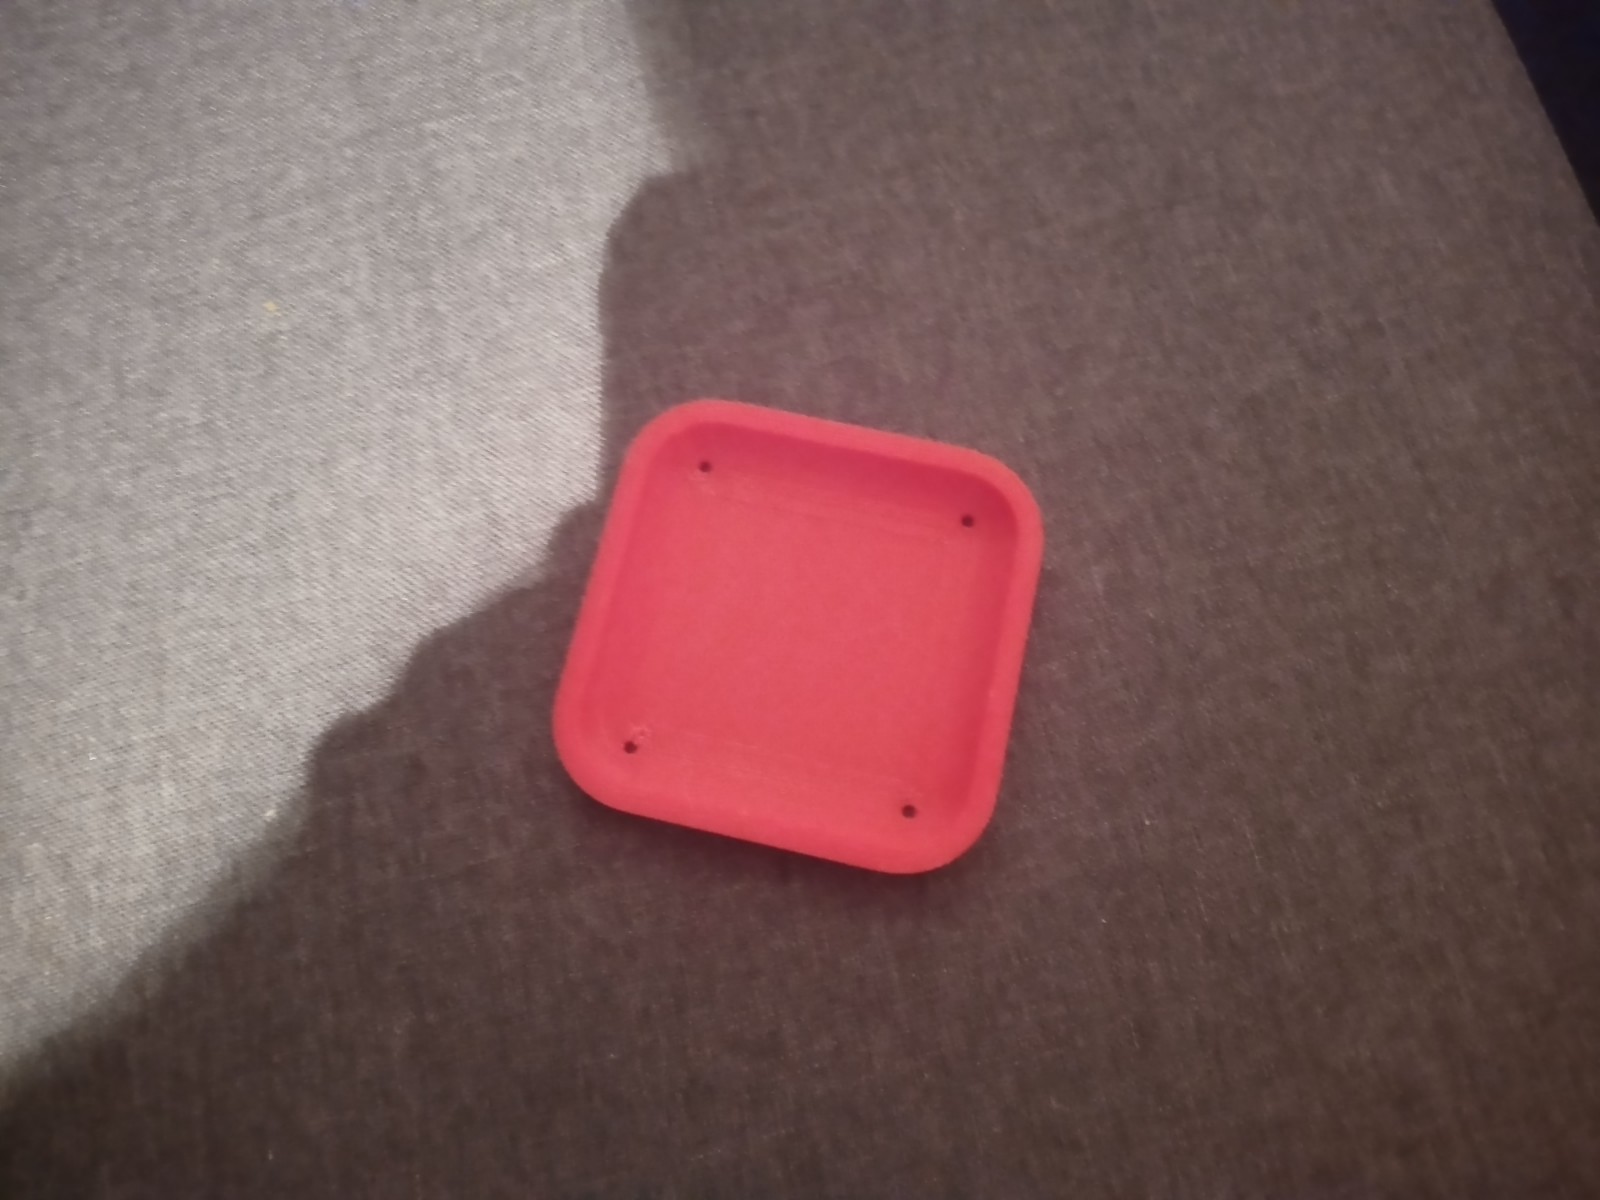
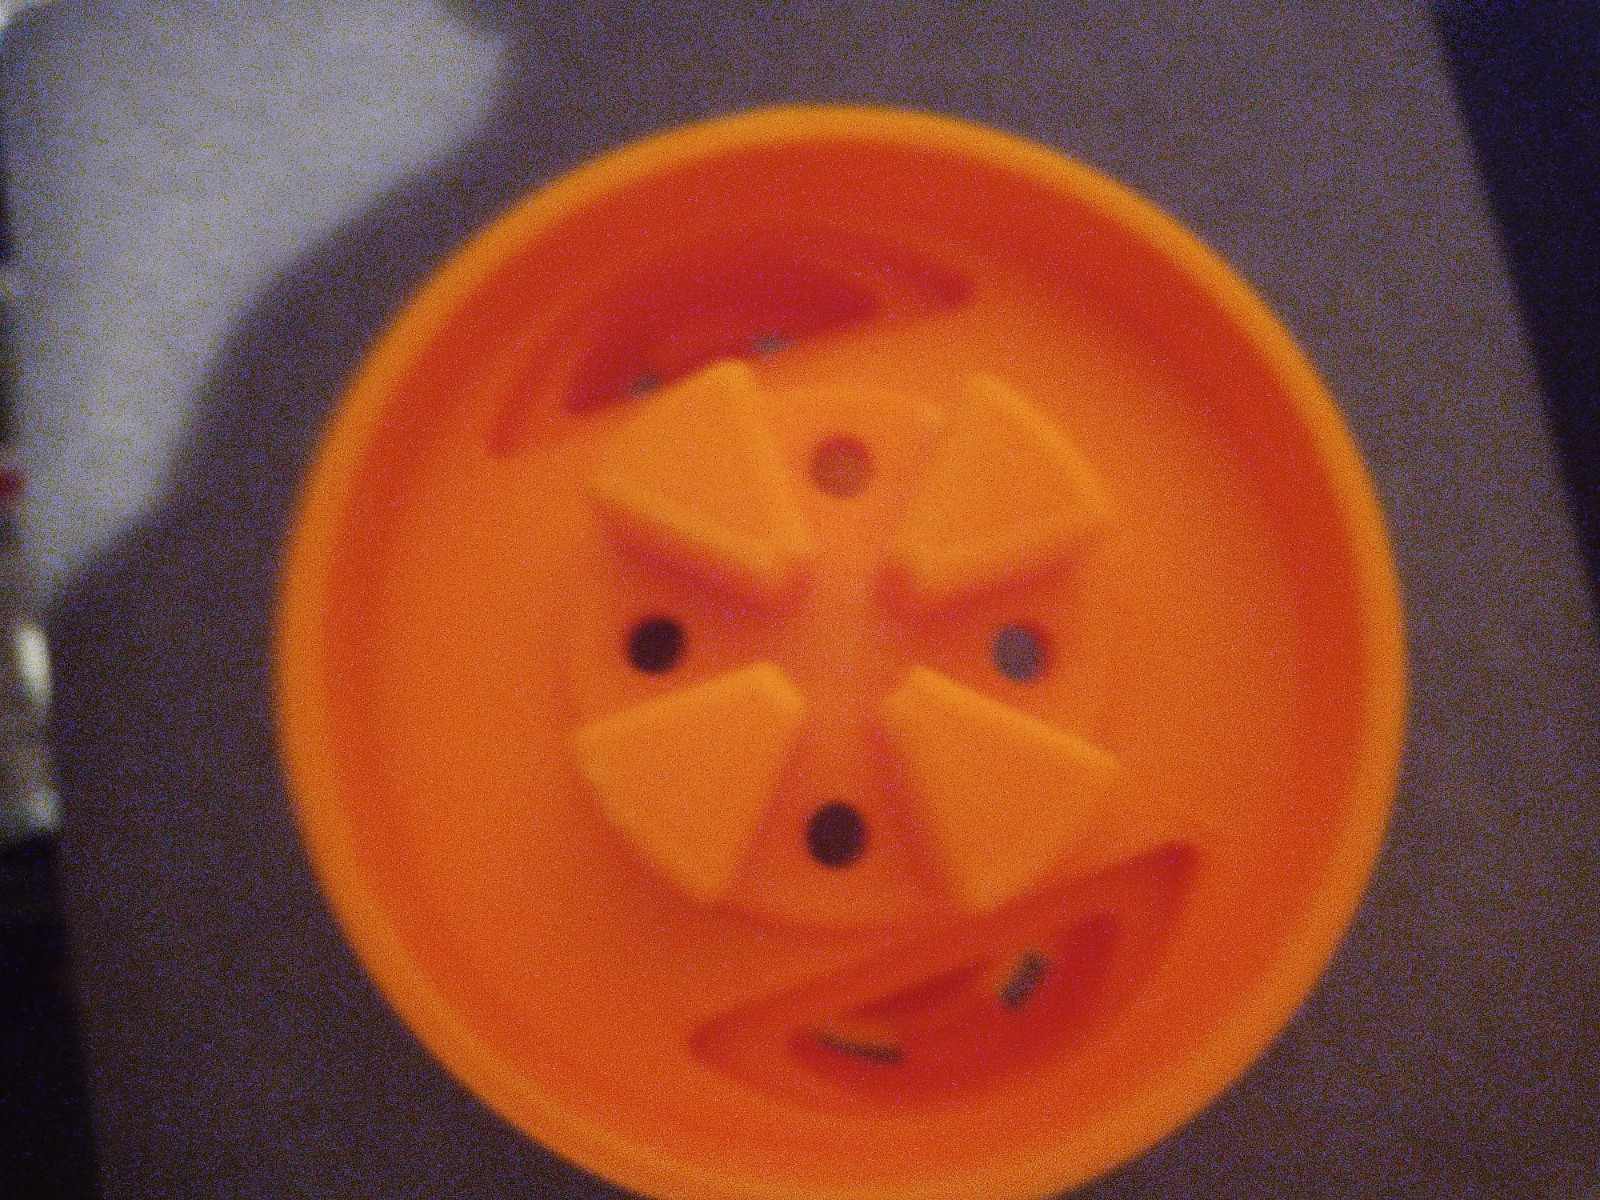
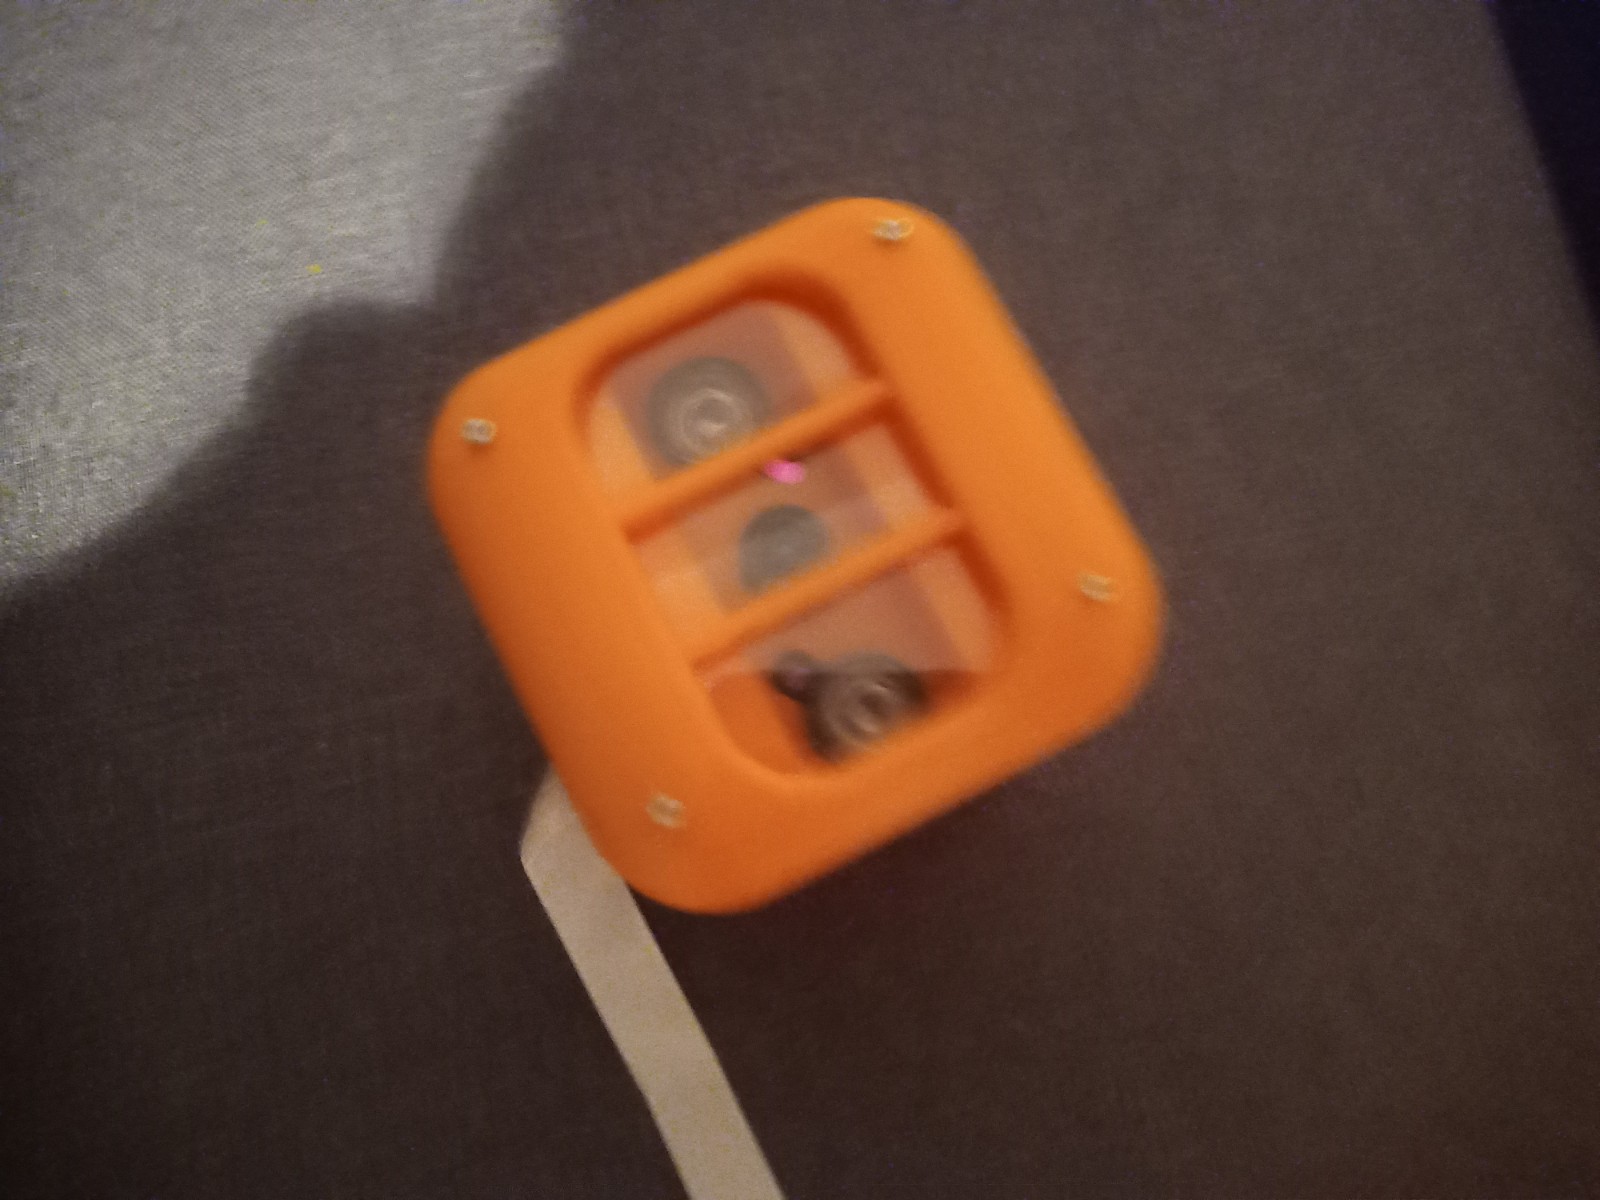
Printing screws to check tolerances and different part changes and optimisations. More printing parts. The proper part tolerance were achieved for the most part:
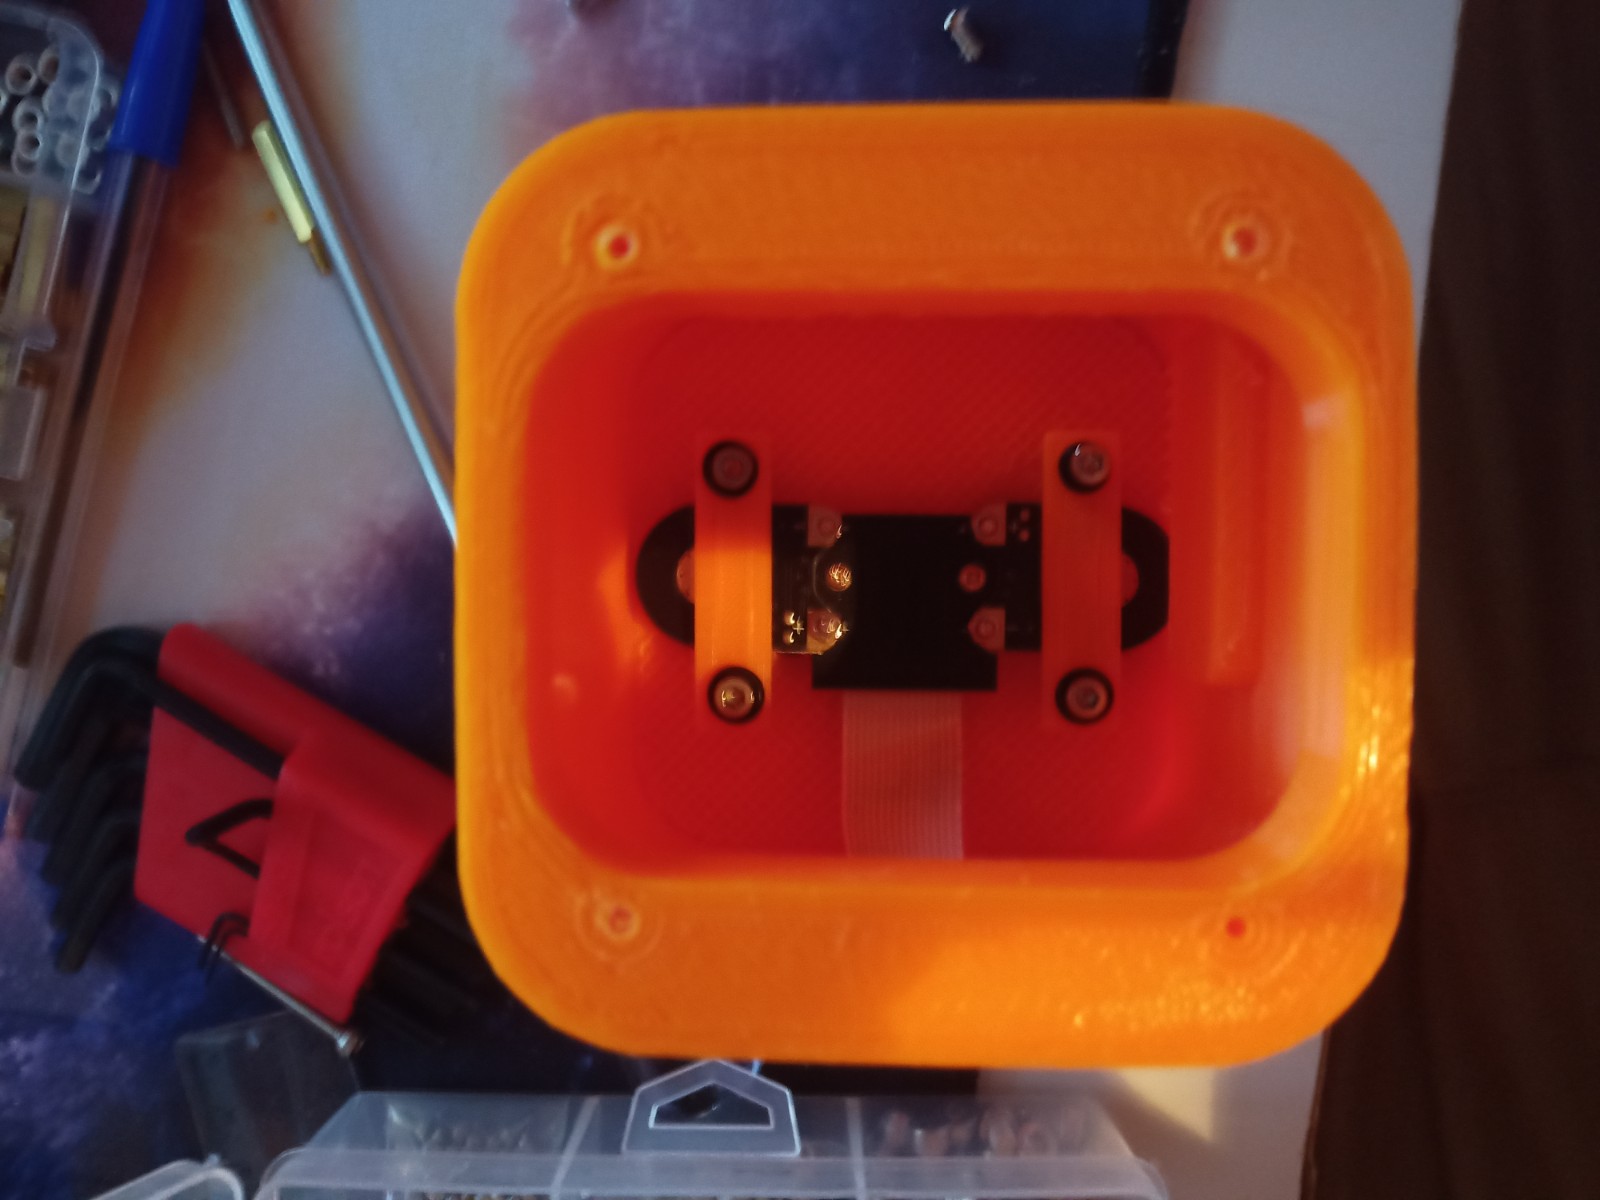
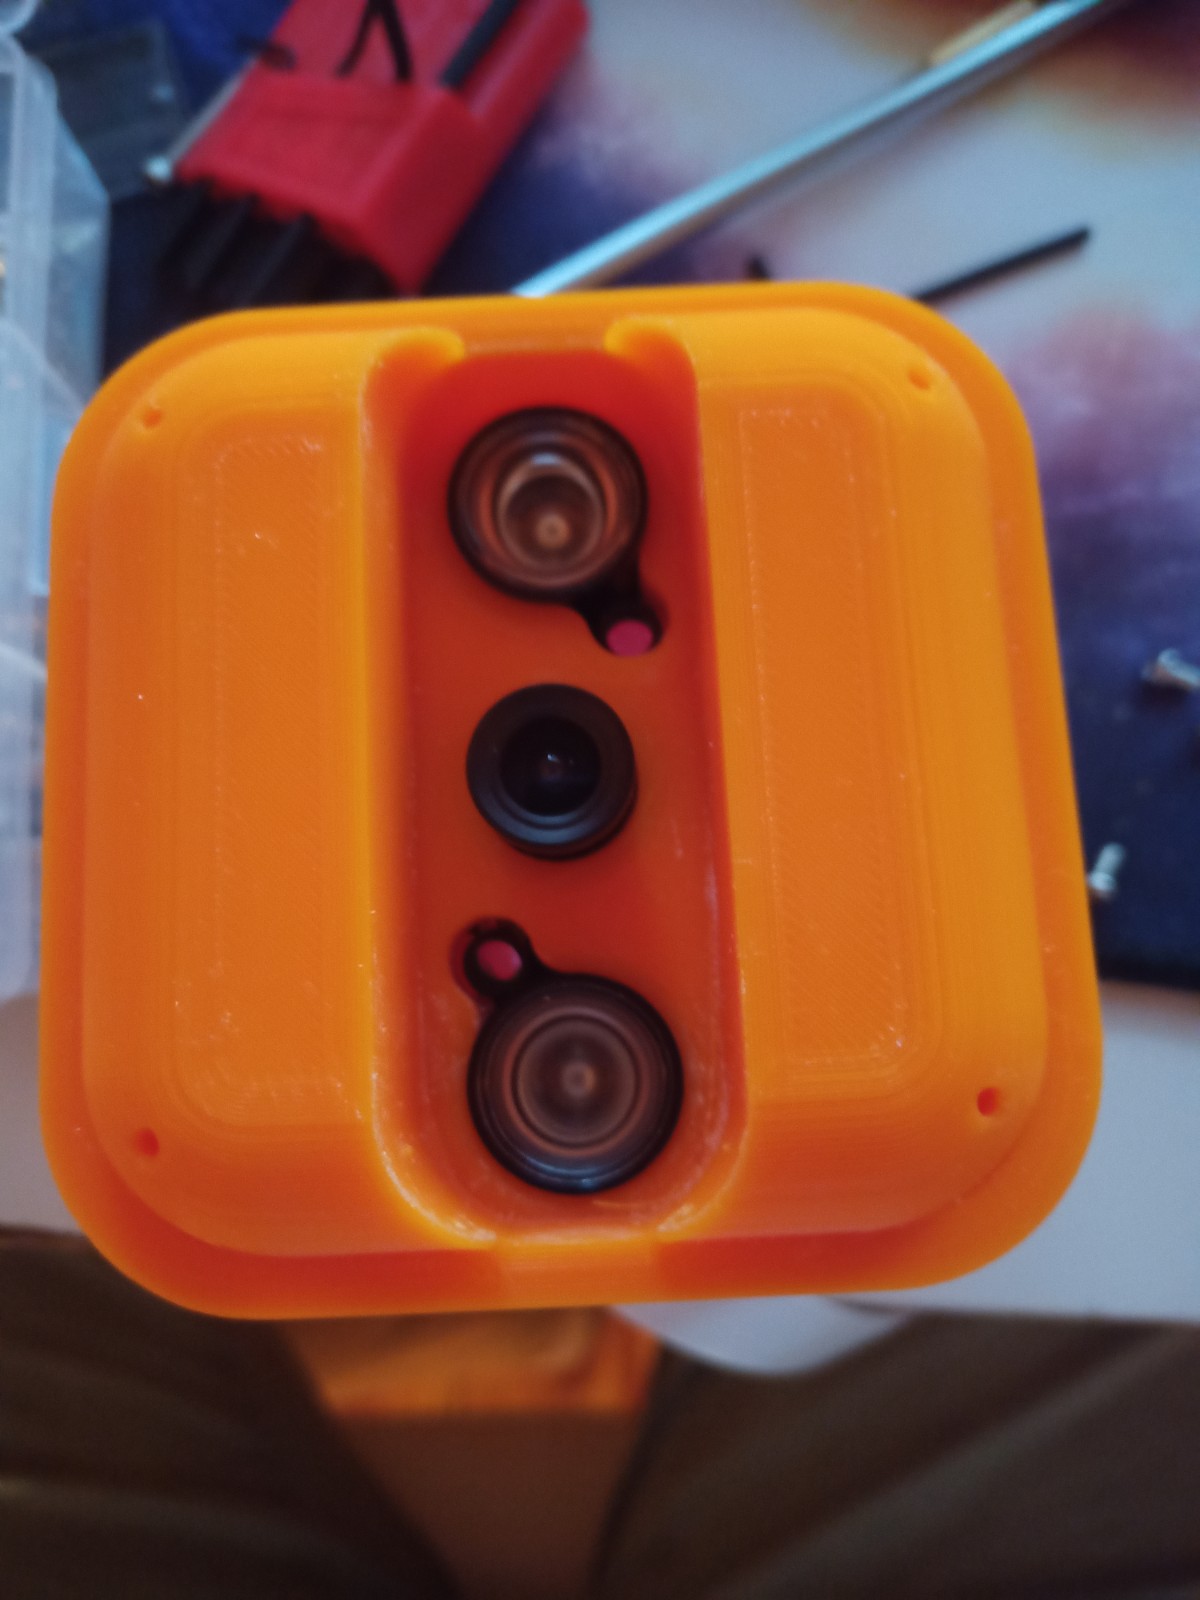
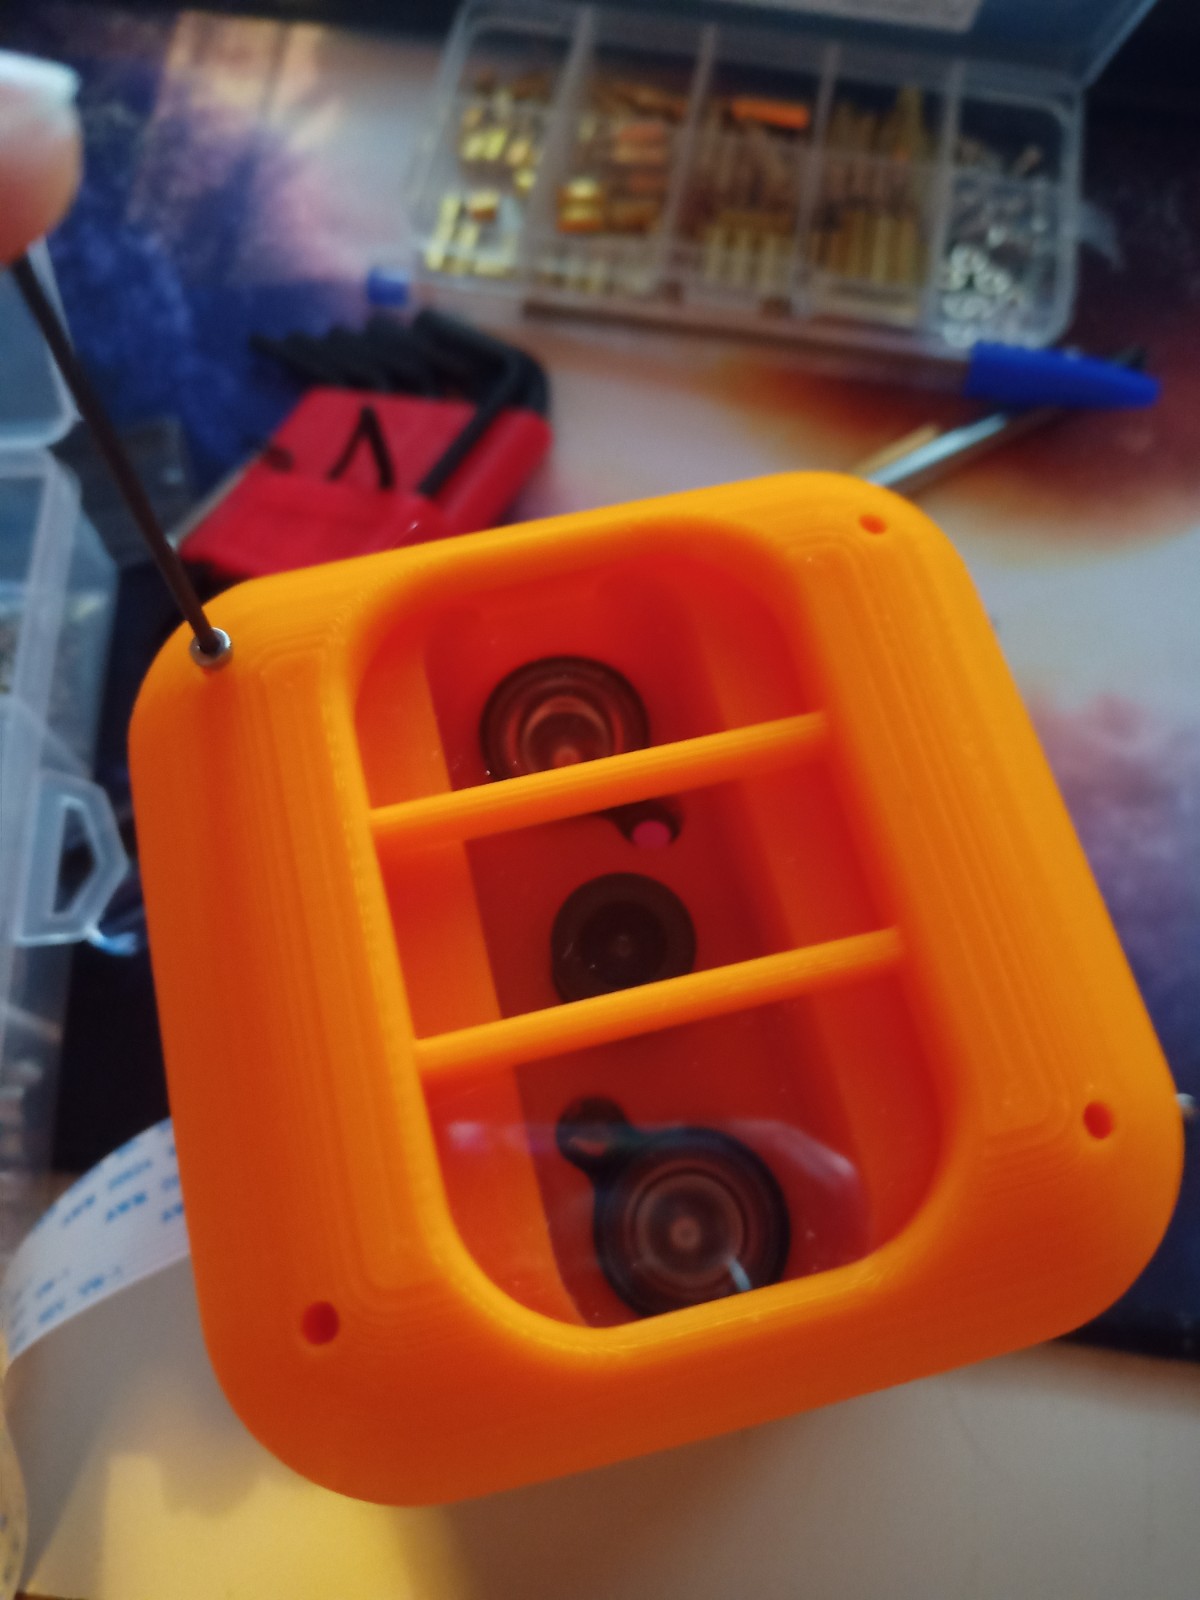
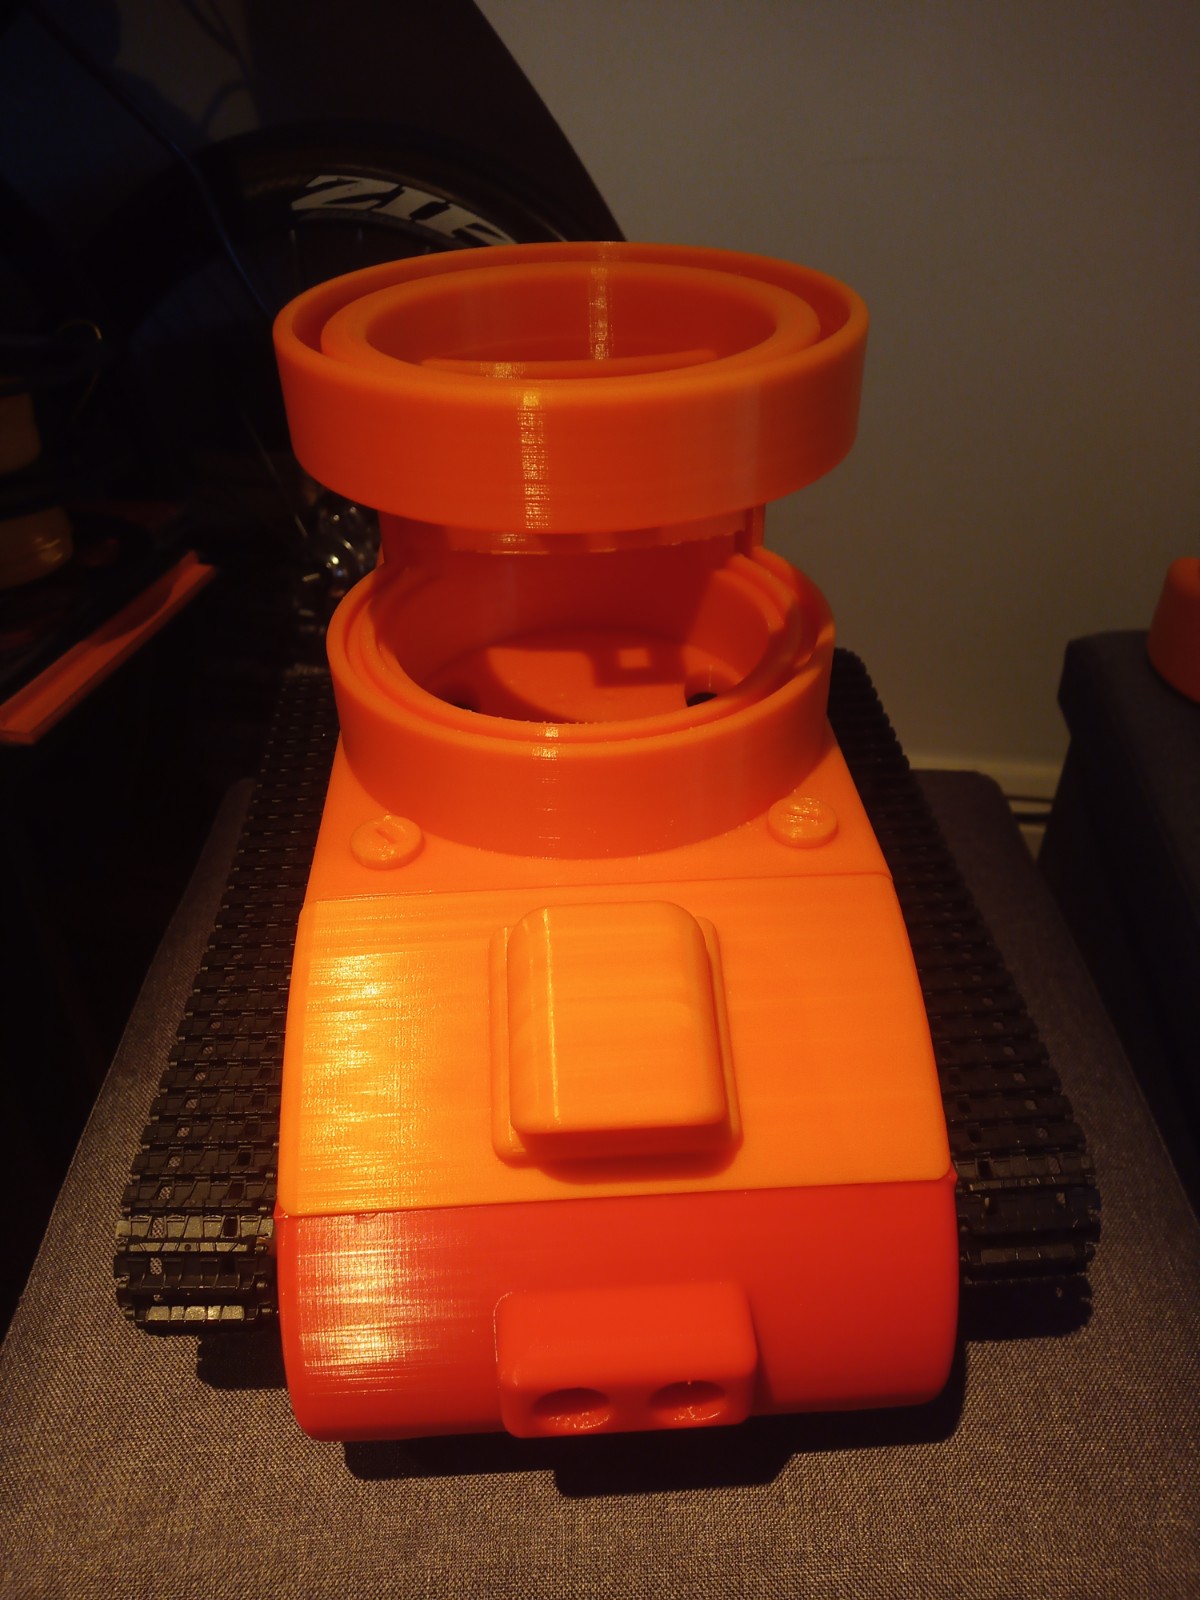
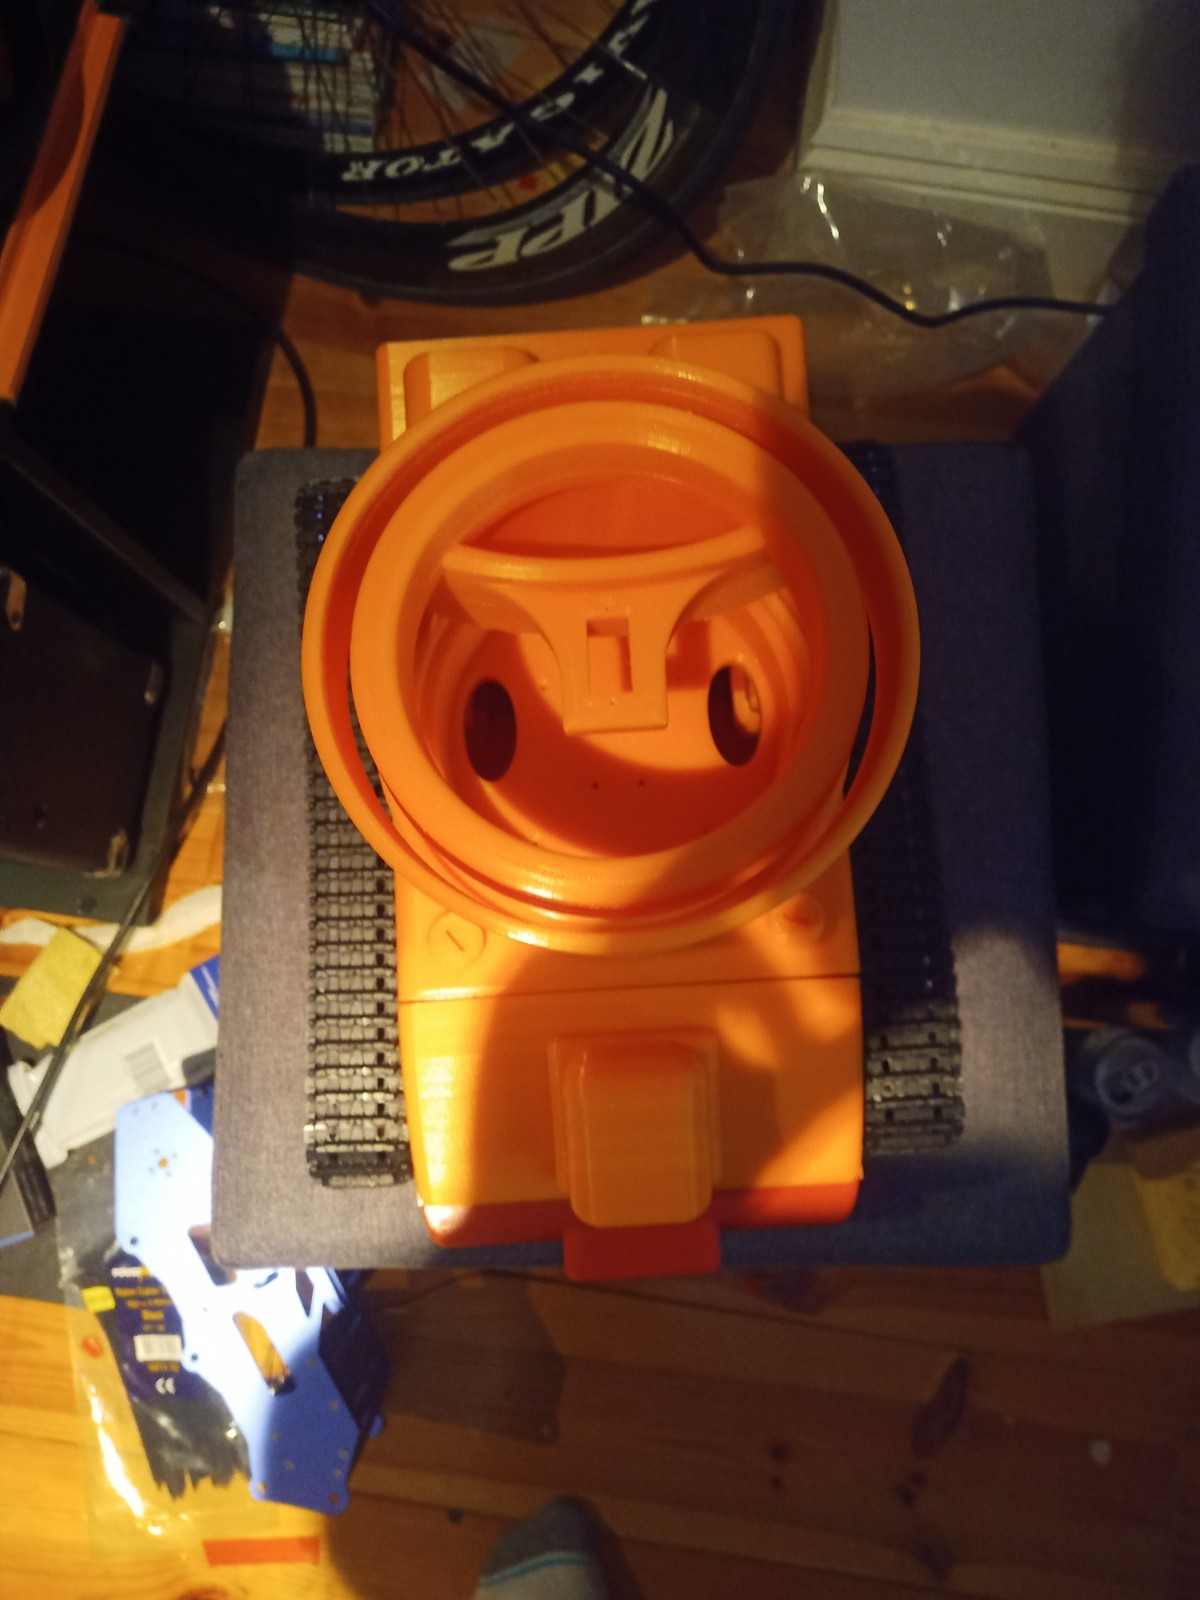
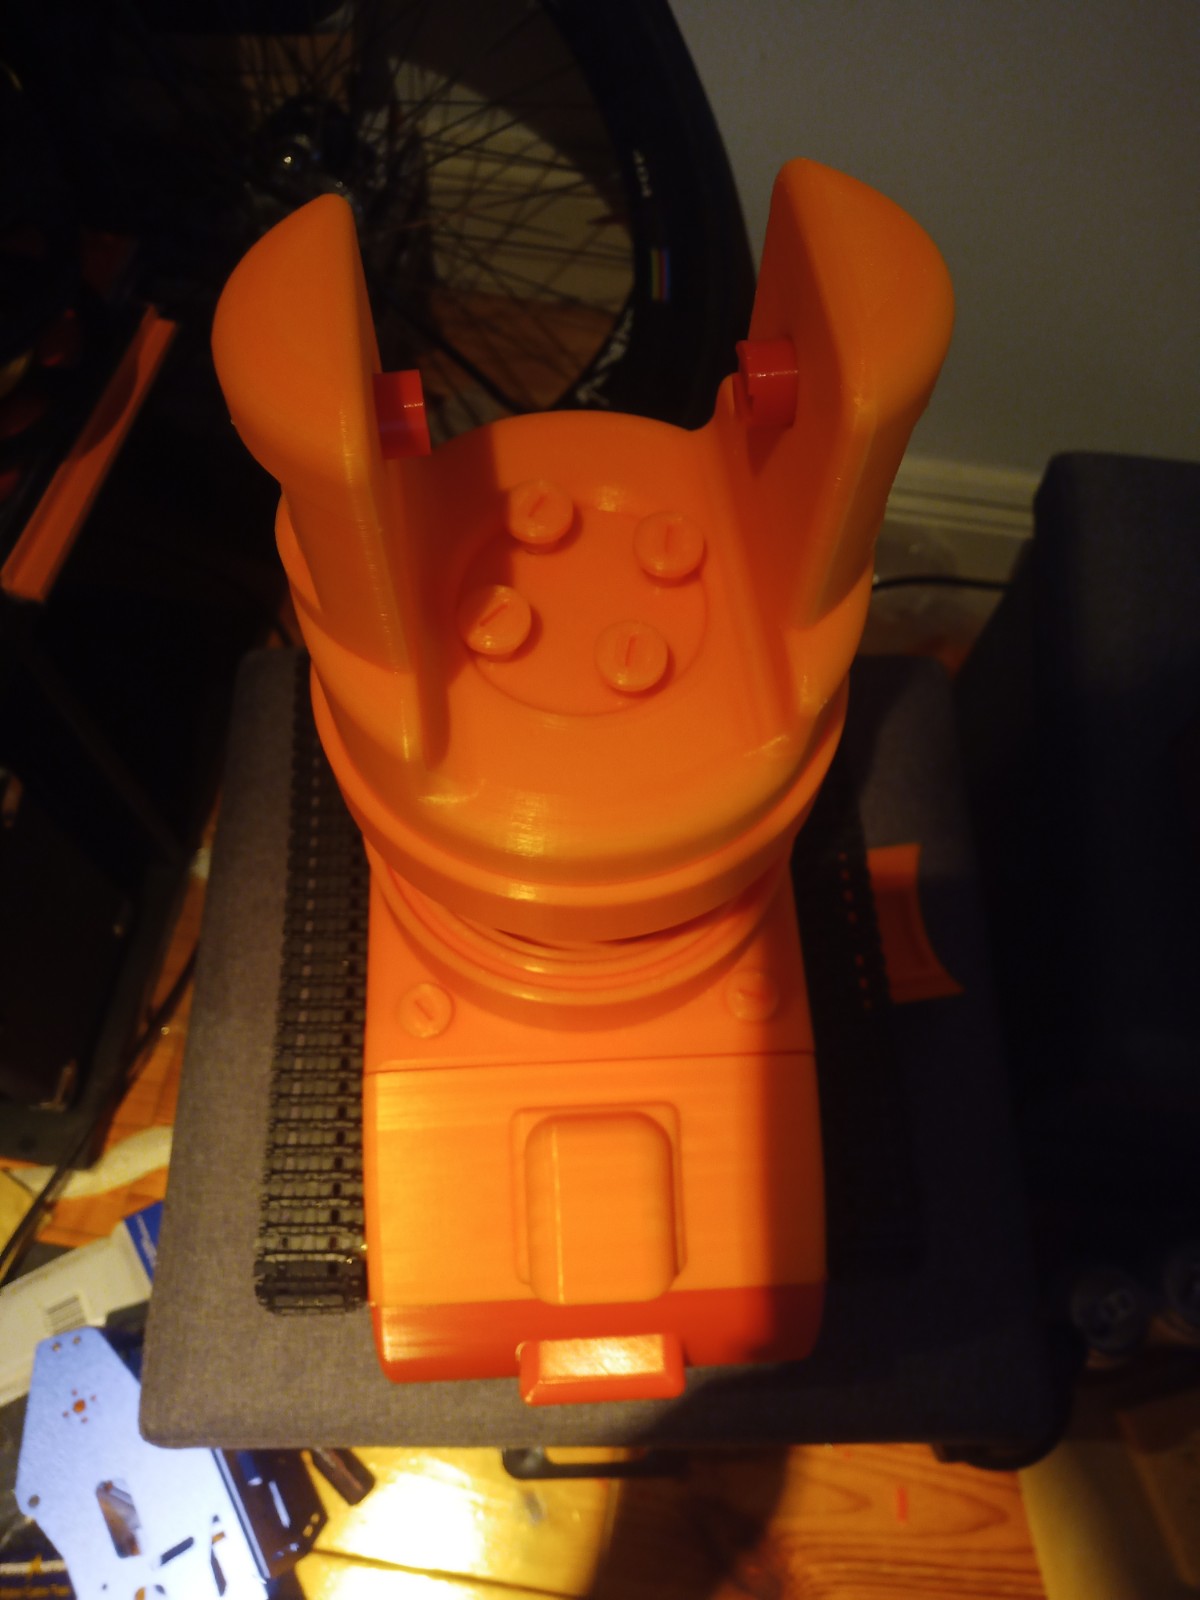
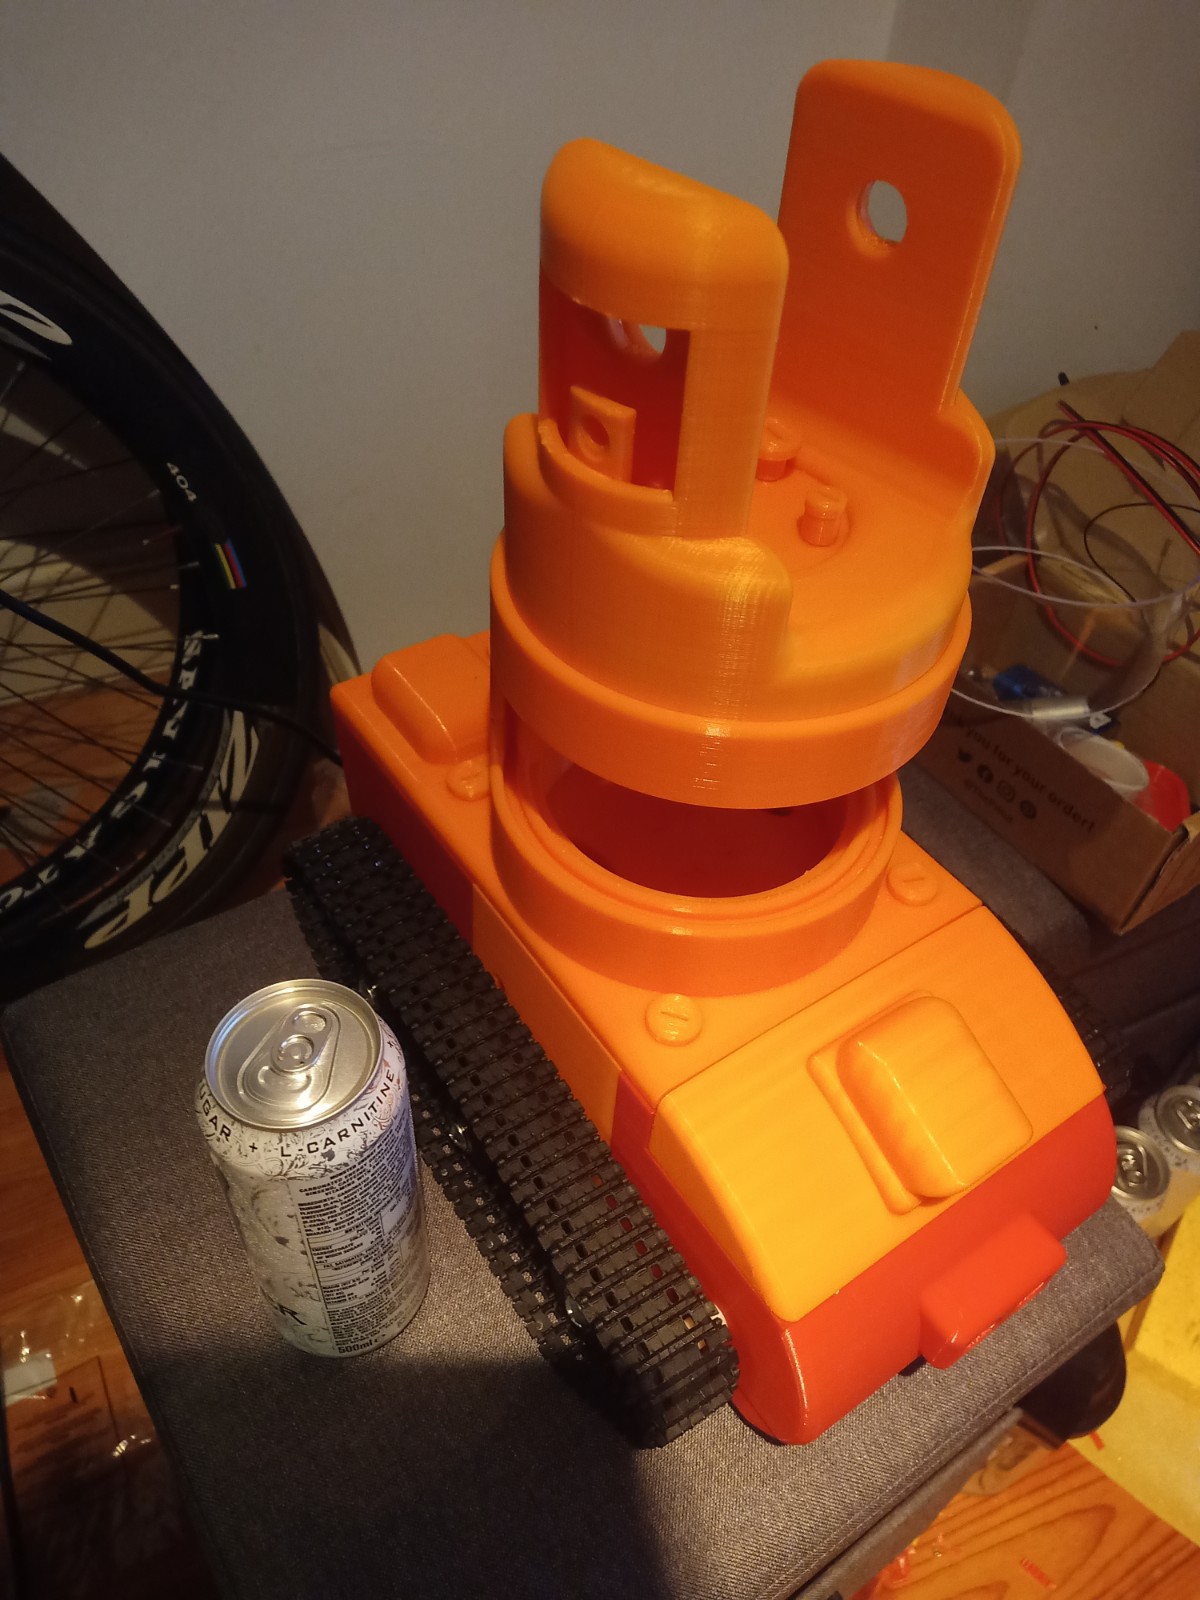
The all of the parts for the camera were printed off and are shown below assembled with its acrylic windows that was cut out of an acrylic sheet:


Week 14: 18th-24th
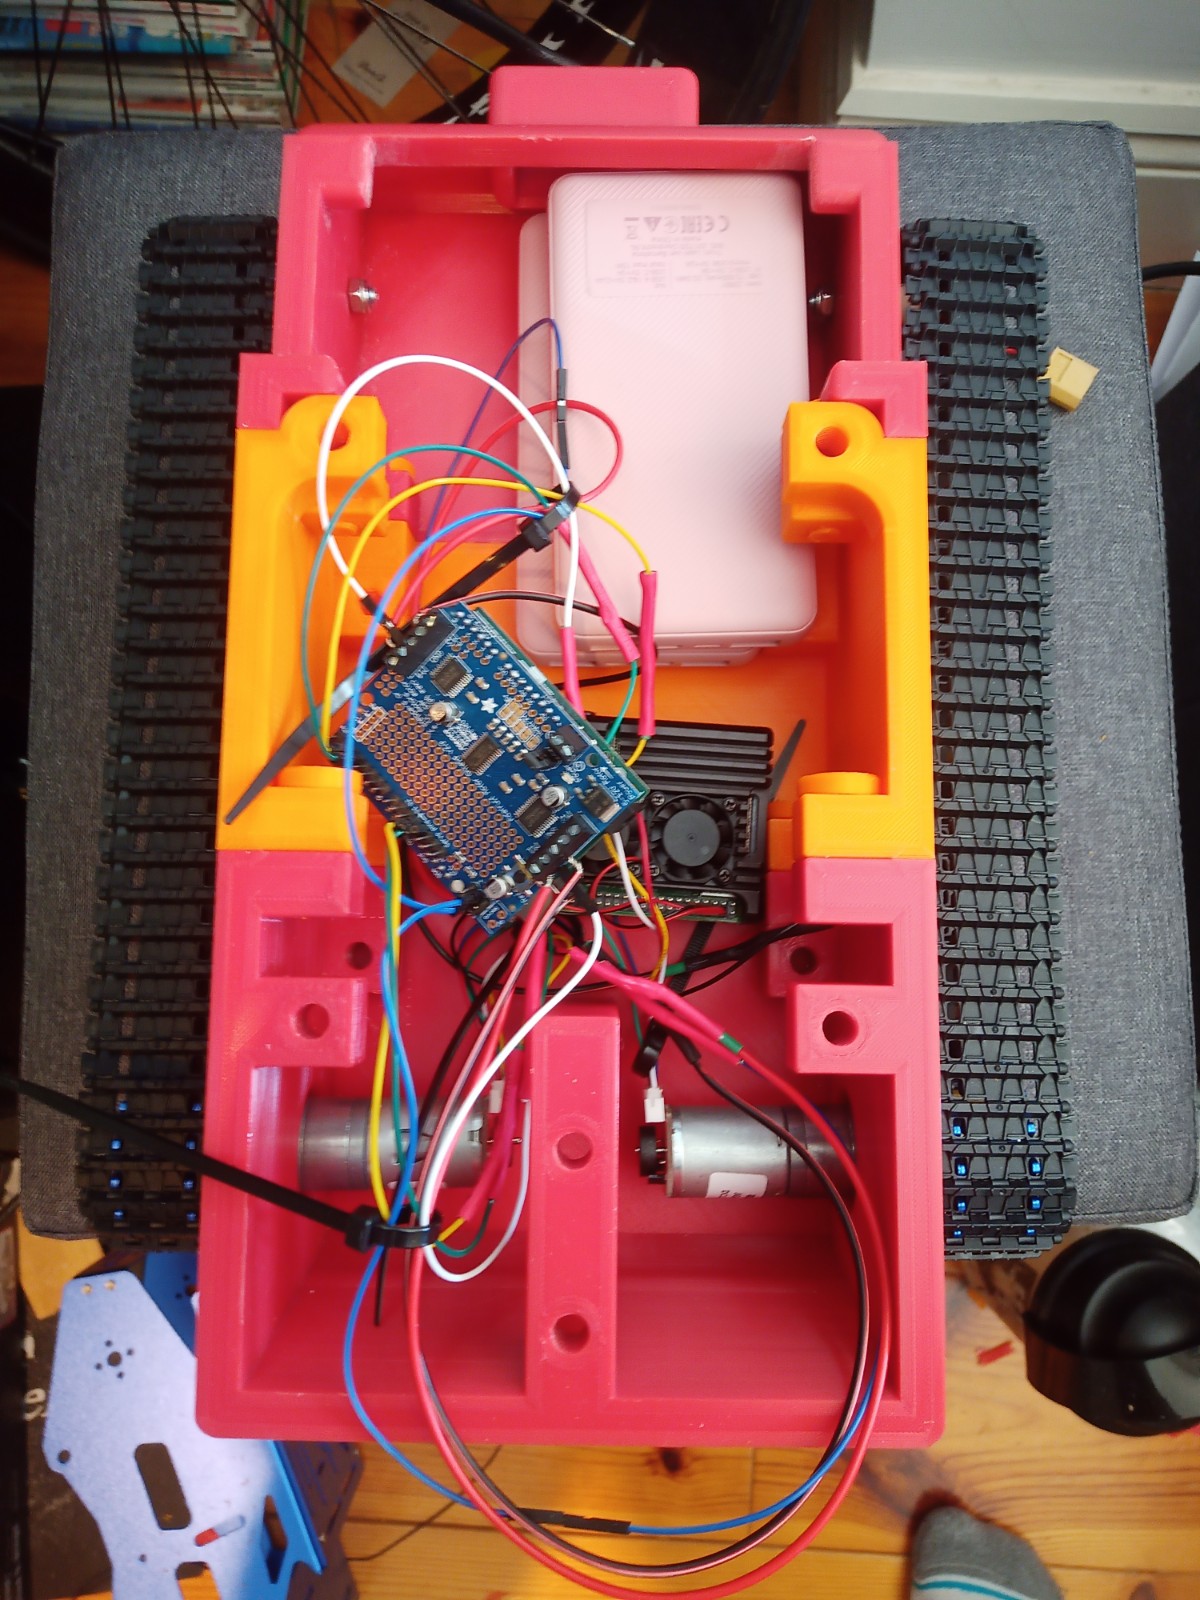
Assembly of 3d printed parts. Include pictures. Code modified so that the camera turns towards a person. Full demonstration on the raspberry pi running Raspbian. Talk about the future elements for the project and the things that you will do in regard to additions to the code/ changes to the model, implementation of ROS on the robot chassis. Talk about what could have been done better.
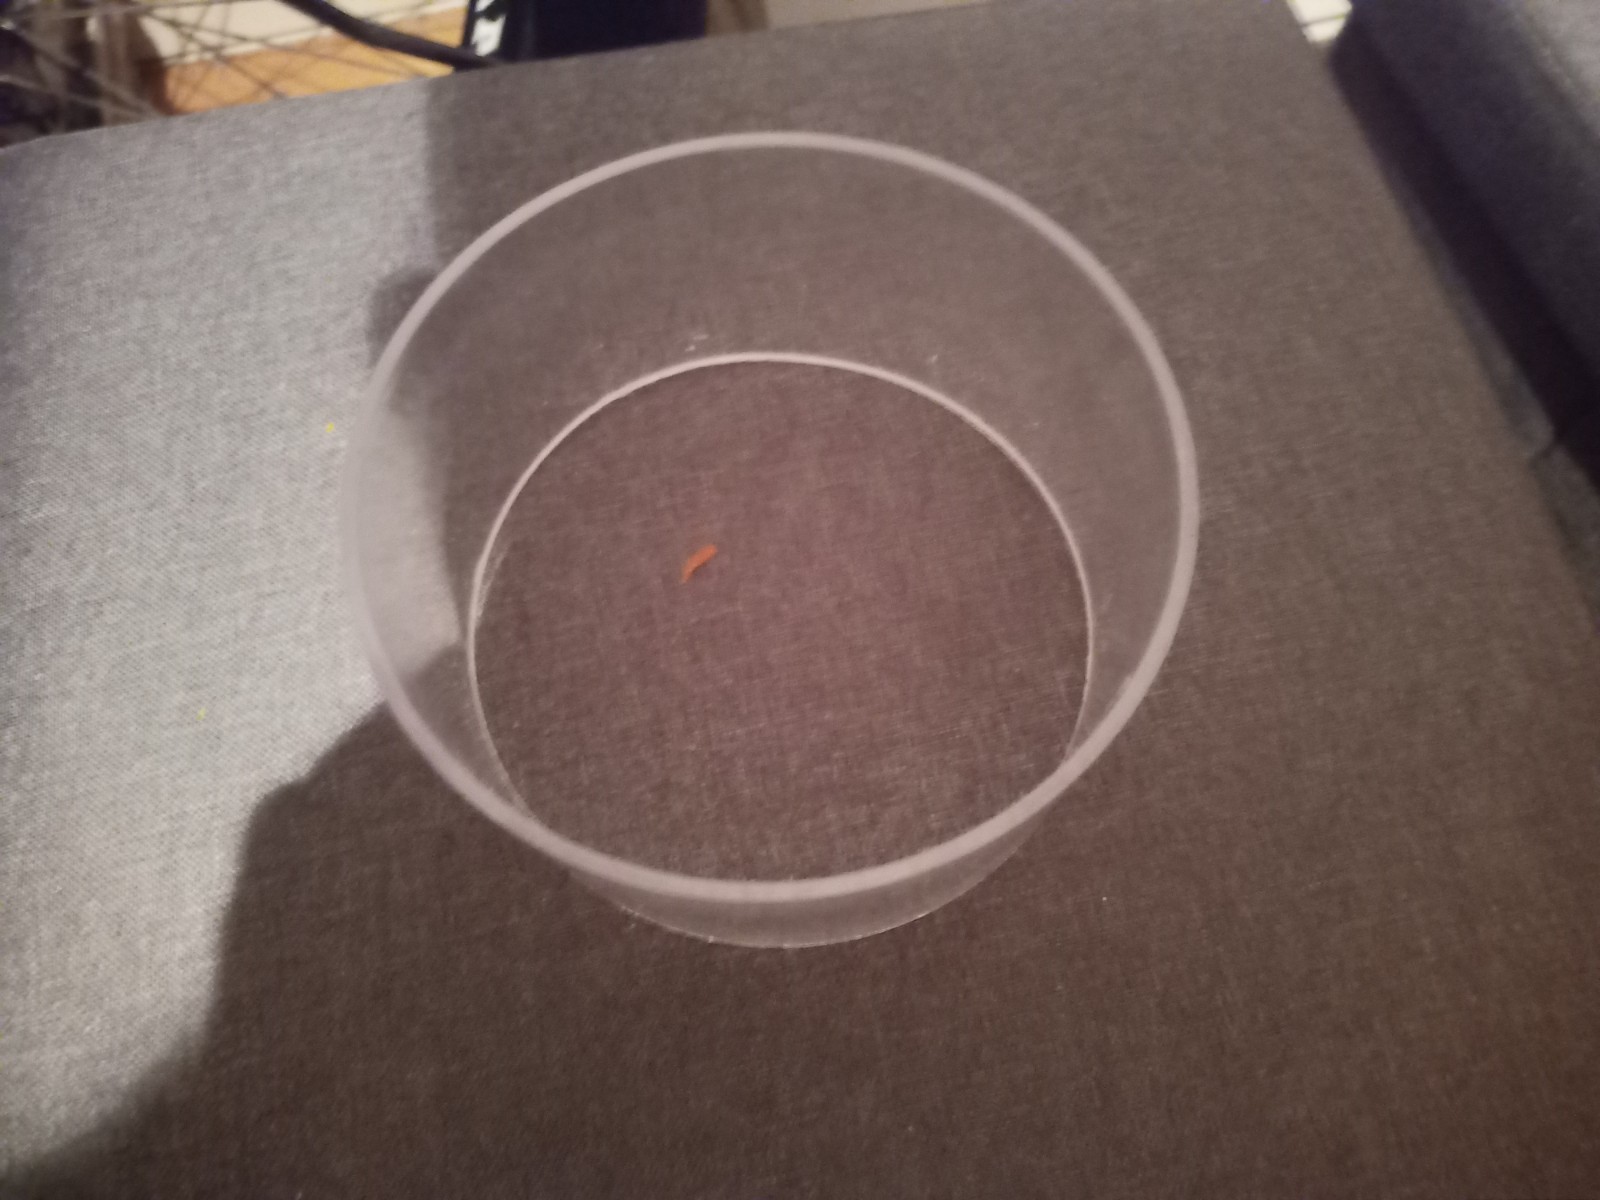
A acrylic cylinder was cut down to size for the window of the Lidar
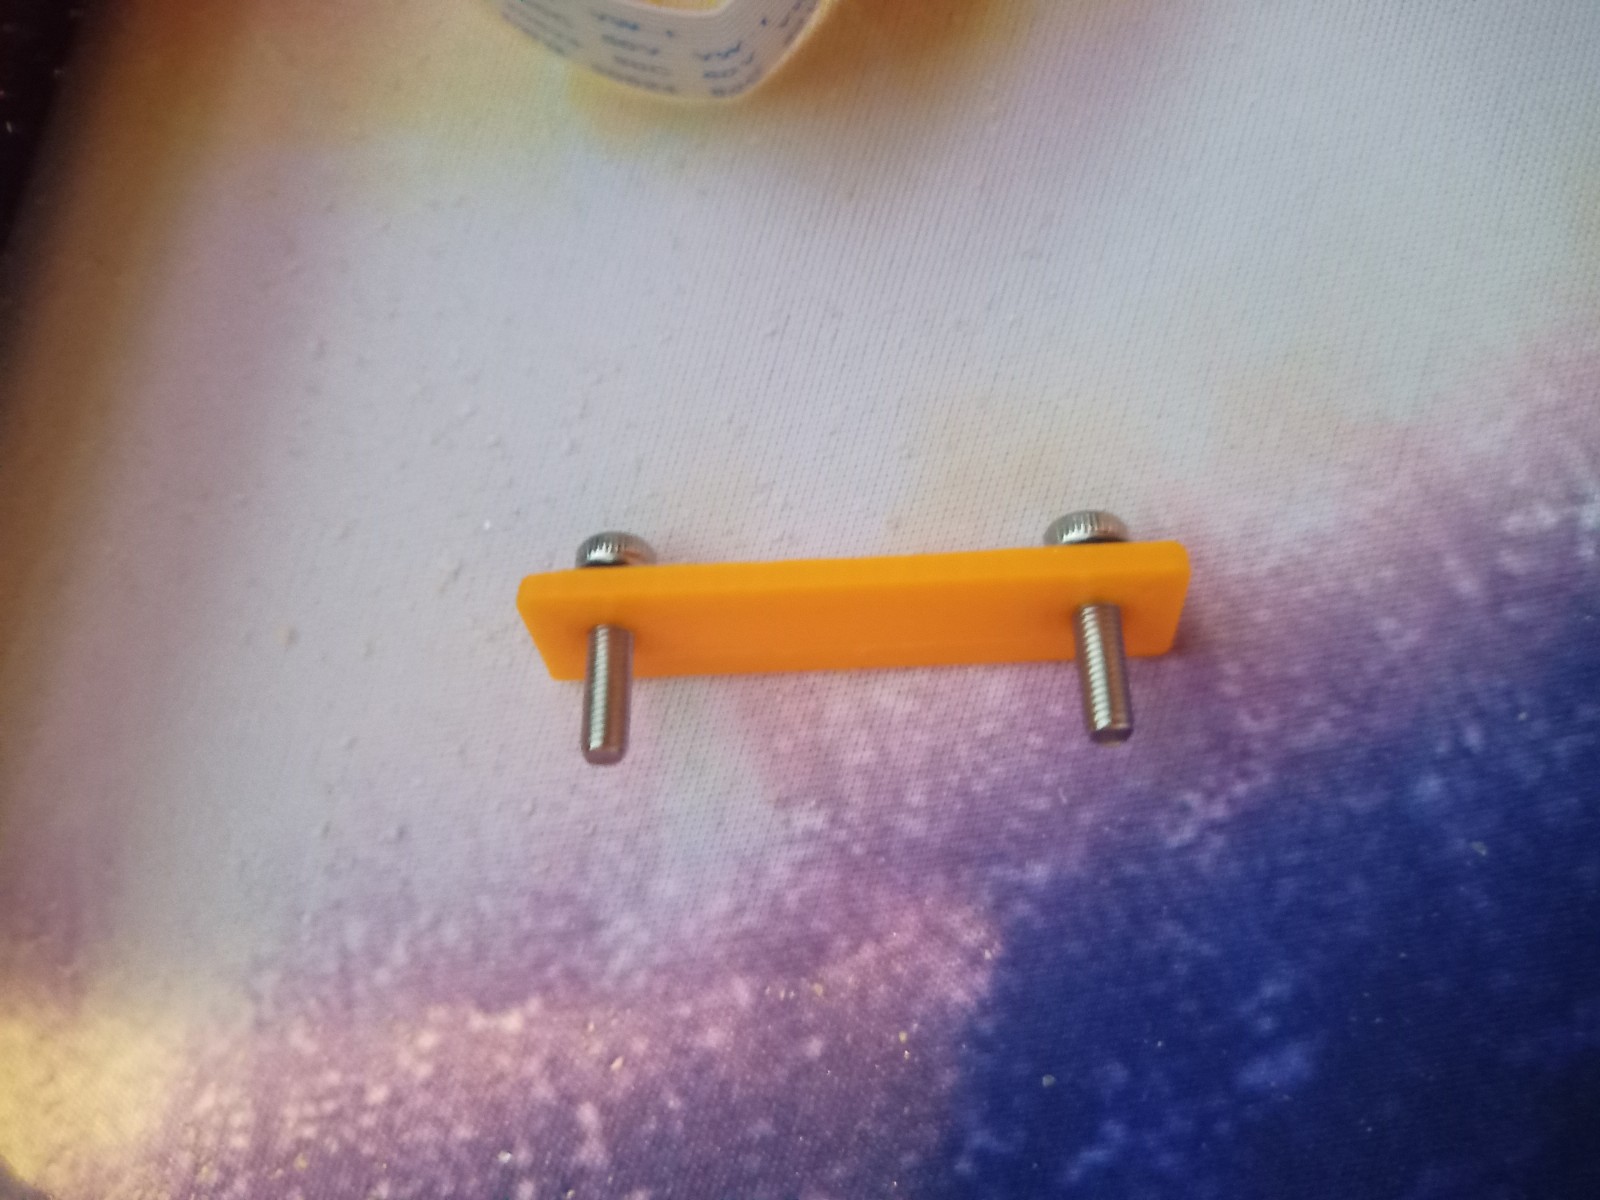
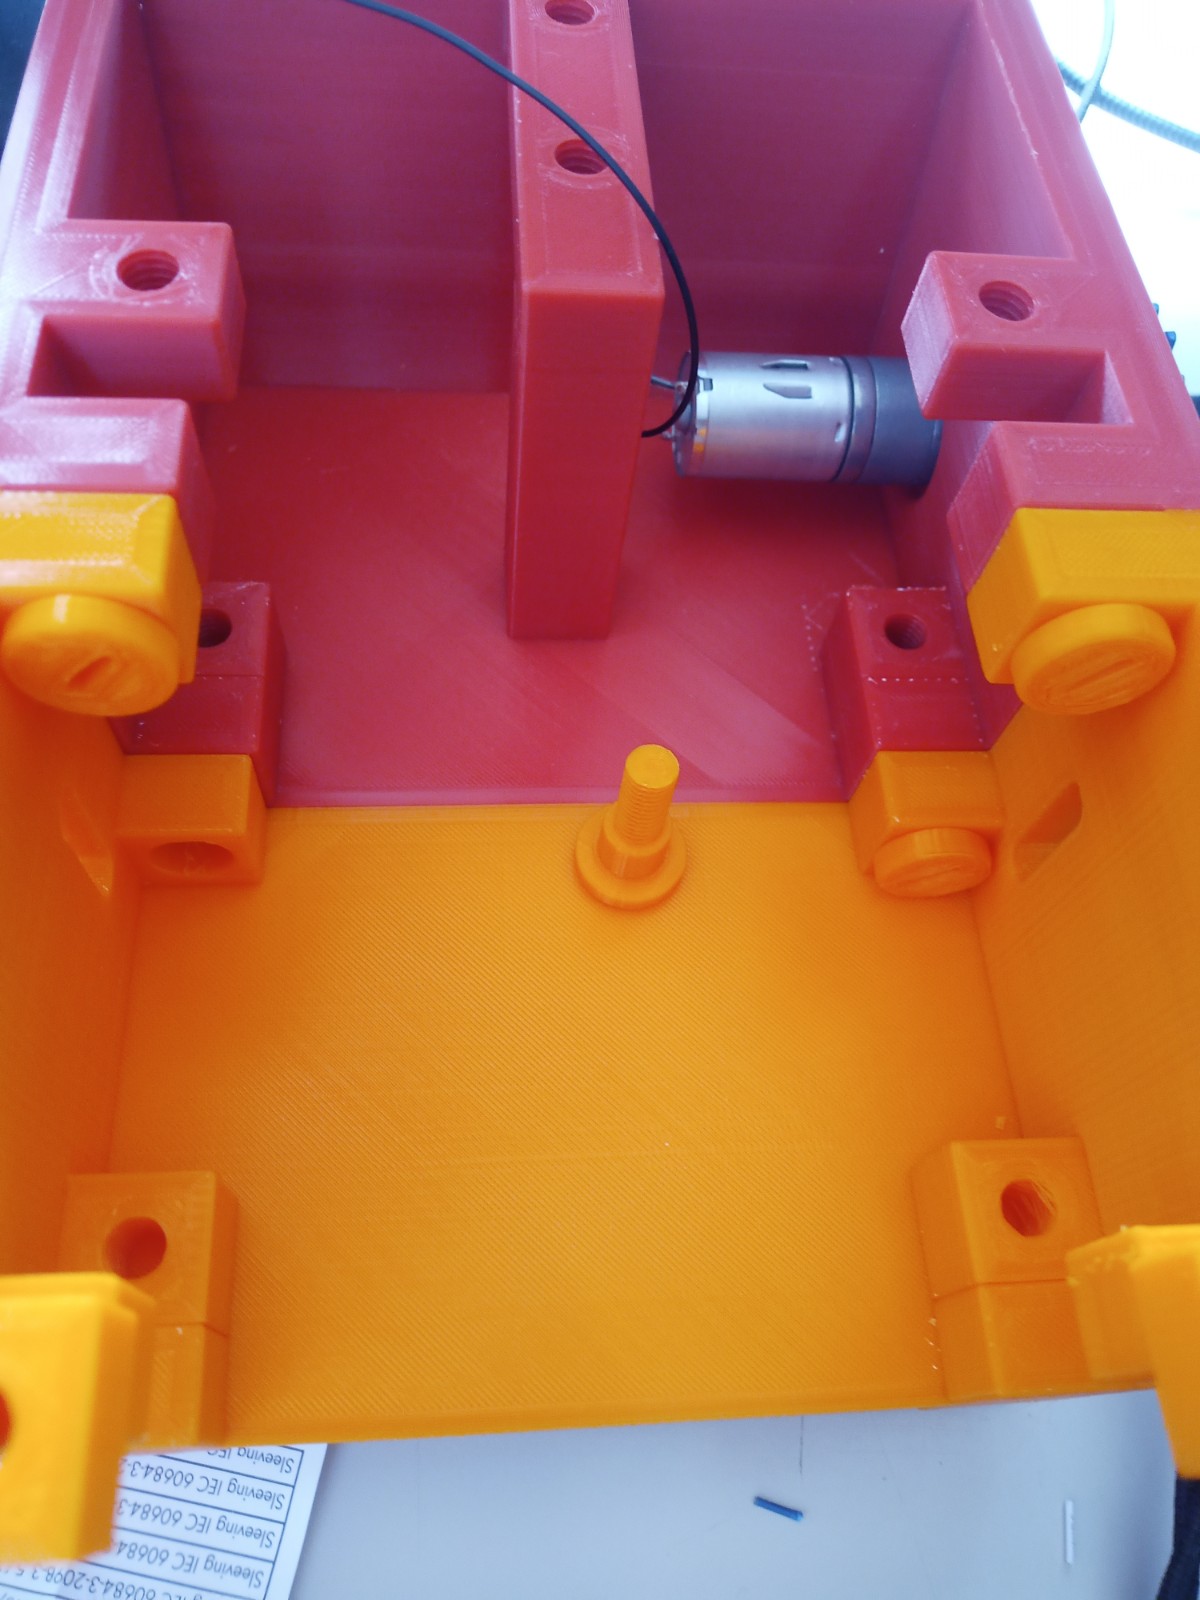
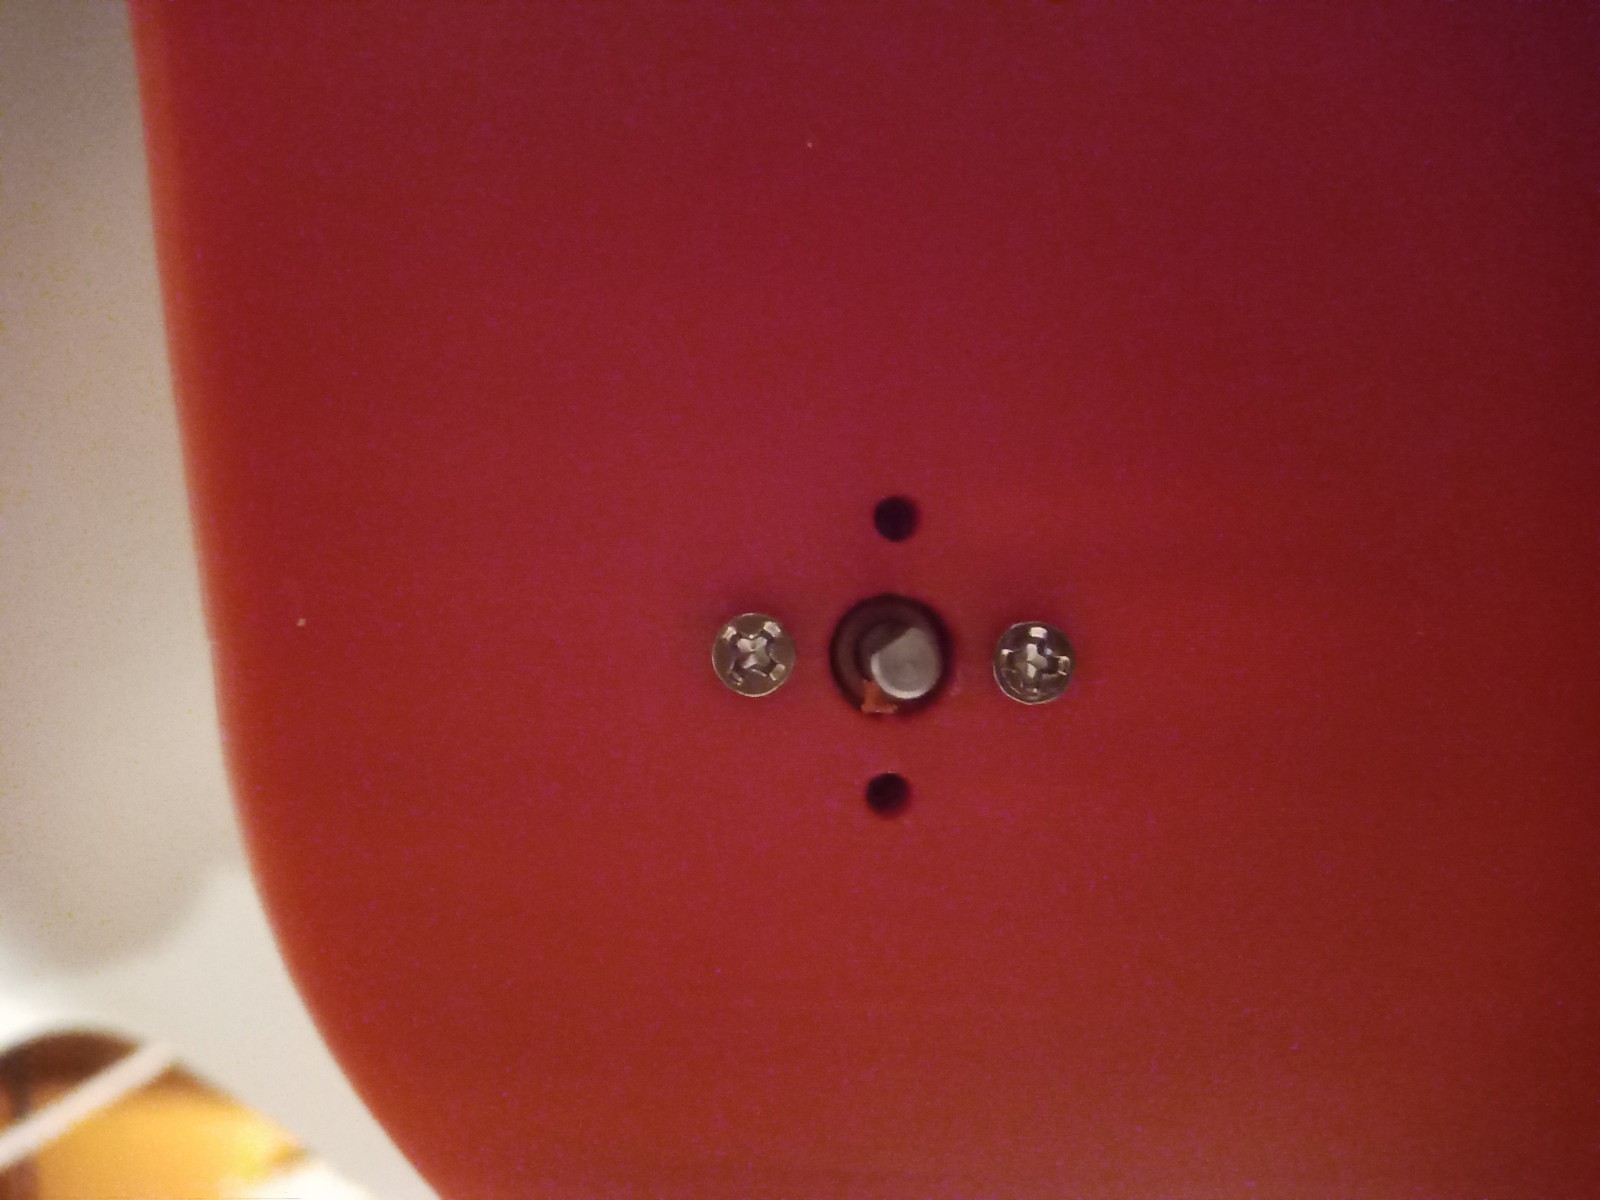
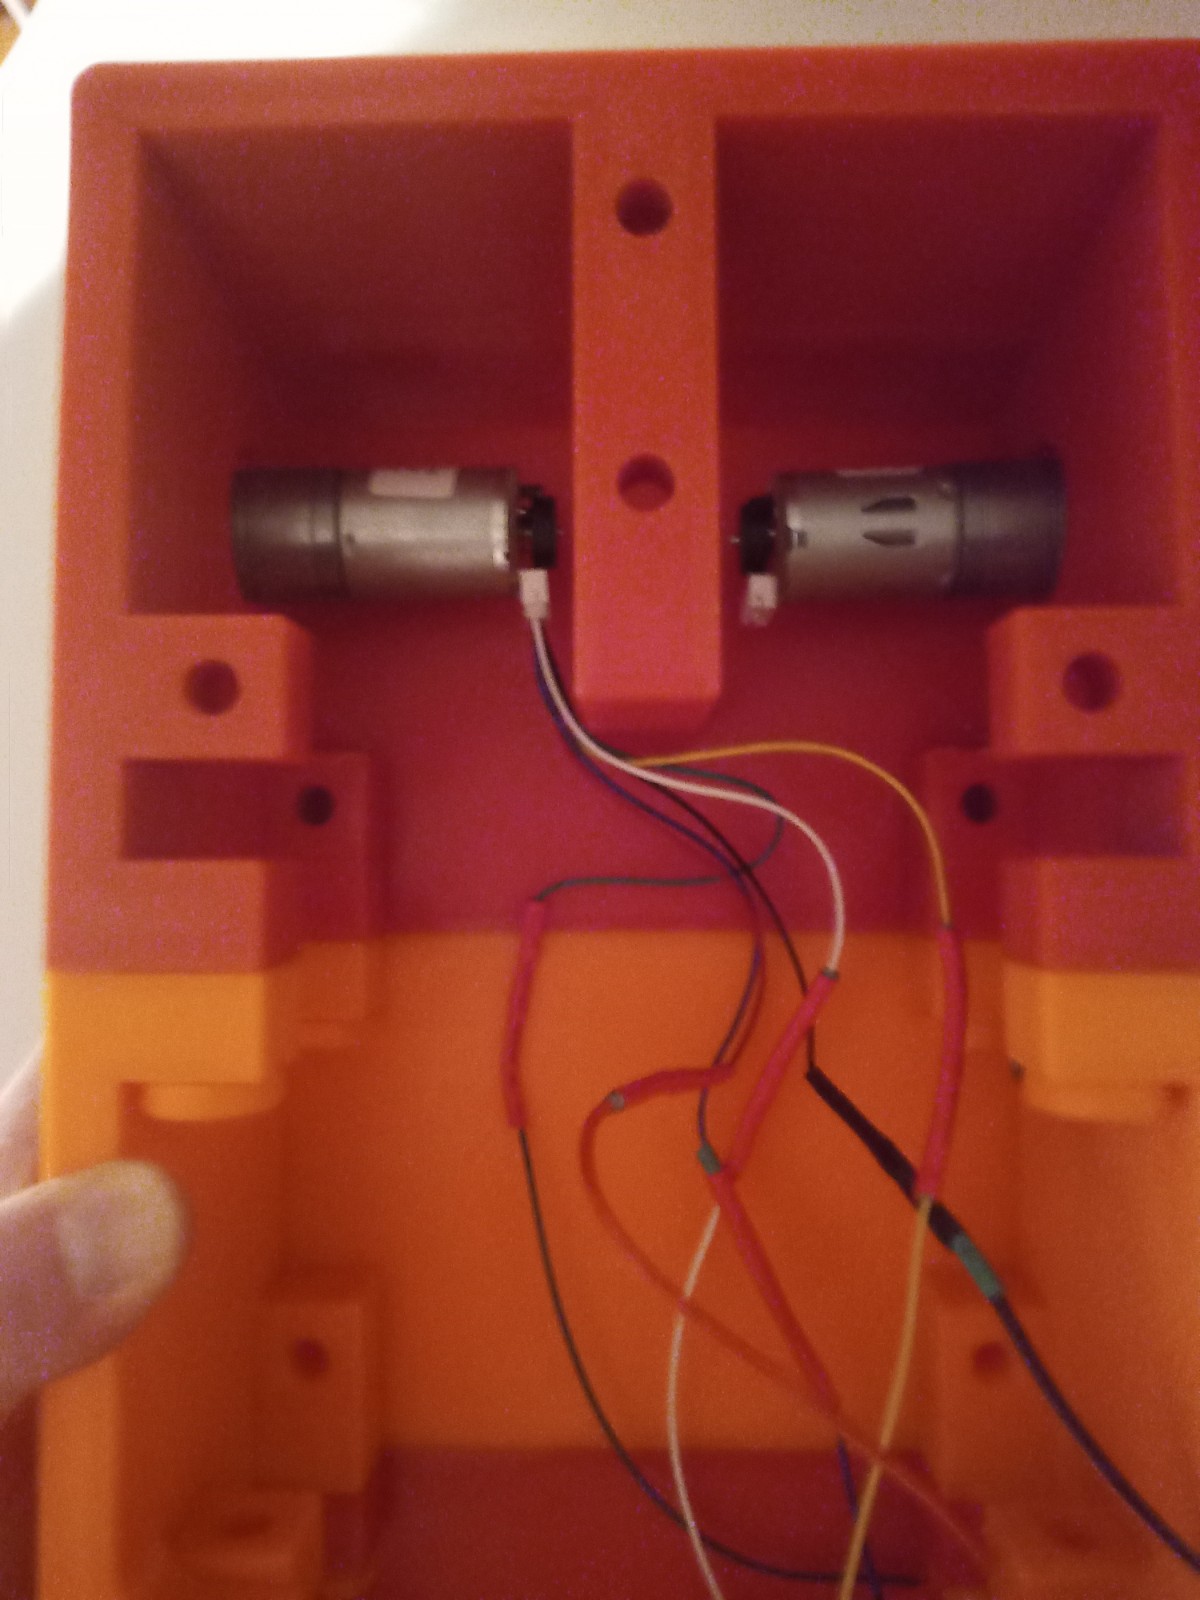
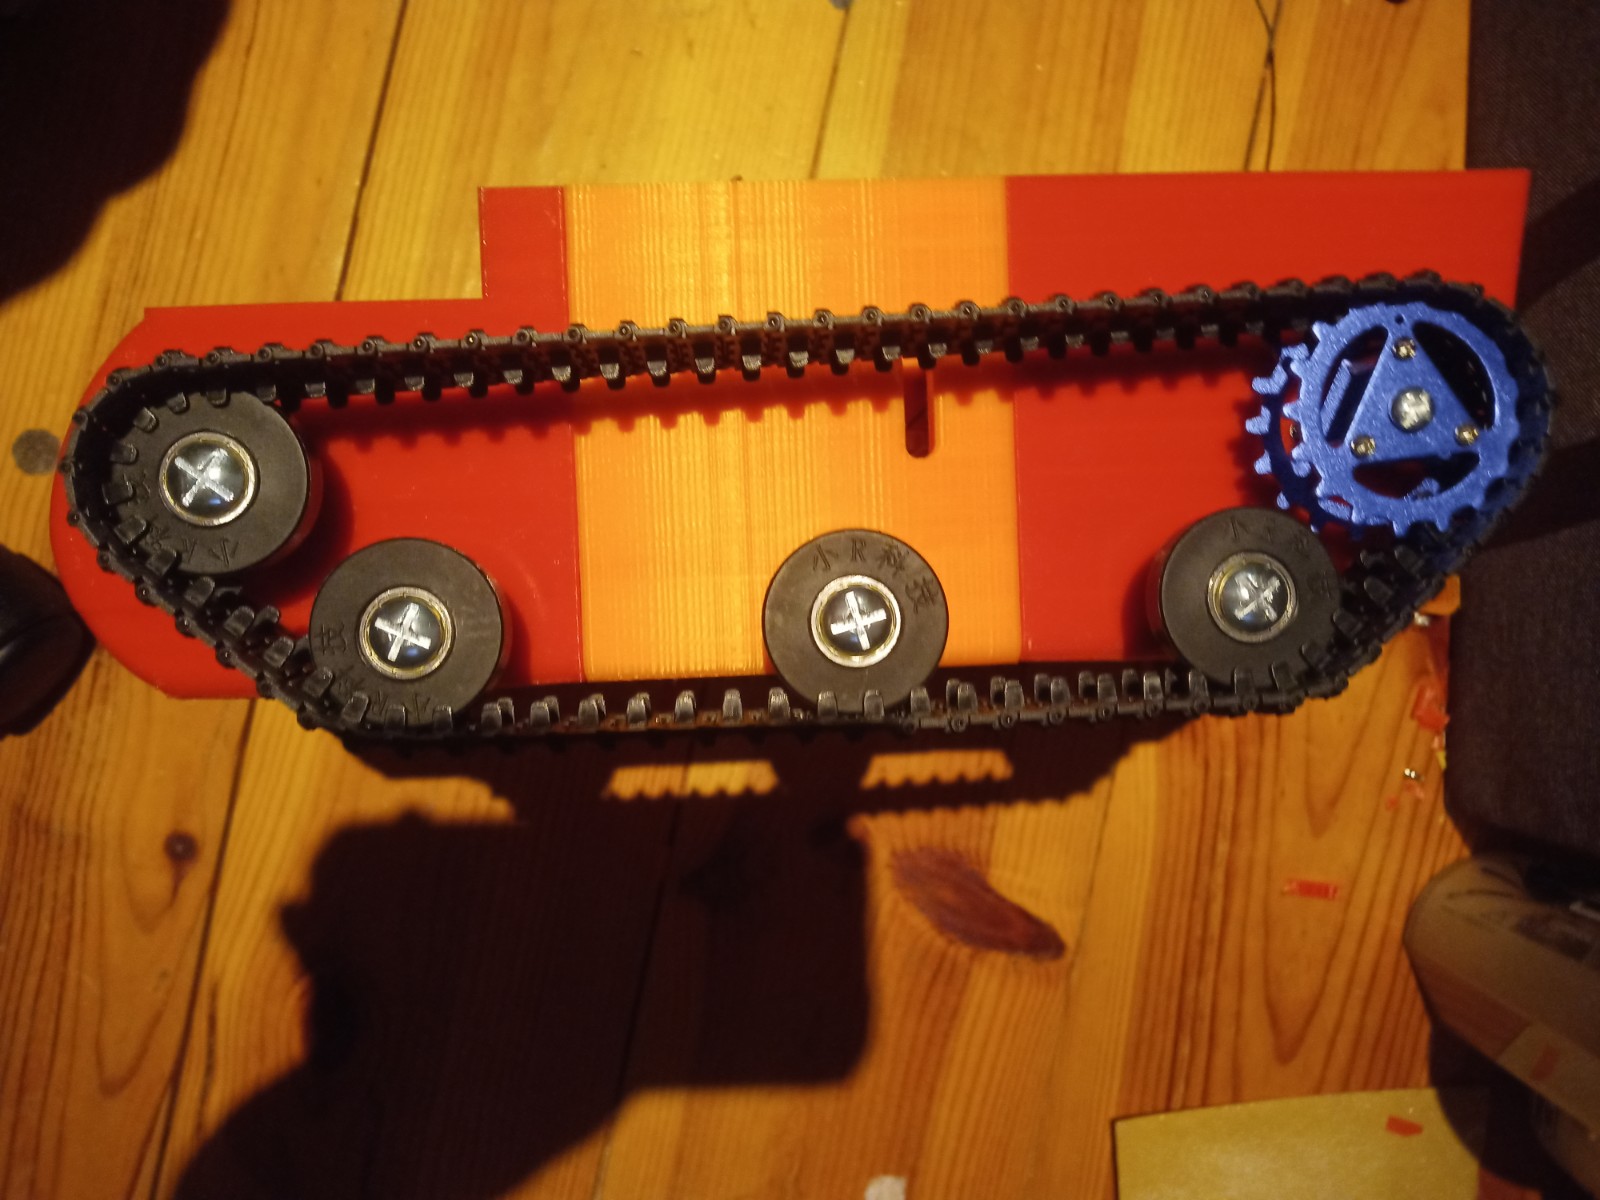
The chasis was assembled using the 3d printed screws and the motors were installed.
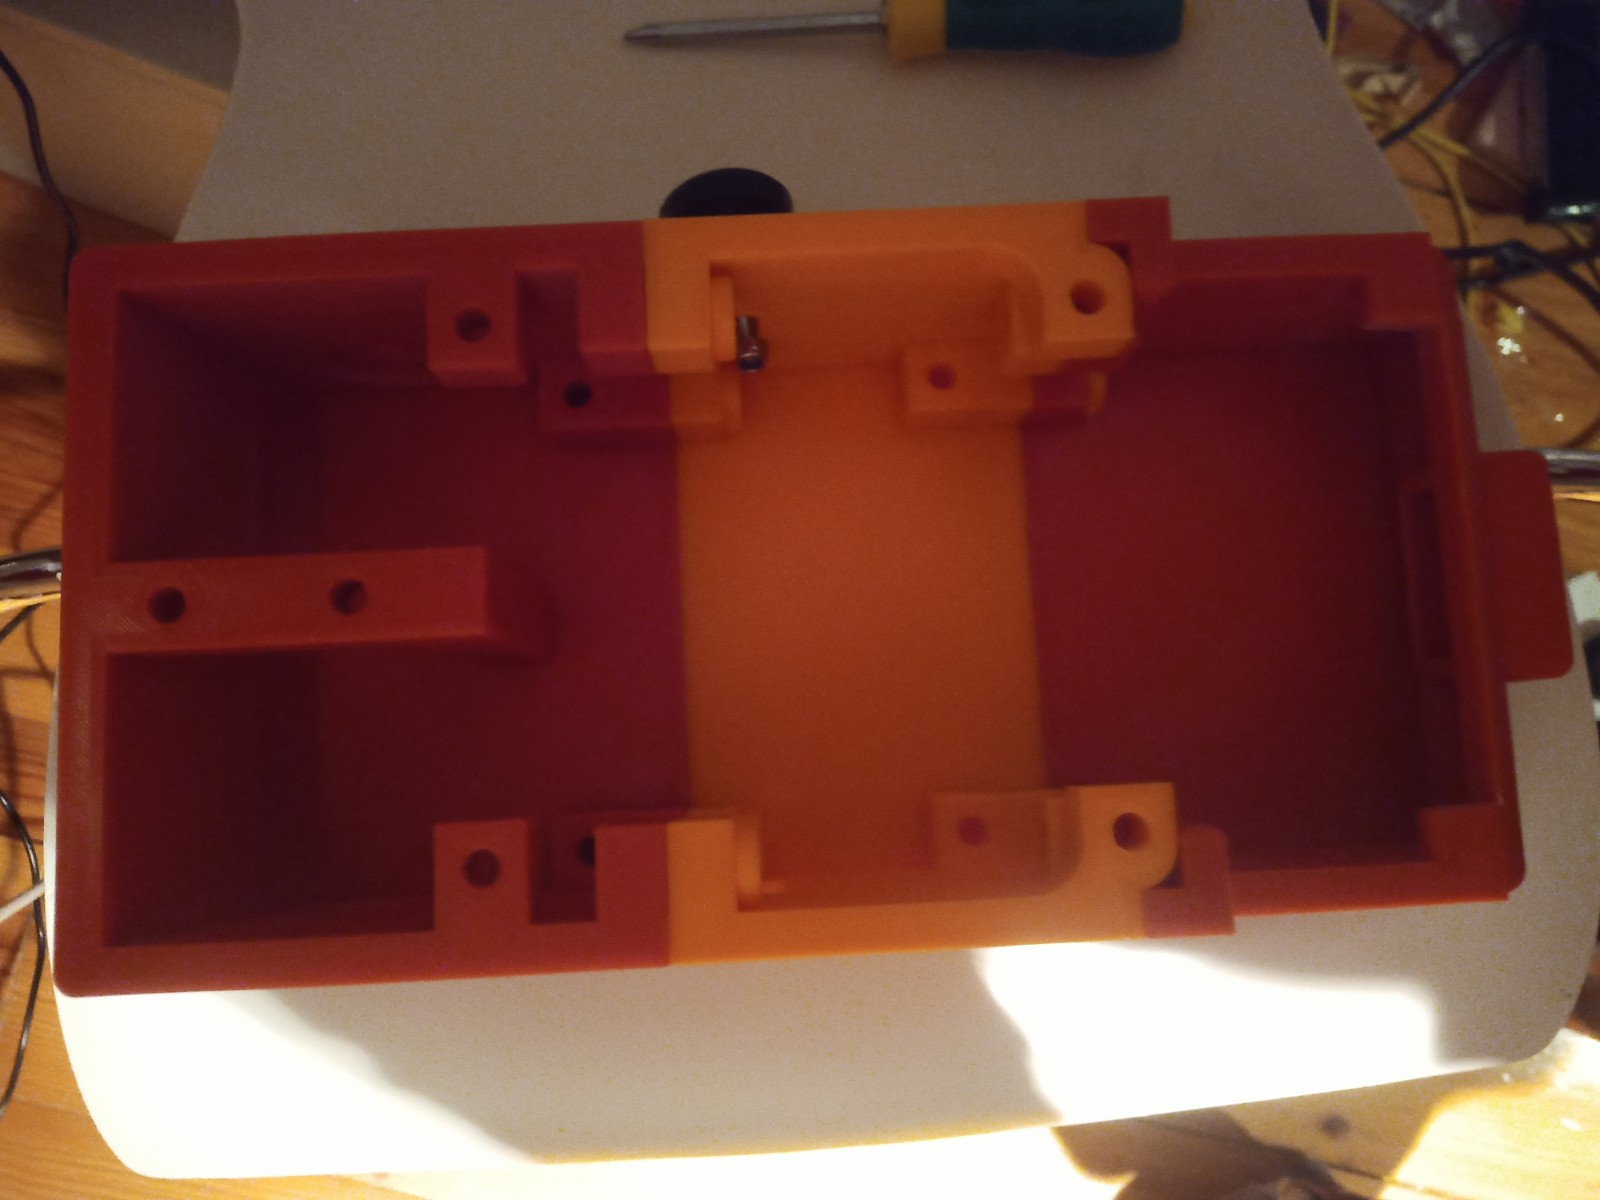
The wheels and trackes were fitted aswell as the camera housing
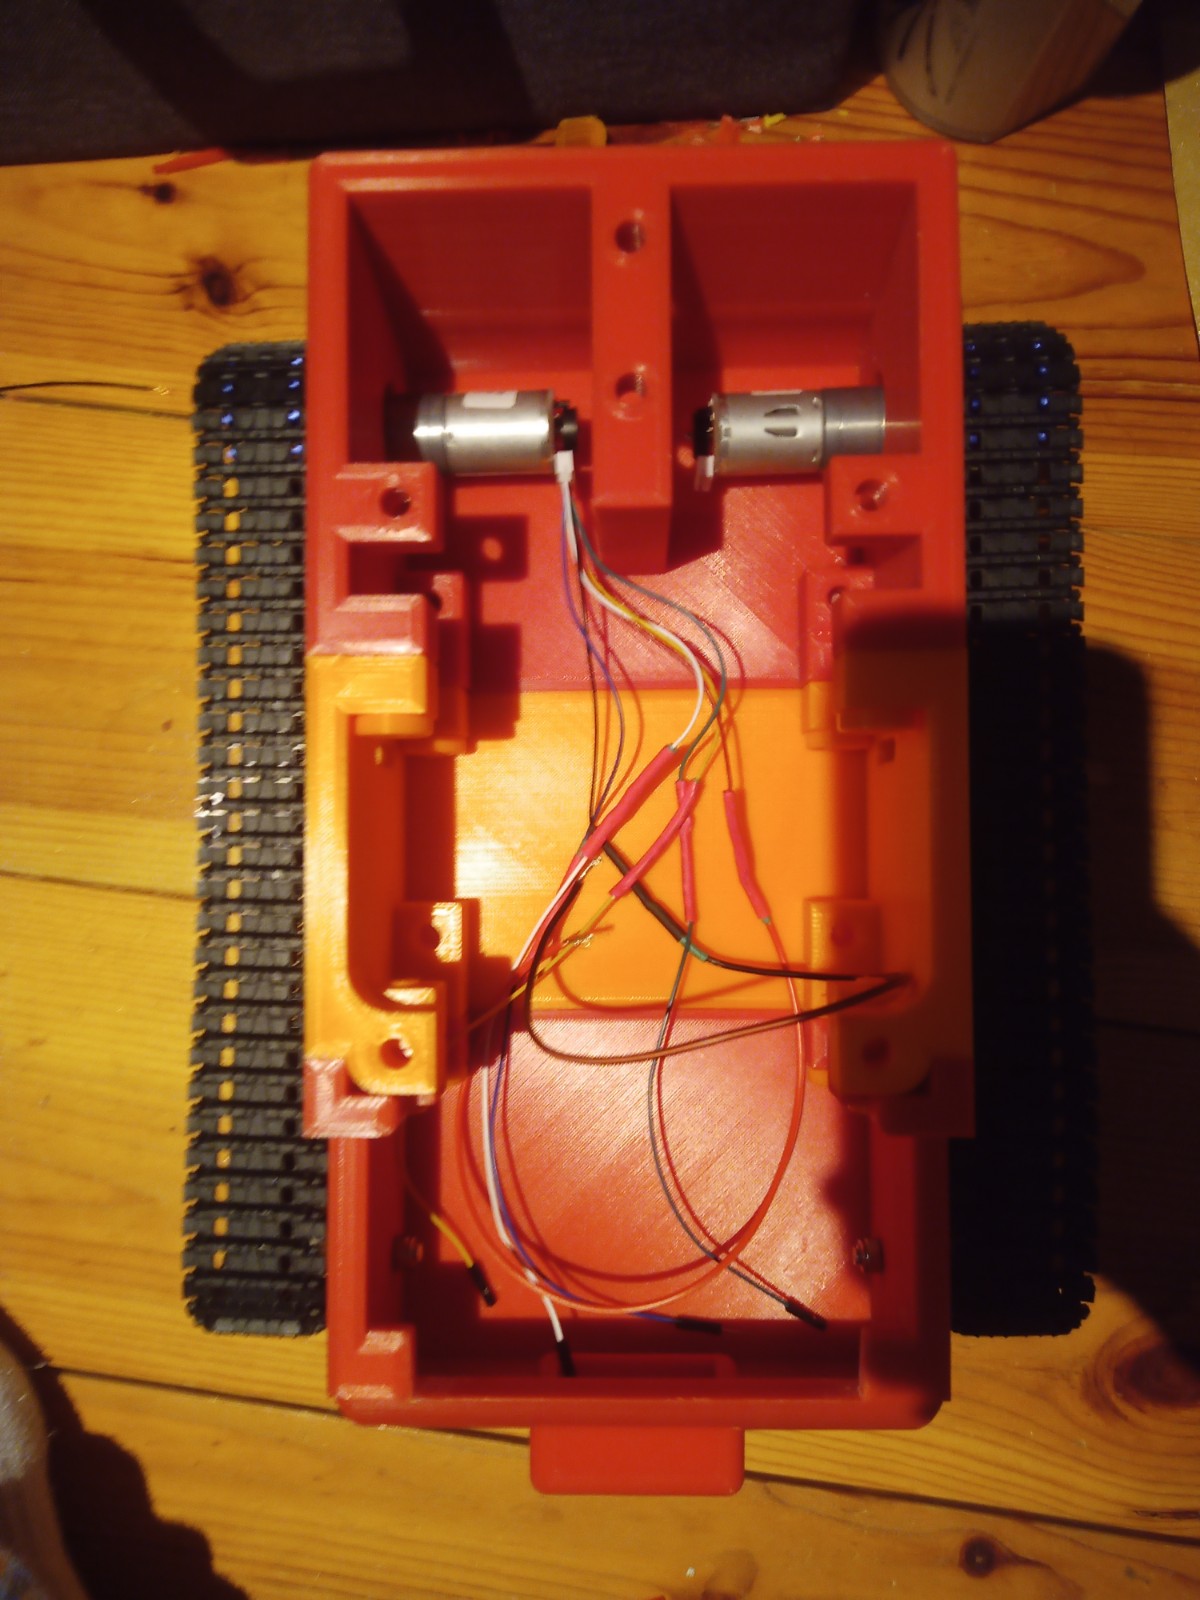
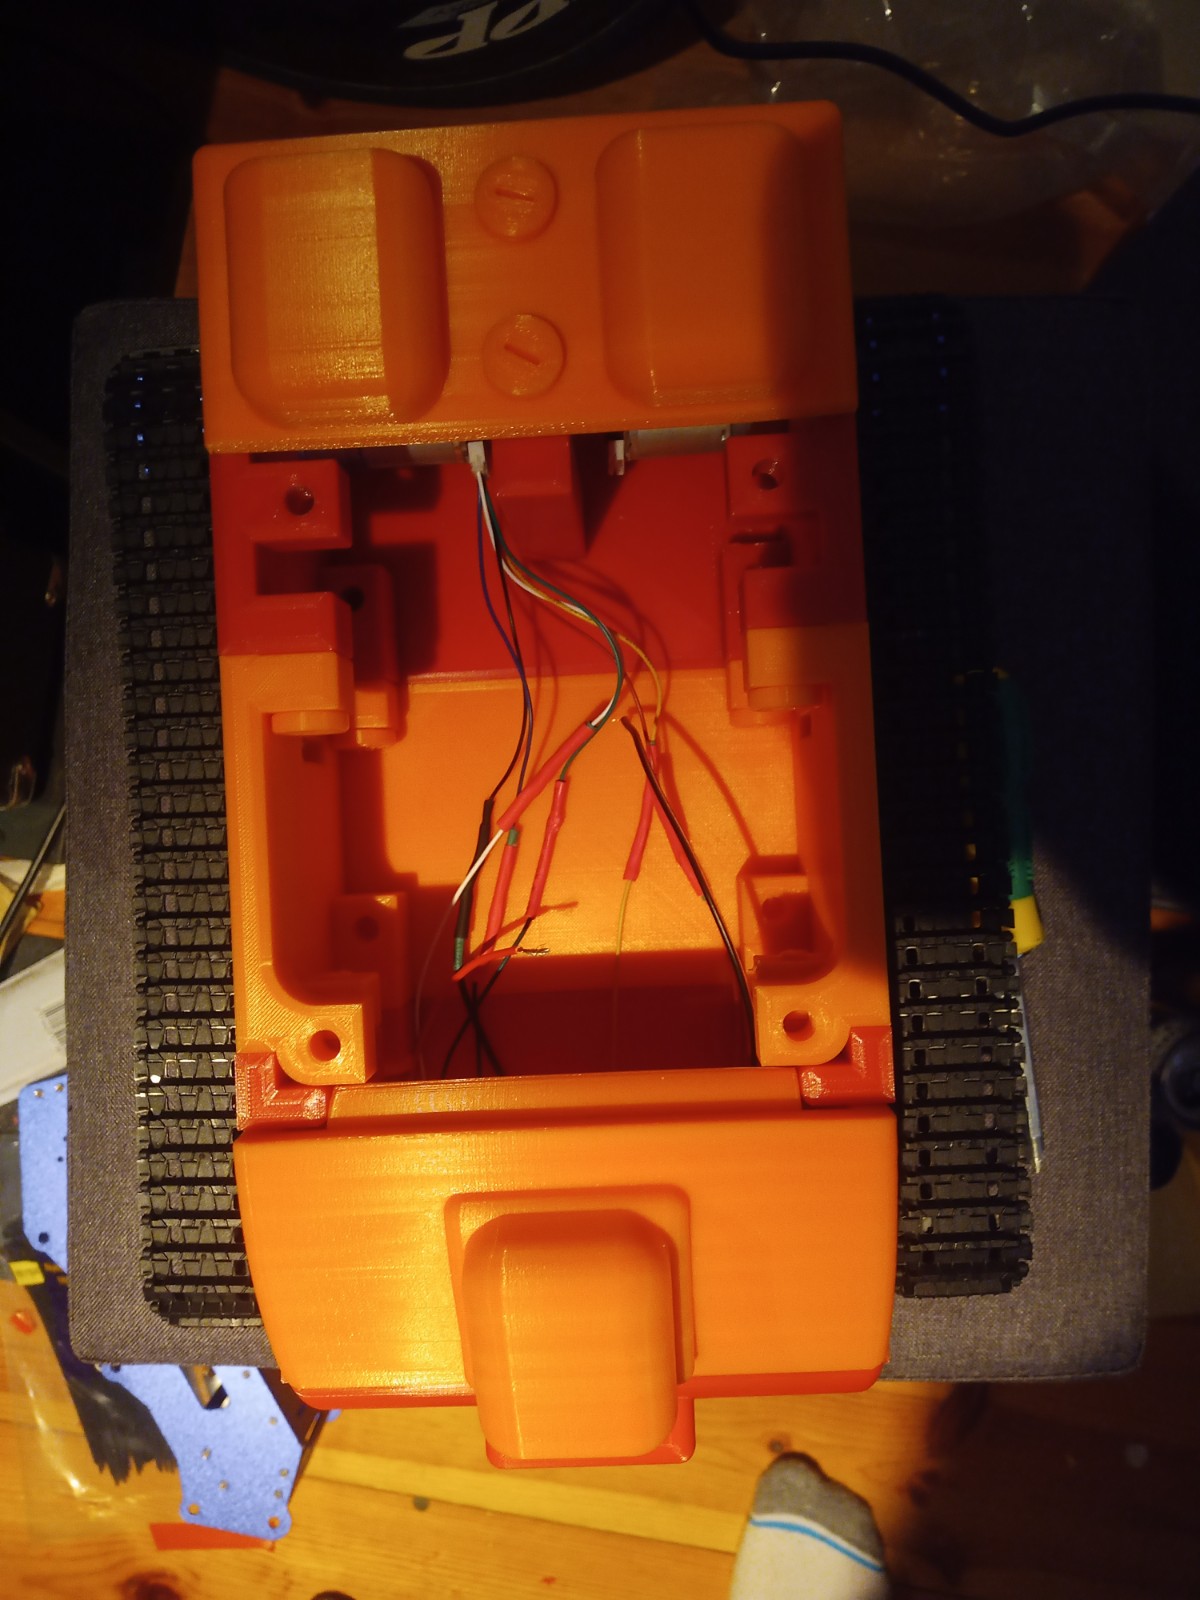
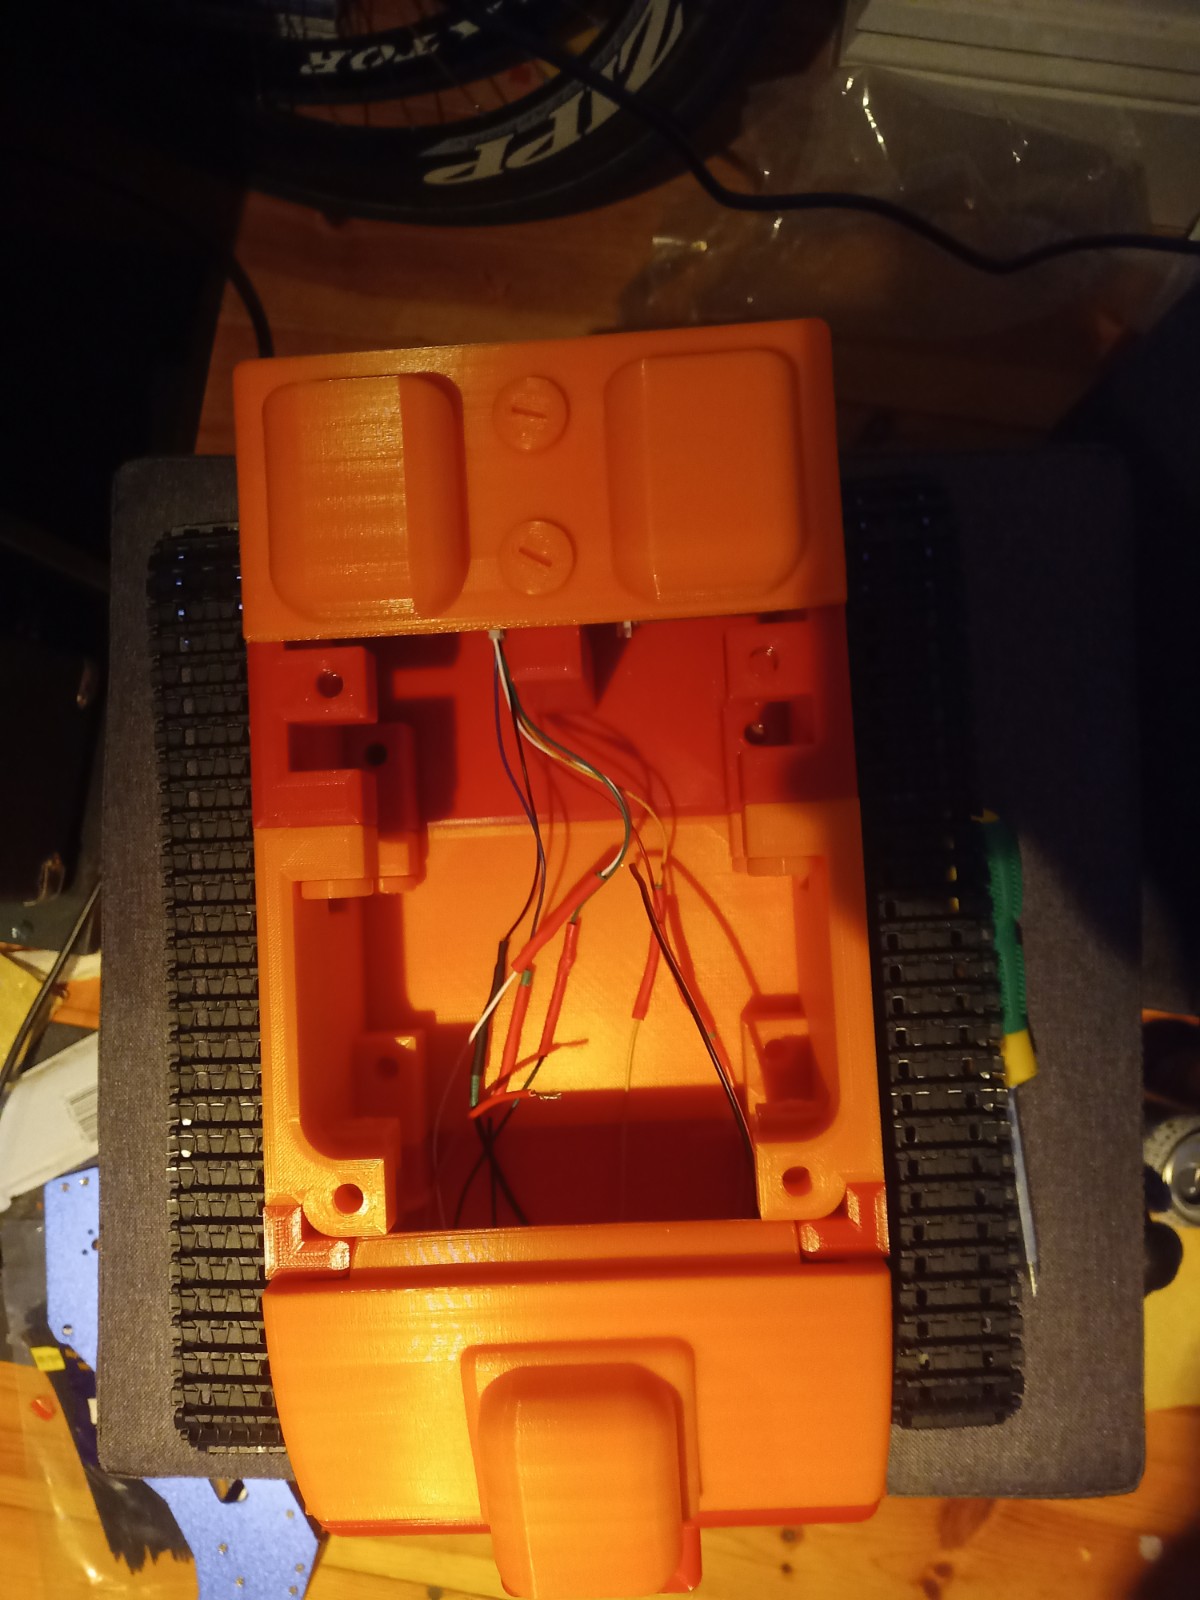

The components were fitted inside. These included an arduino Uno, two raspberry pis, a motor driver for the motor encloders and two battery banks(one for each raspberry pi):
Last Post 25th
In the end, all of the aims of the project were completed. These goals included the camera following a person around the room using the two servo moters to rotate the camera towards them.
Lidar Test:
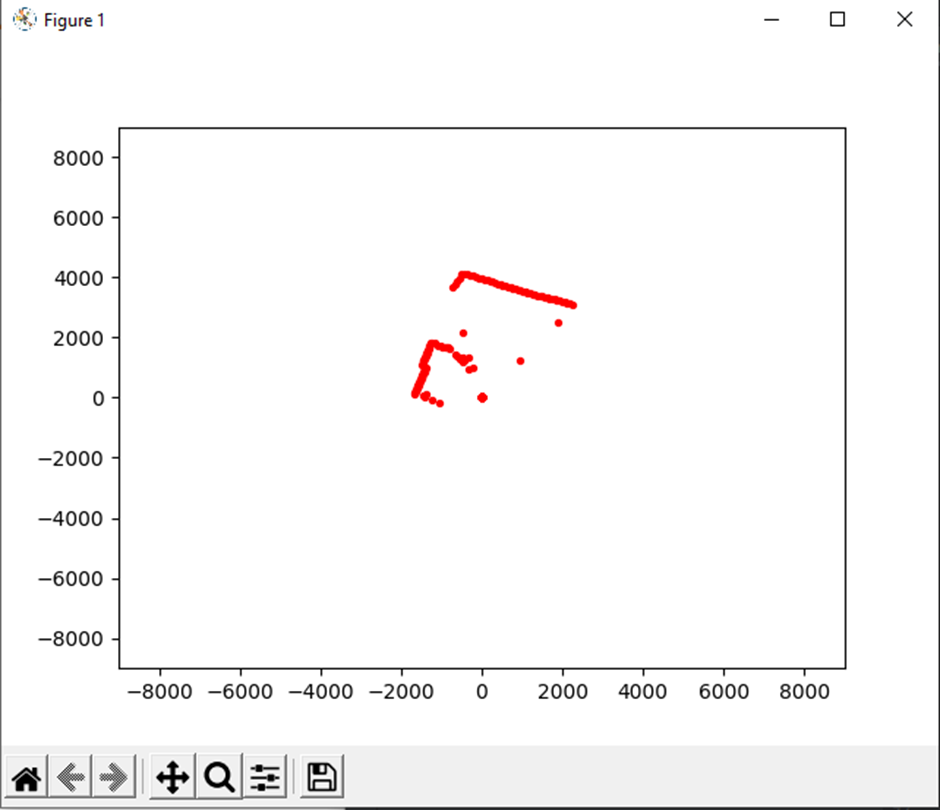
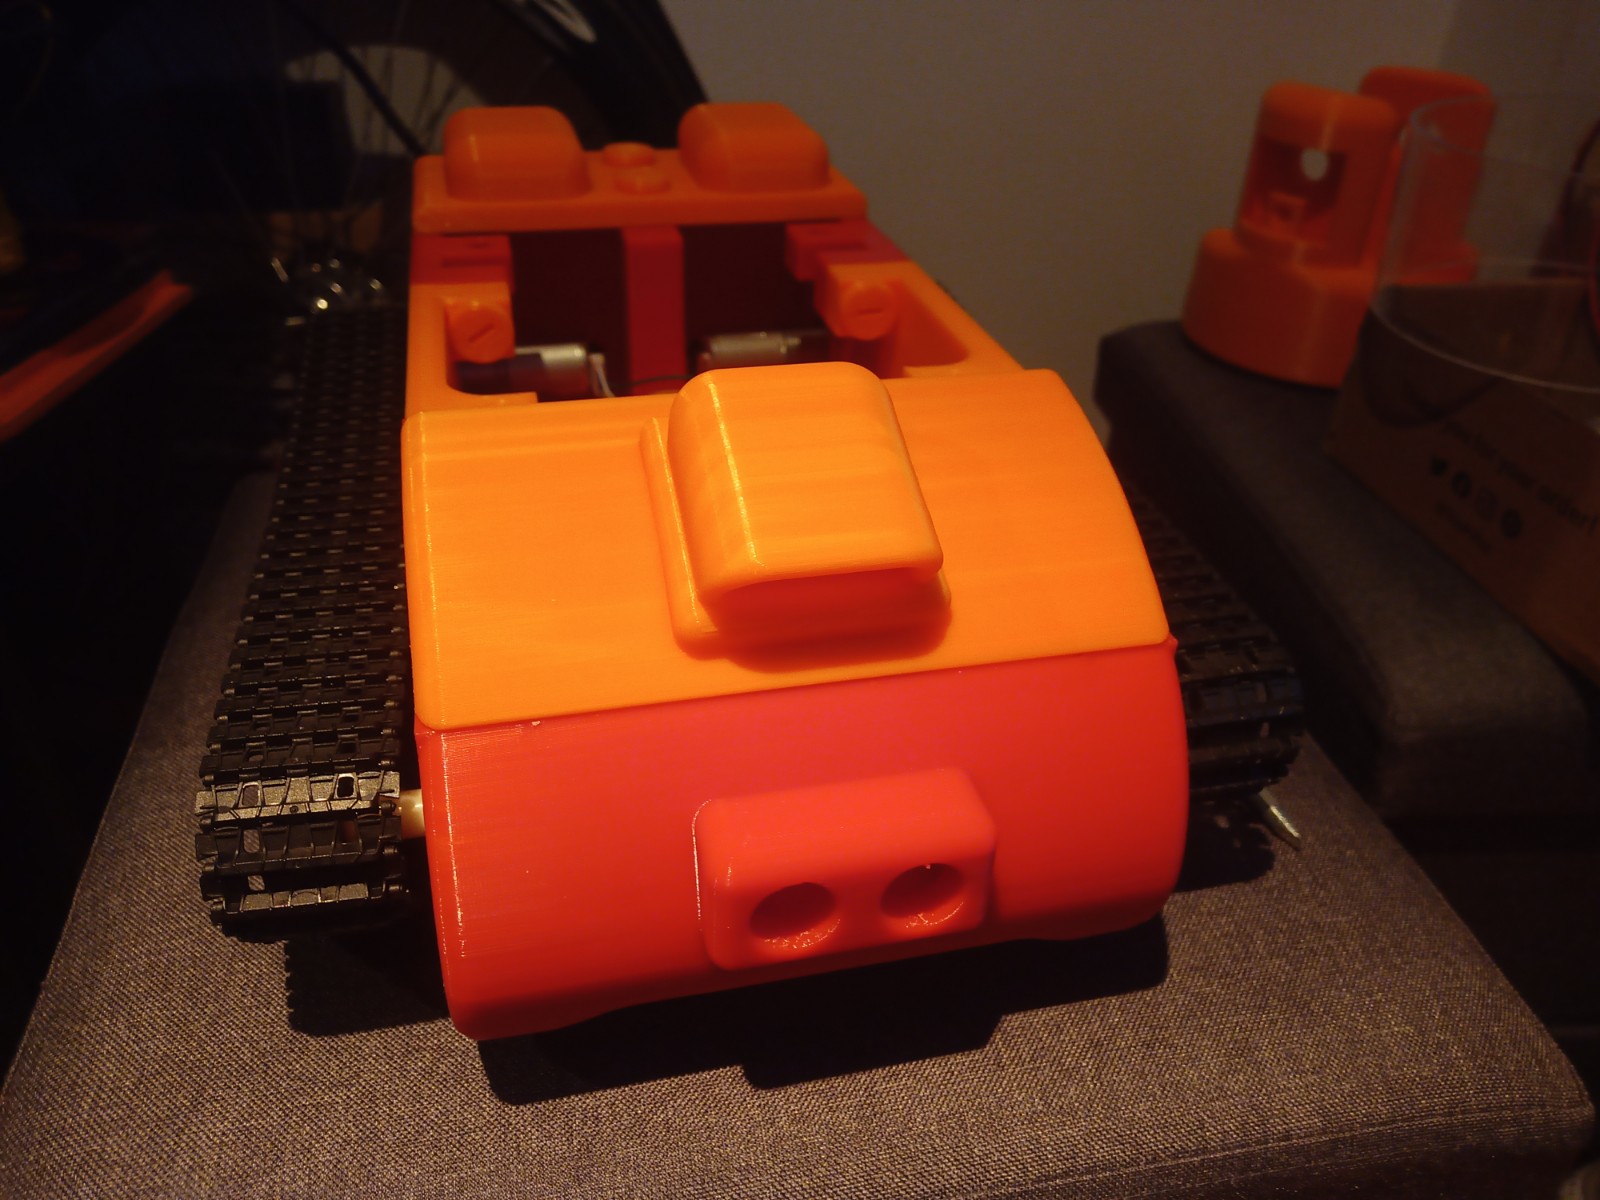
The Video Scout tracked robot is fully assembled without its Lidar and acrylic window installed.

Final code:
Results:

Leave a comment